
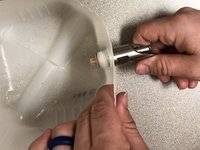
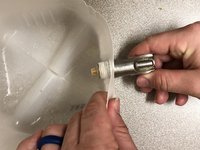
Large Animal Water Nipple Replacement

15 minuti
Facile
Introduzione
Vai al passo 1This is a replacement of a large animal water nipple, this will provide them access to water without them making a huge mess. This guide has ten easy to follow steps to ensure the replacement is done properly.
Cosa ti serve
Strumenti


Quasi finito!
Linea Traguardo

Team

Eastern Washington University, Team S25-G4, Crane Spring 2019 Membro di Eastern Washington University, Team S25-G4, Crane Spring 2019
EWU-CRANE-S19S25G4
3 Membri
4 Guide realizzate