
How to Repair a Squareplug Patch Cable with SP400 Plugs
Introduzione
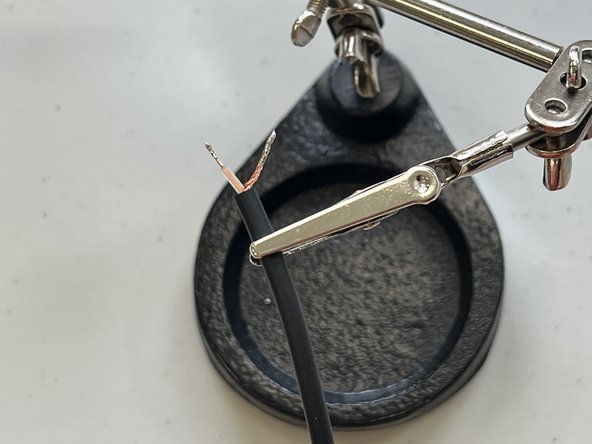
Vai al passo 1If your Squareplug SP400 patch cable isn’t producing clear audio, use this guide to resolder the broken connections.
Patch cables, even well-soldered ones, are susceptible to stress-breaks at their connections. This is usually caused by repeated plugging/unplugging with regular use. A simple resolder with fresh wire ends and solder balls should bring the cable back to life.
Before using this guide, double-check that it’s your patch cable that is faulty. It’s possible the source of the signal loss is elsewhere in the signal chain.
Cosa ti serve


-
-
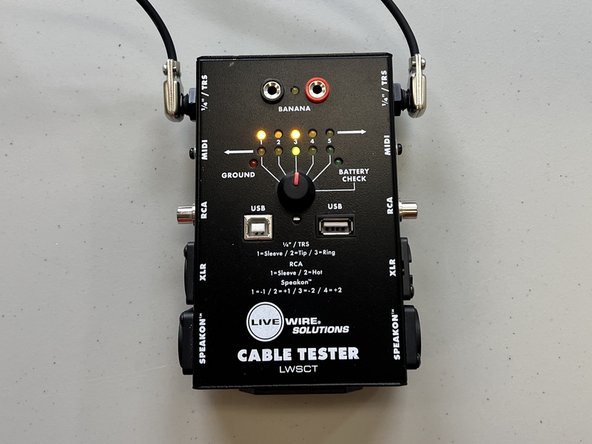
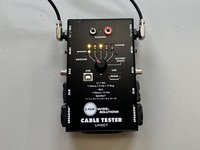
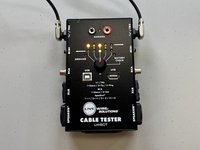
Verify that the cable is faulty (unresponsive yellow and green LED indicators).
-
Yellow LED indicator
-
Green LED indicator
-
-
-
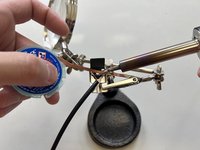
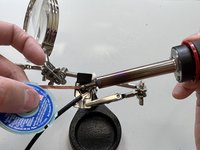
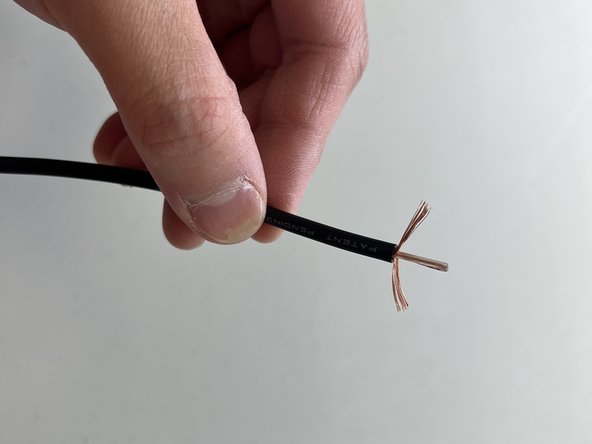
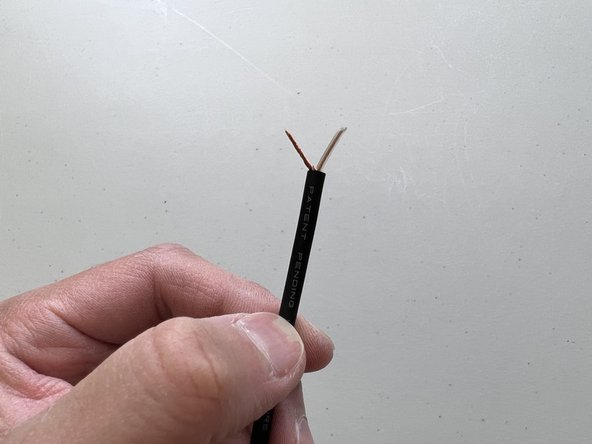
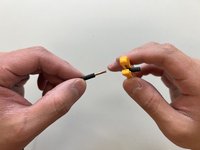
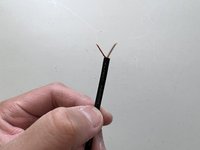
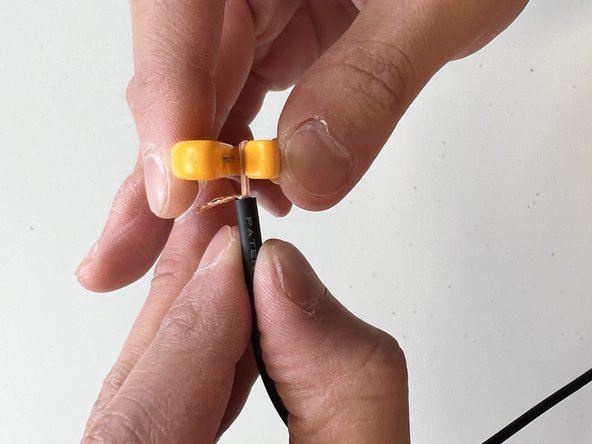
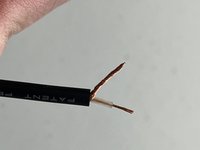
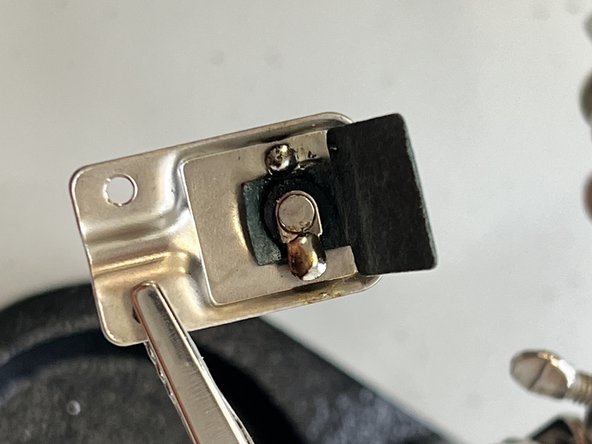
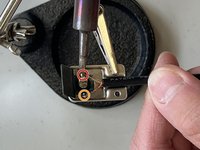
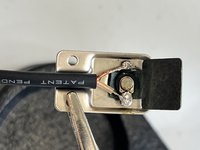
Desolder the existing solder connections.
-
Wick the existing solder completely off of the plug connections.
-
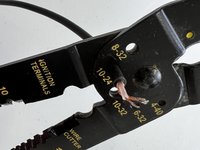
For more information on soldering, check out the How to Solder and Desolder Connections guide.
-
-


Annulla: non ho completato questa guida.
Un'altra persona ha completato questa guida.
Team

University of North Texas, Team 1-3, Raign Spring 2022 Membro di University of North Texas, Team 1-3, Raign Spring 2022
UNT-RAIGN-S22S1G3
2 Membri
5 Guide realizzate