Salta al contenuto principale
Unisciti alla Community delle riparazioni - Crea un account
How to Open and Clean an Xbox Series X (Digital Edition)

How to Open and Clean an Xbox Series X (Digital Edition)

Spencer Day

Spencer Day

Ultimo aggiornamento il December 5, 2024

20 - 40 minuti
Moderato
Guida In Evidenza

Introduzione

Vai al passo 1

Use this guide to open up and clean dust and debris out of the fan, grilles, or vents of an Xbox Series X (Digital Edition) gaming console.

If your console is loud, overheating, or underperforming, it may have built-up dust in the cooling fan, heatsink, or main vents.

In the Xbox Series X, when upright, the large top fan pulls air in from the bottom, which cools the console, then pushes the air out of the top vent. If your Xbox lives in a TV cabinet with limited airflow, consider opening the door while gaming or moving it out to open air. If your Xbox is on the ground, it may suck in extra dust, dirt, or hair and limit its ability to keep cool.

Before you begin, completely power down and unplug all cables from your console. Remember to follow general electrostatic discharge (ESD) safety procedures while repairing your console.

Cosa ti serve

Strumenti

Mostra di più…

iFixit guadagna commissioni quando acquisti tramite questi link.
  1. How to Open and Clean an Xbox Series X (Digital Edition), Uncover the back panel screws: passo 1, immagine 1 di 2 How to Open and Clean an Xbox Series X (Digital Edition), Uncover the back panel screws: passo 1, immagine 2 di 2
    • Before you begin, completely power down and unplug all cables from your console.

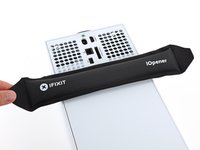
    • Two stickers cover the back panel screws. You can remove the stickers without heating them, though it makes them much easier to remove cleanly.

    • Heat an iOpener and lay it on the smaller sticker near the bottom of the back panel for two minutes.

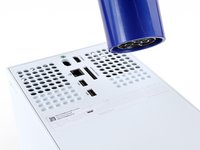
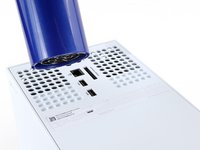
    • Alternatively, you can use a hair dryer to heat the sticker.

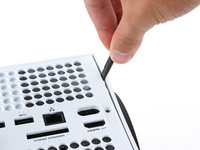
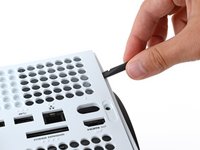
  2. How to Open and Clean an Xbox Series X (Digital Edition): passo 2, immagine 1 di 3 How to Open and Clean an Xbox Series X (Digital Edition): passo 2, immagine 2 di 3 How to Open and Clean an Xbox Series X (Digital Edition): passo 2, immagine 3 di 3
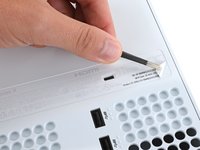
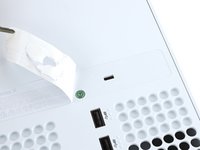
    • Use a pair of angled tweezers to remove the sticker hiding the first screw on the back panel, near the base.

  3. How to Open and Clean an Xbox Series X (Digital Edition): passo 3, immagine 1 di 3 How to Open and Clean an Xbox Series X (Digital Edition): passo 3, immagine 2 di 3 How to Open and Clean an Xbox Series X (Digital Edition): passo 3, immagine 3 di 3
    • Use an iOpener or hair dryer to heat the larger sticker near the center of the back panel.

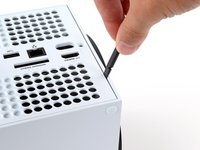
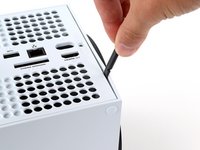
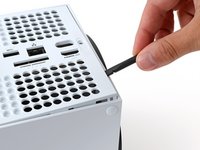
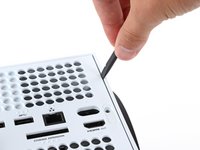
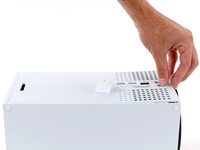
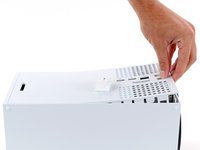
  4. How to Open and Clean an Xbox Series X (Digital Edition): passo 4, immagine 1 di 3 How to Open and Clean an Xbox Series X (Digital Edition): passo 4, immagine 2 di 3 How to Open and Clean an Xbox Series X (Digital Edition): passo 4, immagine 3 di 3
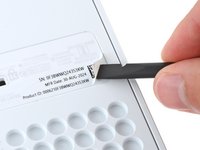
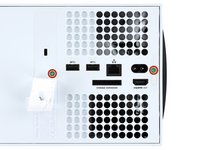
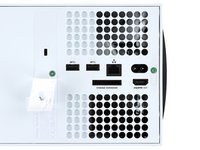
    • Use the flat end of a spudger to scrape up a corner of the larger sticker until you can grip it with a pair of blunt tweezers.

    • Use blunt tweezers to peel back the sticker to reveal the second screw.

    • You only need to peel this sticker to where you can access the hidden screw. You don't need to pull it completely off.

    • Technically, these are tamper-evident stickers, but don't worry—Microsoft can't legally void your warranty, as long as you don't damage anything. Have fun!

  5. How to Open and Clean an Xbox Series X (Digital Edition), Remove the back panel screws: passo 5, immagine 1 di 2 How to Open and Clean an Xbox Series X (Digital Edition), Remove the back panel screws: passo 5, immagine 2 di 2
    Attrezzo utilizzato in questo passaggio:
    Magnetic Project Mat
    $19.95
    • Throughout this repair, keep track of each screw and make sure it goes back exactly where it came from to avoid damaging your console.

    • Use a T8 Torx driver to remove the two 7.4 mm‑long screws securing the back panel.

  6. How to Open and Clean an Xbox Series X (Digital Edition), Unclip the back panel: passo 6, immagine 1 di 3 How to Open and Clean an Xbox Series X (Digital Edition), Unclip the back panel: passo 6, immagine 2 di 3 How to Open and Clean an Xbox Series X (Digital Edition), Unclip the back panel: passo 6, immagine 3 di 3
    • Insert the flat end of a spudger into the gap between the back panel and the shell, near the left side of the base.

    • Pry up the back panel to release it from the locking clips.

  7. How to Open and Clean an Xbox Series X (Digital Edition): passo 7, immagine 1 di 3 How to Open and Clean an Xbox Series X (Digital Edition): passo 7, immagine 2 di 3 How to Open and Clean an Xbox Series X (Digital Edition): passo 7, immagine 3 di 3
    • Insert the flat end of a spudger into the gap between the back panel and the shell, near the right side of the base.

    • Pry up the back panel to release it from the locking clips.

  8. How to Open and Clean an Xbox Series X (Digital Edition), Remove the back panel: passo 8, immagine 1 di 3 How to Open and Clean an Xbox Series X (Digital Edition), Remove the back panel: passo 8, immagine 2 di 3 How to Open and Clean an Xbox Series X (Digital Edition), Remove the back panel: passo 8, immagine 3 di 3
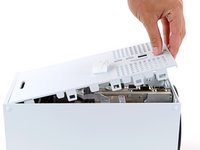
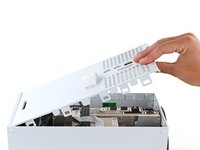
    • Grip the back panel at the opening you just created and pull it up and away from the shell to unclip the long edges.

    • During reassembly, press along the edges of the back panel to snap it into place.

  9. How to Open and Clean an Xbox Series X (Digital Edition): passo 9, immagine 1 di 3 How to Open and Clean an Xbox Series X (Digital Edition): passo 9, immagine 2 di 3 How to Open and Clean an Xbox Series X (Digital Edition): passo 9, immagine 3 di 3
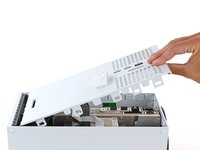
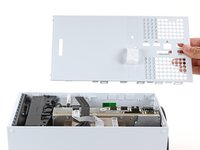
    • The back panel slots into a gap at the top of the shell.

    • Tilt the back panel up and pull it away from the top edge of the shell to release it from the gap.

    • Remove the back panel.

  10. How to Open and Clean an Xbox Series X (Digital Edition), Remove the fan screws: passo 10, immagine 1 di 2 How to Open and Clean an Xbox Series X (Digital Edition), Remove the fan screws: passo 10, immagine 2 di 2
    • Use a T8 Torx driver to remove the three screws securing the fan to the center chassis:

    • One 10.3 mm‑long pancake screw

    • Two 9 mm‑long screws

  11. How to Open and Clean an Xbox Series X (Digital Edition), Disconnect the fan cable: passo 11, immagine 1 di 3 How to Open and Clean an Xbox Series X (Digital Edition), Disconnect the fan cable: passo 11, immagine 2 di 3 How to Open and Clean an Xbox Series X (Digital Edition), Disconnect the fan cable: passo 11, immagine 3 di 3
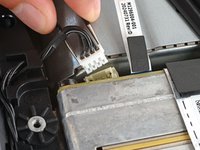
    • Use your fingernails or a pair of angled tweezers to firmly grip the edges of the fan cable connector.

    • Grip your tweezers close the connector to get a better grip.

    • Pull the connector straight out of the socket to disconnect it.

    • If you're having trouble, gently rock the connector side to side to loosen it.

    • Always pull cables by their connectors and not the wires themselves.

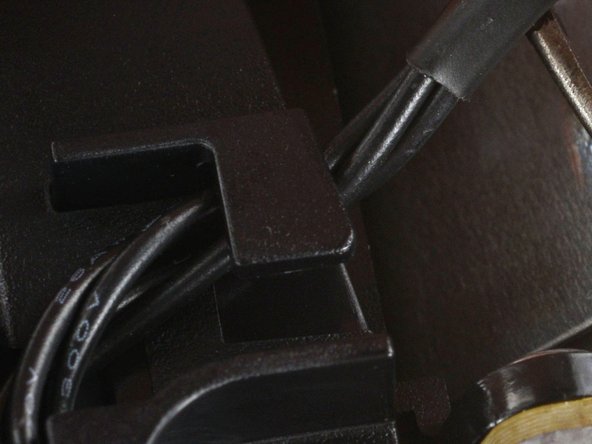
    • During reassembly, route the fan cable underneath its small cable guide on the fan housing so it doesn't interfere with the back panel.

  12. How to Open and Clean an Xbox Series X (Digital Edition), Remove the fan: passo 12, immagine 1 di 3 How to Open and Clean an Xbox Series X (Digital Edition), Remove the fan: passo 12, immagine 2 di 3 How to Open and Clean an Xbox Series X (Digital Edition), Remove the fan: passo 12, immagine 3 di 3
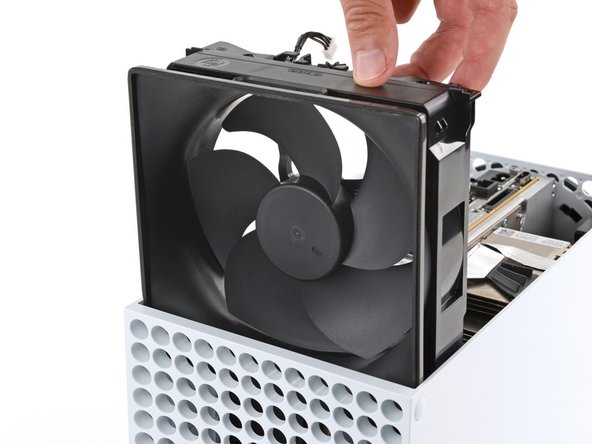
    • Slide the fan out of its slot to remove it.

    • During reassembly, note that the fan can only be installed one way—make sure Master Chief is facing you.

  13. How to Open and Clean an Xbox Series X (Digital Edition), Clean the fan: passo 13, immagine 1 di 2 How to Open and Clean an Xbox Series X (Digital Edition), Clean the fan: passo 13, immagine 2 di 2
    Attrezzo utilizzato in questo passaggio:
    Dust Blower
    $18.99
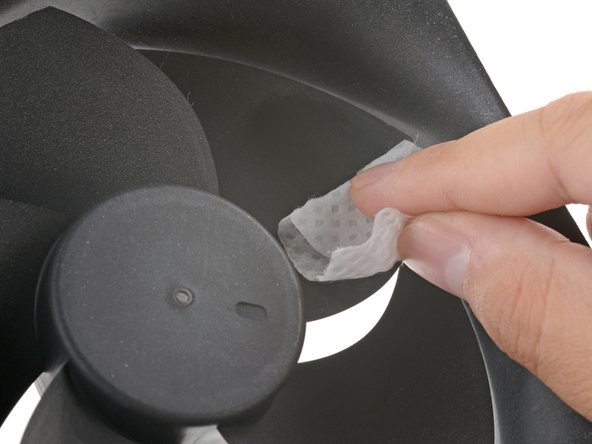
    • Over time, dust will build up inside the fan and on the fan blades.

    • Use a pair of tweezers to grab loose hairs and dust clumps off of the fan.

    • Use a small dust blower or light compressed air to blow remaining dust off of the fan.

    • Use a finger to keep the fan blades steady—it makes them easier to clean.

    • If there's a layer of grime on the fan blades, use soapy water on a damp rag or an isopropyl alcohol wipe to clean it off.

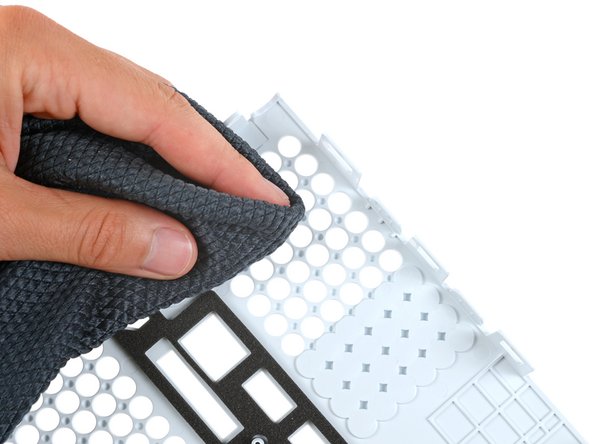
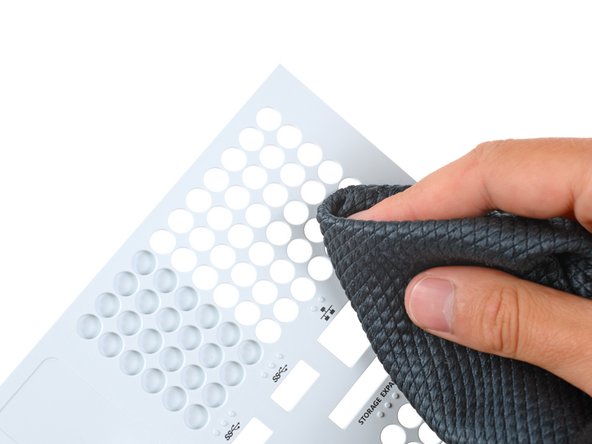
  14. How to Open and Clean an Xbox Series X (Digital Edition), Clean the exterior panels and vent holes: passo 14, immagine 1 di 2 How to Open and Clean an Xbox Series X (Digital Edition), Clean the exterior panels and vent holes: passo 14, immagine 2 di 2
    Attrezzo utilizzato in questo passaggio:
    Microfiber Cleaning Cloths
    $3.99
    • Use a clean rag or microfiber cloth to wipe both sides of the back panel clean.

  15. How to Open and Clean an Xbox Series X (Digital Edition), Clean the heatsink: passo 15, immagine 1 di 1
    • The Xbox Series X draws air up through the large heatsink fins, and they may clog with dust and debris over time.

    • Use a dust blower to blow out any trapped dust from both sides of the heatsink fins.

    • If you need to remove the heatsink for deeper cleaning, follow this guide up to the chassis removal step.

  16. How to Open and Clean an Xbox Series X (Digital Edition), Clean hard-to-reach areas: passo 16, immagine 1 di 1
    Attrezzo utilizzato in questo passaggio:
    Anti-Static Brush
    $2.99
    • Depending on how dirty the inside of your console is, you might need to use a soft bristle brush to dislodge more dust and grime.

    • Using an anti-static brush or a new toothbrush, clean any dust out of hard to reach areas.

    • Once most dust is dislodged, use a dust blower to blow it out of the console.

    • Remember: use this time to clean any other dirty internal surfaces before you seal your console back up. Happy gaming!

Conclusione

To reassemble your device, follow these instructions in reverse order.

Disassembly didn’t go as planned? Try some basic troubleshooting, or ask our Answers community for help.

Spencer Day

Membro da: 09/14/22

114.196 Reputazione

824 Guide realizzate

Team

iFixit Membro di iFixit

Staff

120 Membri

20.322 Guide realizzate

0Commenti sulla guida

Aggiungi Commento

Visualizza Statistiche:

Ultime 24 Ore: 0

Ultimi 7 Giorni: 28

Ultimi 30 Giorni: 247

Tutti i Tempi: 645