
HP Pavilion 17-f004dx RAM Replacement
Introduzione
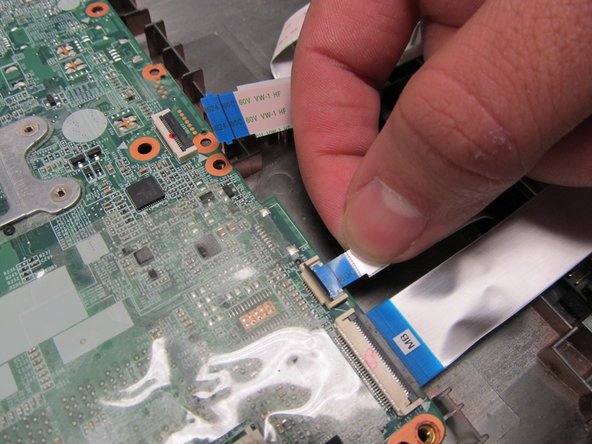
Vai al passo 1This model's RAM is located in an unusual place, underneath the motherboard. The motherboard must first be carefully lifted before you can access the RAM.
Cosa ti serve


-
-
-
Remove four 5.6 mm screws with a Phillips 1 screwdriver.
-
Remove one 3 mm screw with a Phillips 1 screwdriver.
-


To reassemble your device, follow these instructions in reverse order.
To reassemble your device, follow these instructions in reverse order.
Annulla: non ho completato questa guida.
Altre 3 persone hanno completato questa guida.
Team

UC Davis, Team 1-4, Oliver Fall 2016 Membro di UC Davis, Team 1-4, Oliver Fall 2016
UCD-OLIVER-F16S1G4
4 Membri
8 Guide realizzate