
Fender 65 Twin Reverb Input Jack Replacement

Introduzione
Vai al passo 1If your amp has a faulty input jack, as evidenced by audio cutting in and out, then we need to replace the jack. This is a very common piece to break as cables are constantly plugged and unplugged from this jack. In this guide, we will disassemble the amp, remove the amp head, remove the front PCB, and replace the old jack with a new working one.
Cosa ti serve
Ricambi
Strumenti


Mostra di più…
-
-
Take off the back panel by unscrewing the four screws on the back of the amplifier. The back panel lies in front of the back of the amplifier head so we must remove it to access the input jack.
-
-
-
Remove the four screws on the top of the amp. These screws are significantly longer than the back panel screws.
-
Remove the quarter inch speaker cable from the jack in the back of the amp.
-
Unscrew the three remaining screws on the back side of the amp head as indicated by the red circles. Be sure to keep the amp secure as you do this because it will no longer be supported by any screws
-
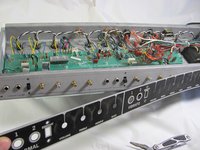
Carefully remove the amplifier head from the speaker cabinet.
-
Refer to the guide on replacing the Power Tubes and Preamp Tubes to remove the tubes from the amp head. This is so you can safely set the amp head down without risking breaking a tube.
-
-
-
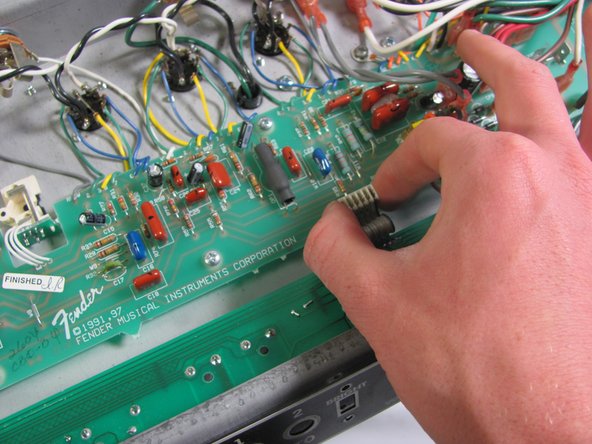
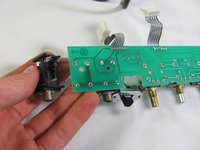
It's time to remove the front PCB (Printed Circuit Board)
-
Start by removing all the knobs with a small, flat screwdriver
-
Use a wrench or pliers to remove all the nuts that were under the knobs
-
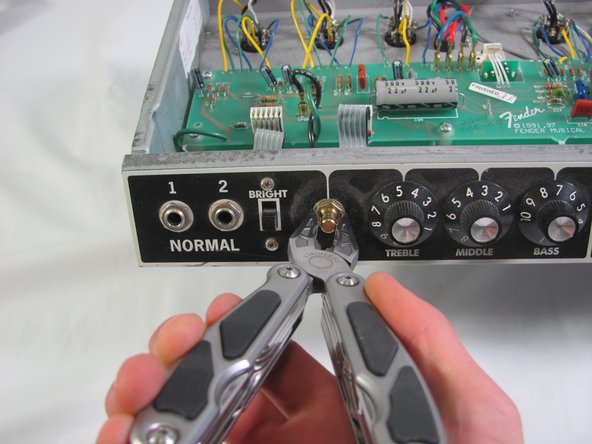
Use the wrench or pliers to also remove the nuts on the normal and vibrato input jacks
-
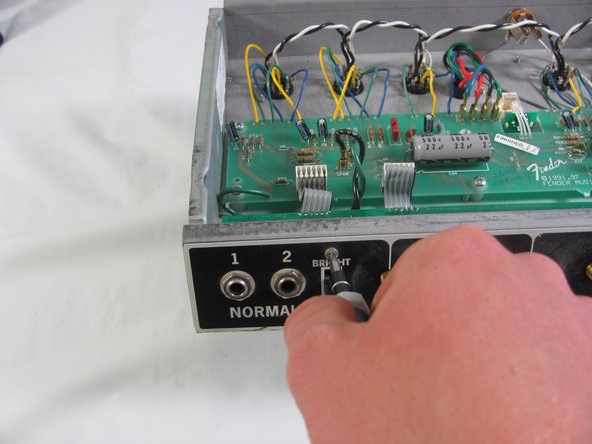
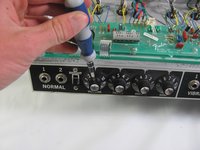
Use a screwdriver to remove the screws on the bright switches
-
-
-
-
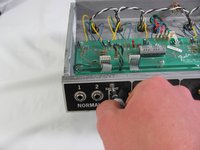
Ensure that the front panel is free by pulling back the black cover. If it does not pull back, remove any remaining nuts or screws
-
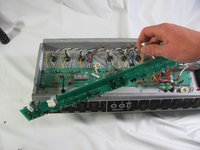
Locate the three pin connecters between the two PCBS. Gently unplug them by pulling straight up.
-
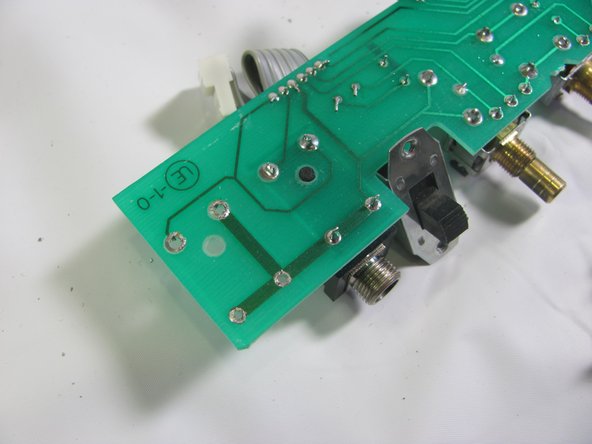
Remove the PCB from the amp head and set it aside to get ready for soldering
-
-
Attrezzo utilizzato in questo passaggio:Tweezers$4.99
-
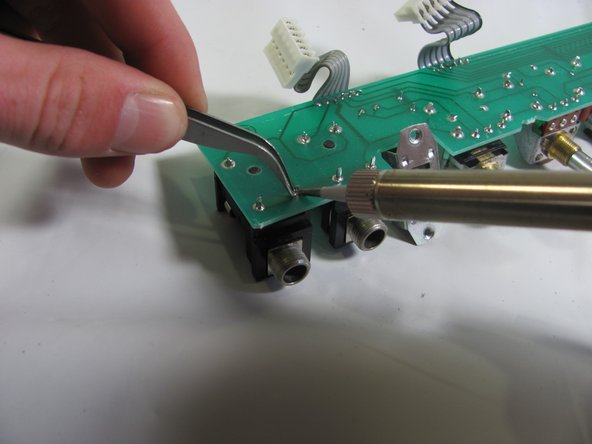
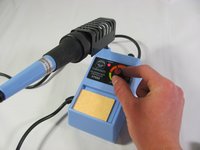
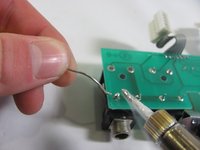
Set your soldering iron to a medium to hot setting to adequately melt the solder joints
-
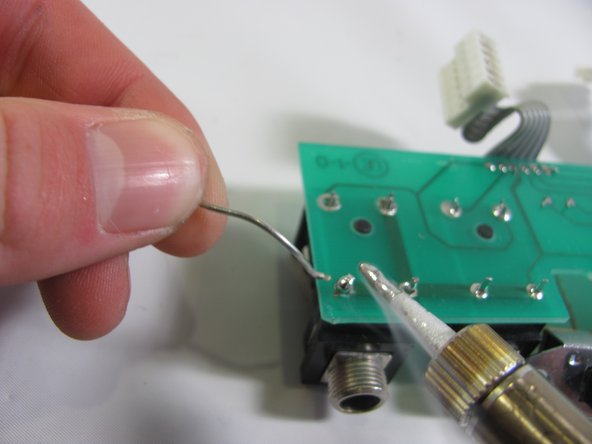
Once the soldering iron is hot enough, touch the tip to the solder joint on the PCB while using tweezers to clear out a big enough hole to pull out the jack
-
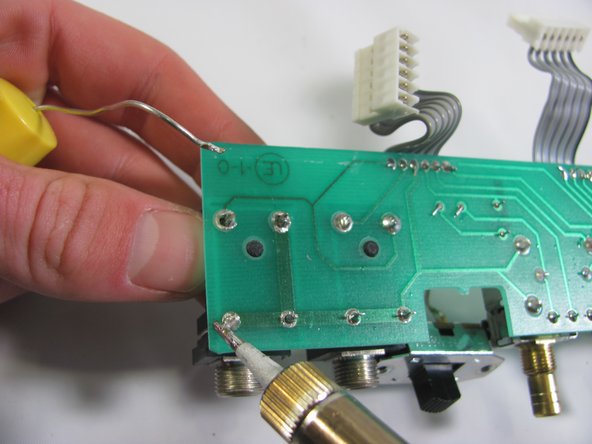
Remove the jack once the joints are broken and clean out excess solder
-


Now your amp is in perfect working condition! Keep on rockin.
Now your amp is in perfect working condition! Keep on rockin.
Annulla: non ho completato questa guida.
Altre 5 persone hanno completato questa guida.

Team

Cal Poly, Team 9-27, Maness Winter 2014 Membro di Cal Poly, Team 9-27, Maness Winter 2014
CPSU-MANESS-W14S9G27
5 Membri
7 Guide realizzate