HP PSC 2410 Photosmart All In One Printer Encoder Strip Replacement
Introduzione
Vai al passo 1Replace the encoder strip of your HP PSC 2410 Photosmart All In One Printer.
Cosa ti serve
Strumenti
-
-
Remove the back panel by inserting your fingers into the indentations next to the tabs. Press the tabs inward towards each other while pulling the back panel toward you.
-
-
-
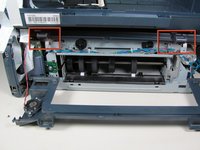
Using the T10 Torx Security Bit Screwdriver, unscrew the screws on the upper left and right corners of the inner panel to remove the inner back panel.
-
-
-
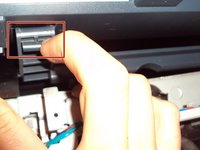
Press down on the two plastic hinges to remove the upper portion of printer.
-
-
-
Grasp the plastic plug on the end of the speaker wire, then gently pull the plug away from the printer until the wire is removed.
-
-
-
-
Rotate the printer so the paper tray is facing towards you.
-
Gently lift the scanner tray up and away from the printer.
-
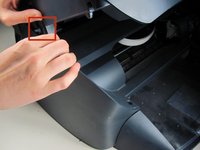
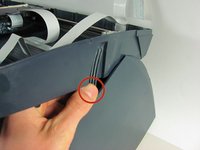
Press the gray plastic tabs inward to release the tabs from the printer.
-
-
-
Returning to the back of the printer, remove the scanner from the back hinges.
-
-
-
Detach the scanner tray from the printer by lifting the scanner tray off the printer body.
-
-
-
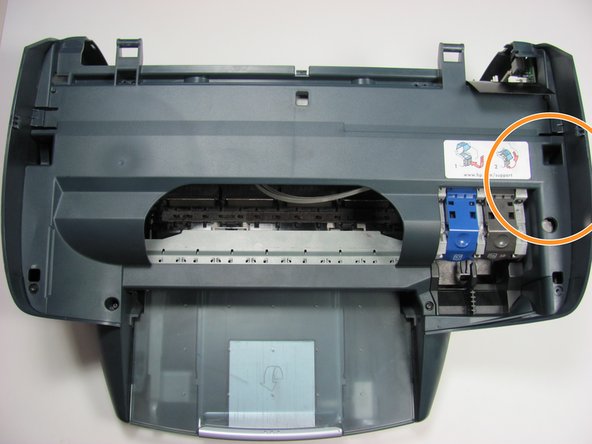
Locate the panel labeled with a HP support link sticker.
-
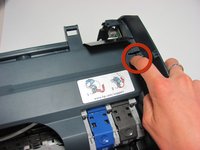
Release the tab by the support link sticker.
-
Remove the black screw below the tab.
-
To reassemble your device, follow these instructions in reverse order.
To reassemble your device, follow these instructions in reverse order.
Annulla: non ho completato questa guida.
Altre 4 persone hanno completato questa guida.
Preparati per le riparazioni future
Acquista tutti


