
Dog Bed Cushion Repair

Introduzione
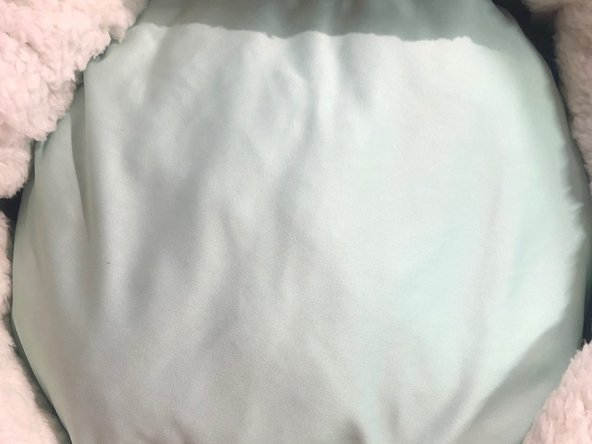
Vai al passo 1In this guide, we will demonstrate how to repair and re-stuff a standard dog bed. This guide is meant to provide general instructions and should apply to a wide variety of similar products.
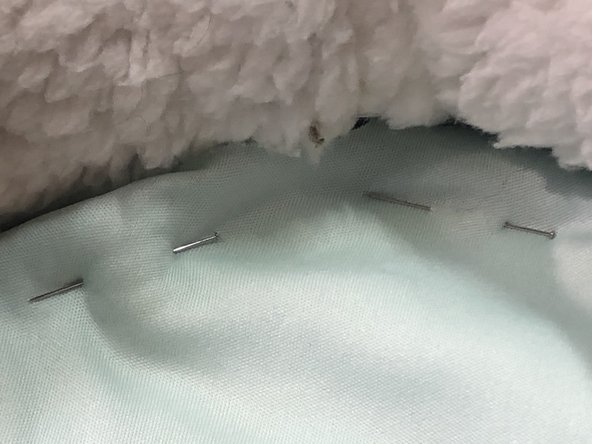
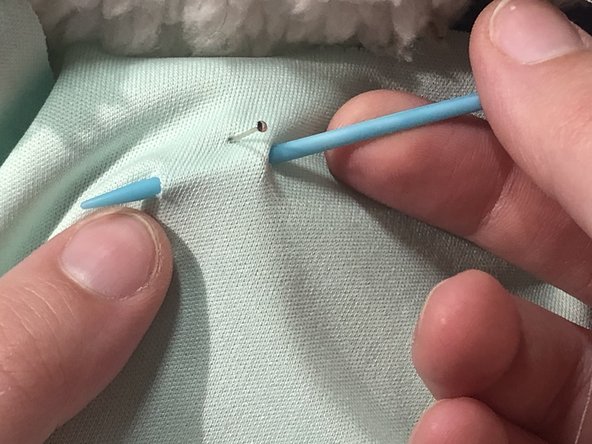
These repairs will require the use of a needle and thread. It is recommended that one reviews basic sewing before proceeding, as the procedure in this guide is not all-inclusive.
Cosa ti serve
Ricambi
Strumenti


Mostra di più…
-
-
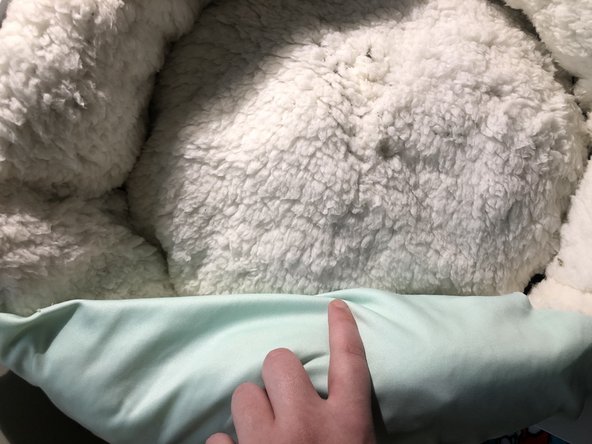
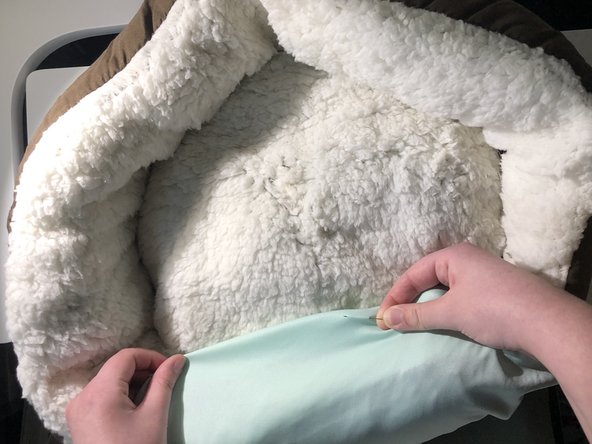
Fill the tear/hole with new stuffing until your desired thickness is achieved.
-
-


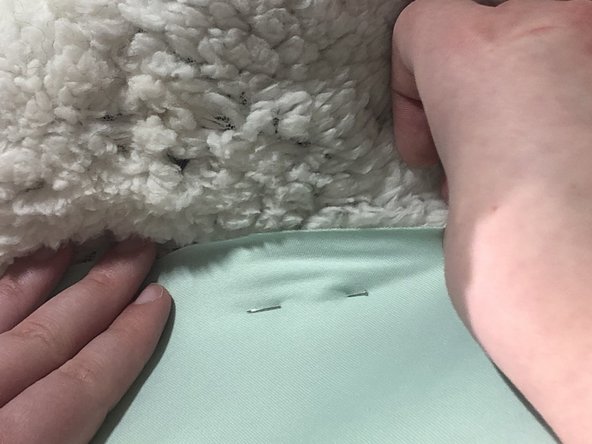
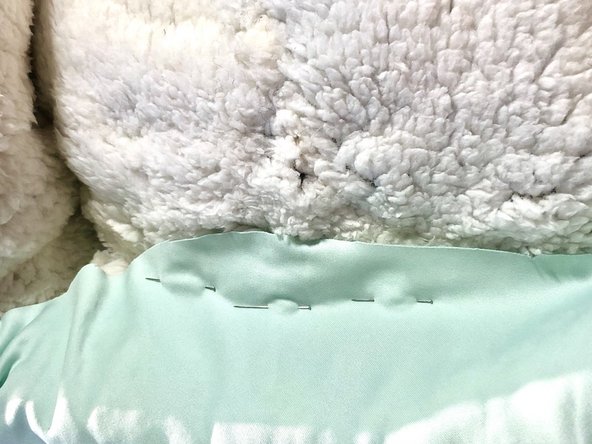


To reassemble your device, follow these instructions in reverse order.
To reassemble your device, follow these instructions in reverse order.

Team

Marist, Team S1-G1, Chaterdon Spring 2021 Membro di Marist, Team S1-G1, Chaterdon Spring 2021
MARS-CHATERDON-S21S1G1
2 Membri
3 Guide realizzate