Salta al contenuto principale
Unisciti alla Community delle riparazioni - Crea un account
Capresso Infinity Timer/On Switch Replacement

Capresso Infinity Timer/On Switch Replacement

Melayne Spataro

Melayne Spataro e un altro collaboratore

Ultimo aggiornamento il 20 giu 2025

30 - 45 minuti
Moderato

Introduzione

Vai al passo 1

If you need to replace the timer/on switch, follow this guide. The timer/on switch is essential to how long the coffee beans take to turn into coffee grounds. For this guide, you will need the Torx Security T10 Bit Screwdriver, the extension bit, and a soldering iron.

Cosa ti serve

Strumenti

Mostra di più…

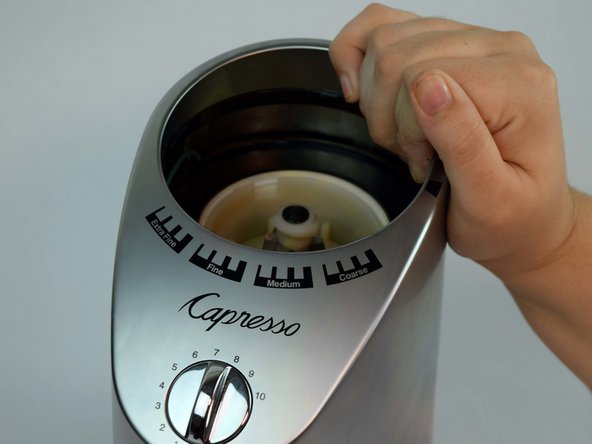
  1. Capresso Infinity Timer/On Switch Replacement, Metal Outside Casing: passo 1, immagine 1 di 2 Capresso Infinity Timer/On Switch Replacement, Metal Outside Casing: passo 1, immagine 2 di 2
    • Twist the top plastic container to the left counterclockwise.

    • Pull upwards to remove.

  2. Capresso Infinity Timer/On Switch Replacement: passo 2, immagine 1 di 3 Capresso Infinity Timer/On Switch Replacement: passo 2, immagine 2 di 3 Capresso Infinity Timer/On Switch Replacement: passo 2, immagine 3 di 3
    • Twist the top burr to the left counter clockwise.

    • Pull upwards to remove.

    I own a model 560. Removing the grinder requires a Torx 20, which is in the center of the top burr. If used, the screw is coated with coffee grinds.

    nereocystis - Replica

  3. Capresso Infinity Timer/On Switch Replacement: passo 3, immagine 1 di 2 Capresso Infinity Timer/On Switch Replacement: passo 3, immagine 2 di 2
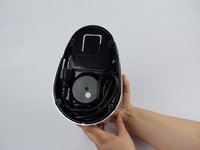
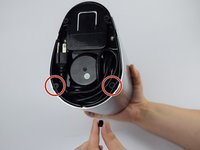
    • Flip entire device upside down.

    • Remove two rubber coverings on the back of the device.

  4. Capresso Infinity Timer/On Switch Replacement: passo 4, immagine 1 di 2 Capresso Infinity Timer/On Switch Replacement: passo 4, immagine 2 di 2
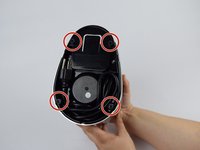
    • Remove four 11.59mm T10 screws.

    • The screws will have small circular washers under them. Put them aside for reassembly.

    T8 Torx screws. The two screws towards the front of the machine are below those circled in red in the picture.

    Canbo - Replica

    My housing is plastic, and was just held on by clips holding the outer part to the base, I gently pried the housing away and lifted the housing off. It’s a Capresso model 560

    panchocole - Replica

    Mine is as well. I tried digging the “rubber washers” out but it was only scratching plastic.

    There are 5 areas you can slide a slim flathead into and gently wiggle to get the casing to slide out from the base. Be firm yet gentle.

    Joseph Hirn - Replica

  5. Capresso Infinity Timer/On Switch Replacement: passo 5, immagine 1 di 3 Capresso Infinity Timer/On Switch Replacement: passo 5, immagine 2 di 3 Capresso Infinity Timer/On Switch Replacement: passo 5, immagine 3 di 3
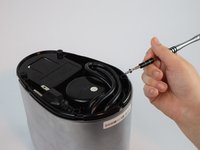
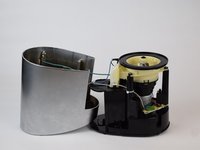
    • Lift the metal outside casing off the black base.

    • Flip the outside casing forward so you have access to the inside of it.

    What about the hard black plastic gasket that fits under the inside lip of the outer metal case?

    Nicole - Replica

    What about the hard black plastic gasket that fits under the inside lip of the outer metal case?

    Nicole - Replica

    It sits between the outer metal case & the black plastic flat ring. Please describe how to reassemble that part.

    Nicole - Replica

  6. Capresso Infinity Timer/On Switch Replacement: passo 6, immagine 1 di 3 Capresso Infinity Timer/On Switch Replacement: passo 6, immagine 2 di 3 Capresso Infinity Timer/On Switch Replacement: passo 6, immagine 3 di 3
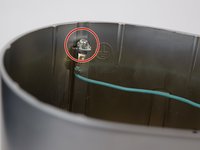
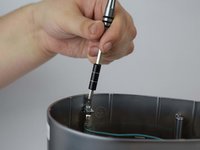
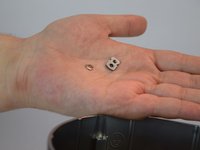
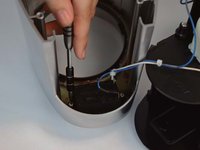
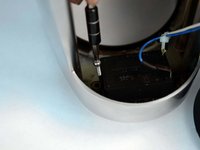
    • Remove one 11.59mm T10 screw.

    • Let the green wire fall, or place somewhere so it doesn't get in the way.

    • There will be a small metal retainer and washer, put them aside for reassembly.

    T8 Torx screw.

    Canbo - Replica

    My unit has a plastic case and a two-prong plug, so there is no ground wire.

    michael.g.safonov - Replica

  7. Capresso Infinity Timer/On Switch Replacement: passo 7, immagine 1 di 3 Capresso Infinity Timer/On Switch Replacement: passo 7, immagine 2 di 3 Capresso Infinity Timer/On Switch Replacement: passo 7, immagine 3 di 3
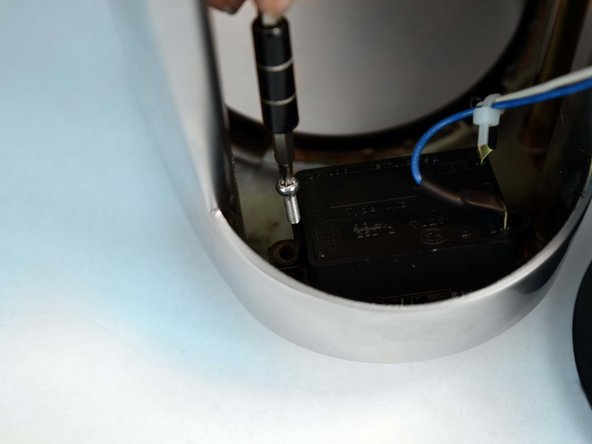
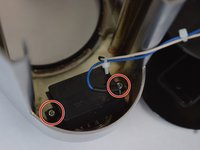
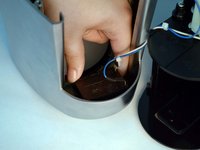
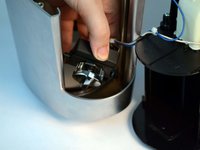
    • Remove two 11.59mm T10 screws.

  8. Capresso Infinity Timer/On Switch Replacement: passo 8, immagine 1 di 2 Capresso Infinity Timer/On Switch Replacement: passo 8, immagine 2 di 2
    • Remove the time/on switch by pulling upwards.

  9. Capresso Infinity Timer/On Switch Replacement, Timer/On Switch: passo 9, immagine 1 di 1
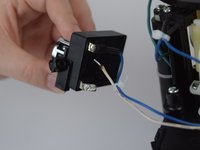
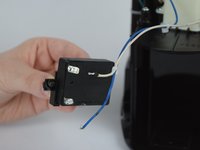
    • Strip the two wires of their black covering connecting them to the black box.

  10. Capresso Infinity Timer/On Switch Replacement: passo 10, immagine 1 di 3 Capresso Infinity Timer/On Switch Replacement: passo 10, immagine 2 di 3 Capresso Infinity Timer/On Switch Replacement: passo 10, immagine 3 di 3
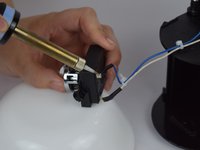
    • Solder the two cords holding in the blue and white wire in the black timer box.

Conclusione

To reassemble your device, follow these instructions in reverse order.

Altre 3 persone hanno completato questa guida.

Team

USF Tampa, Team S1-G1, Leahy Fall 2018 Membro di USF Tampa, Team S1-G1, Leahy Fall 2018

USFT-LEAHY-F18S1G1

4 Membri

10 Guide realizzate

7Commenti sulla guida

do you know where I can get a new black timer box?

geclay@hotmail.com - Replica

Where can I purchase a timer/on switch?

Rob Gordon - Replica

Same question here, where can I buy this part?

Dominic Daigle - Replica

Just piling on,has anyone found where to buy the Timer switch?

Chris DiNicolas - Replica

Same, looking for part number and/or where to buy the timer dial.

Hans Sorensen - Replica

For those interested, I took my Capresso apart and it's a "Faucigny Instruments MI3 Swtich Timer", information on it here: https://www.fcsgroupe.com/en/component/s...

However, I'm having trouble finding any to purchase.

On another note, on my Capresso, it seems like the issue wasn't the timer, but the plastic dial to turn the timer had broken inside where it slides over the spindle of the timer gear. The plastic collar on the dial had split, so was no longer gripping the spindle to turn it. I repaired it with some plastic cement. I used an elastic band wound very tightly around it to hold it in place while it dried, and just left that on there when I put the dial back on to hopefully give it some extra support.

It has held through a few uses, but in my experience plastic repairs of that type that have to deal with pressure don't tend to last very long, but here's hoping.

Hans Sorensen -

Sorry, but this is useless as the timer switch is not available

Imre Kovesdi - Replica

Aggiungi Commento

Visualizza Statistiche:

Ultime 24 Ore: 2

Ultimi 7 Giorni: 16

Ultimi 30 Giorni: 48

Tutti i Tempi: 2,848