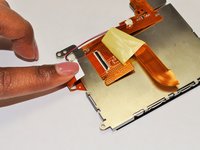
Canon EOS 40D LCD Replacement
Introduzione
Vai al passo 1Follow this guide if your LCD monitor is cracked, shattered, or does not display any images. Please purchase a 3.0 inch LCD monitor for the Canon EOS 40D before you continue to the first step.
Cosa ti serve
Ricambi
Strumenti
Mostra di più…
-
-
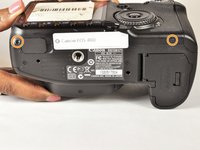
Locate the battery compartment cover on the bottom of the camera below the shutter button.
-
-
-
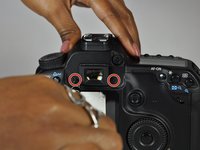
Remove the rubber eyepiece by sliding it upwards.
Take care to pull the entire eyepiece and not just the rubber part or the upper part that holds the rubber. Eventually, it stuck a bit. In that case, - carefully - use a screwdriver between the LCD and the eyepiece frame to push it upwards
-
-
-
-
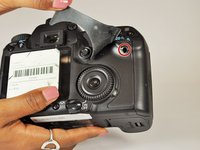
Remove the side cover using a plastic opening tool or your hands.
-
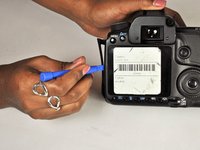
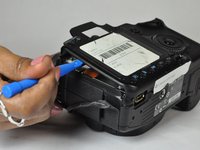
Use a plastic opening tool to gently start prying the rear case up from the rest of the camera.
-
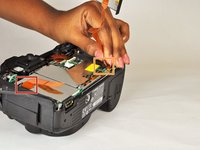
Use the tip of a spudger to disconnect the ZIF connector on the left side of the camera. The ribbon cable on this device was torn in the process of removing the back case, so there are no photos showing this step.
-
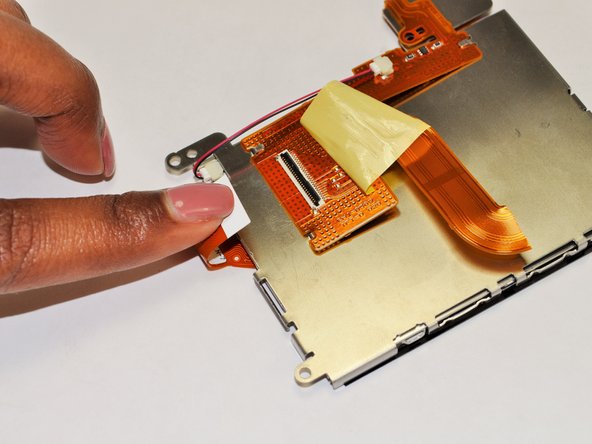
Disconnect the ribbon cable securing the rear case to the motherboard.
-
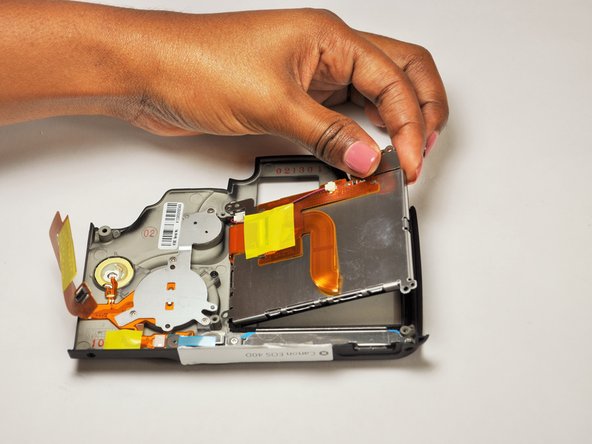
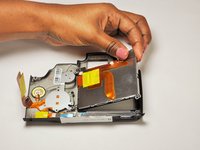
Separate the rear case from the camera.
-
-
-
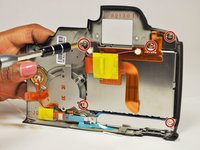
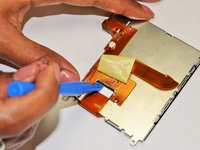
LCD panel remains.
-
To reassemble your device, follow these instructions in reverse order.
To reassemble your device, follow these instructions in reverse order.
Annulla: non ho completato questa guida.
Altre 3 persone hanno completato questa guida.
2Commenti sulla guida
On the unit are brought on eBay for parts all the screws came out fine.But on the camera I was repairing I had to remove the left hand viewfinder screw by takings its head off with a Dremel rotary tool!!!


