Introduzione
If your Amazon Kindle 8 no longer holds a charge, drains quickly, or doesn't turn on, use this guide to replace the battery.
The battery provides power to the Kindle. Over time, batteries may degrade, which could affect performance and usability.
Before beginning, try basic troubleshooting steps like charging with a different cable or power adapter to ensure the issue lies with the battery.
Follow the steps carefully to avoid puncturing the battery, which could create a safety hazard.
Cosa ti serve
-
-
-
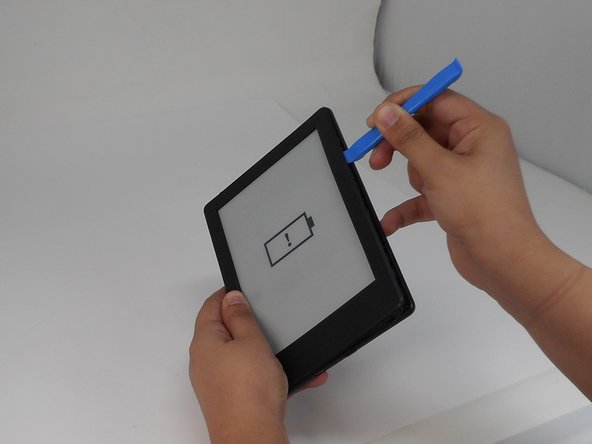
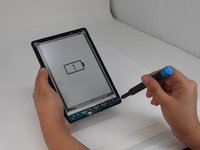
Insert the iFixit opening tool into any corner of the Kindle’s front cover.
-
Gently slide the tool along the edges and carefully separate the front cover from the inner front cover.
-
Lift front cover once all clips are disengaged.
 Chiedi a FixBot
-
-
-
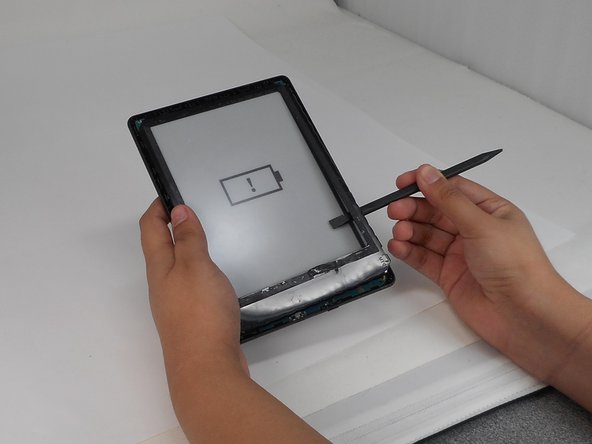
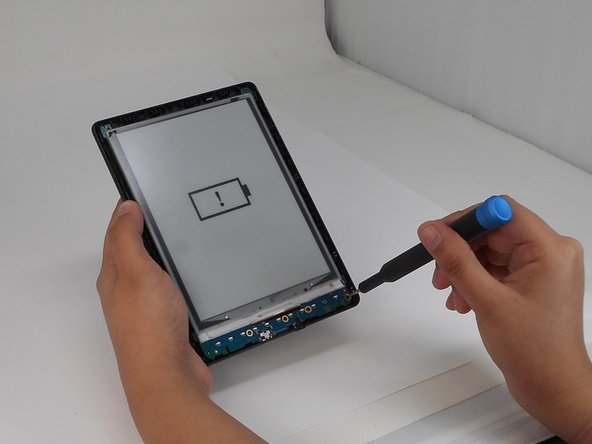
Insert the spudger between the inner front cover and the screen.
-
Gently work your way around to loosen the inner front cover.
-
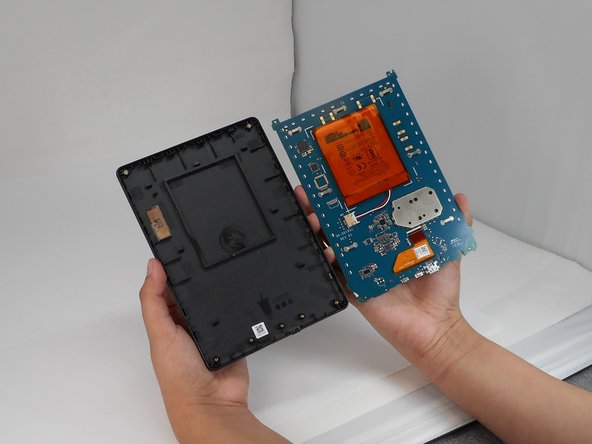
Carefully lift the inner front cover from the device.
-
-
-
-
-
-
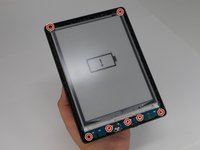
Use a T4 Torx screwdriver to remove the seven 3 mm screws around the perimeter of the device.
-
-
-
-
-
Pinch the clips on the battery and disconnect the battery connector from its socket.
-
-
-
Insert the halberd spudger between the motherboard and battery.
-
Slowly move the spudger around the battery and pry it off.
-
-








To reassemble your device, follow the above steps in reverse order.
For optimal performance, after completing this guide, calibrate your newly installed battery.
Take your e-waste to an R2 or e-Stewards certified recycler.
Repair didn’t go as planned? Try some basic troubleshooting or ask our Answers community for help.
Annulla: non ho completato questa guida.
Altre 2 persone hanno completato questa guida.

Team

University of Memphis, Team 1-5, Sneed Fall 2024 Membro di University of Memphis, Team 1-5, Sneed Fall 2024
UM-SNEED-F24S1G5
4 Membri
13 guide realizzate
