
Afterglow Wireless PS3 Controller Motherboard Replacement
30 minuti
Difficile
Introduzione
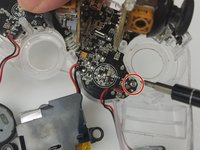
Vai al passo 1The replacement of the motherboard requires the complete removal of the battery, trigger buttons, joy sticks, and vibrations motors. All of which will require soldering for removal.
Cosa ti serve
Strumenti

-
-
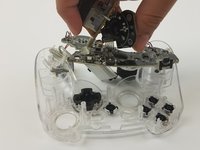
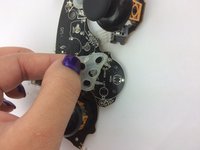
Lay the controller face down on a flat surface and remove the seven 9mm Phillips #0 screws on the back of the controller.
-
Lift up and remove the controller back plate.
-
-


Quasi finito!
To reassemble your device, follow these instructions in reverse order.
Conclusione
To reassemble your device, follow these instructions in reverse order.
Team

USF Tampa, Team S19-G5, Hoffman Spring 2017 Membro di USF Tampa, Team S19-G5, Hoffman Spring 2017
USFT-HOFFMAN-S17S19G5
4 Membri
16 Guide realizzate