Introduzione
Vai al passo 1This teardown will help you to better hack and repair the KORG Monotron mini synt.
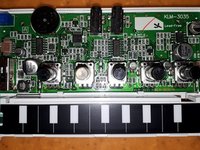
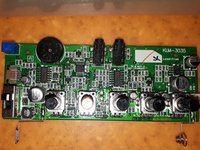
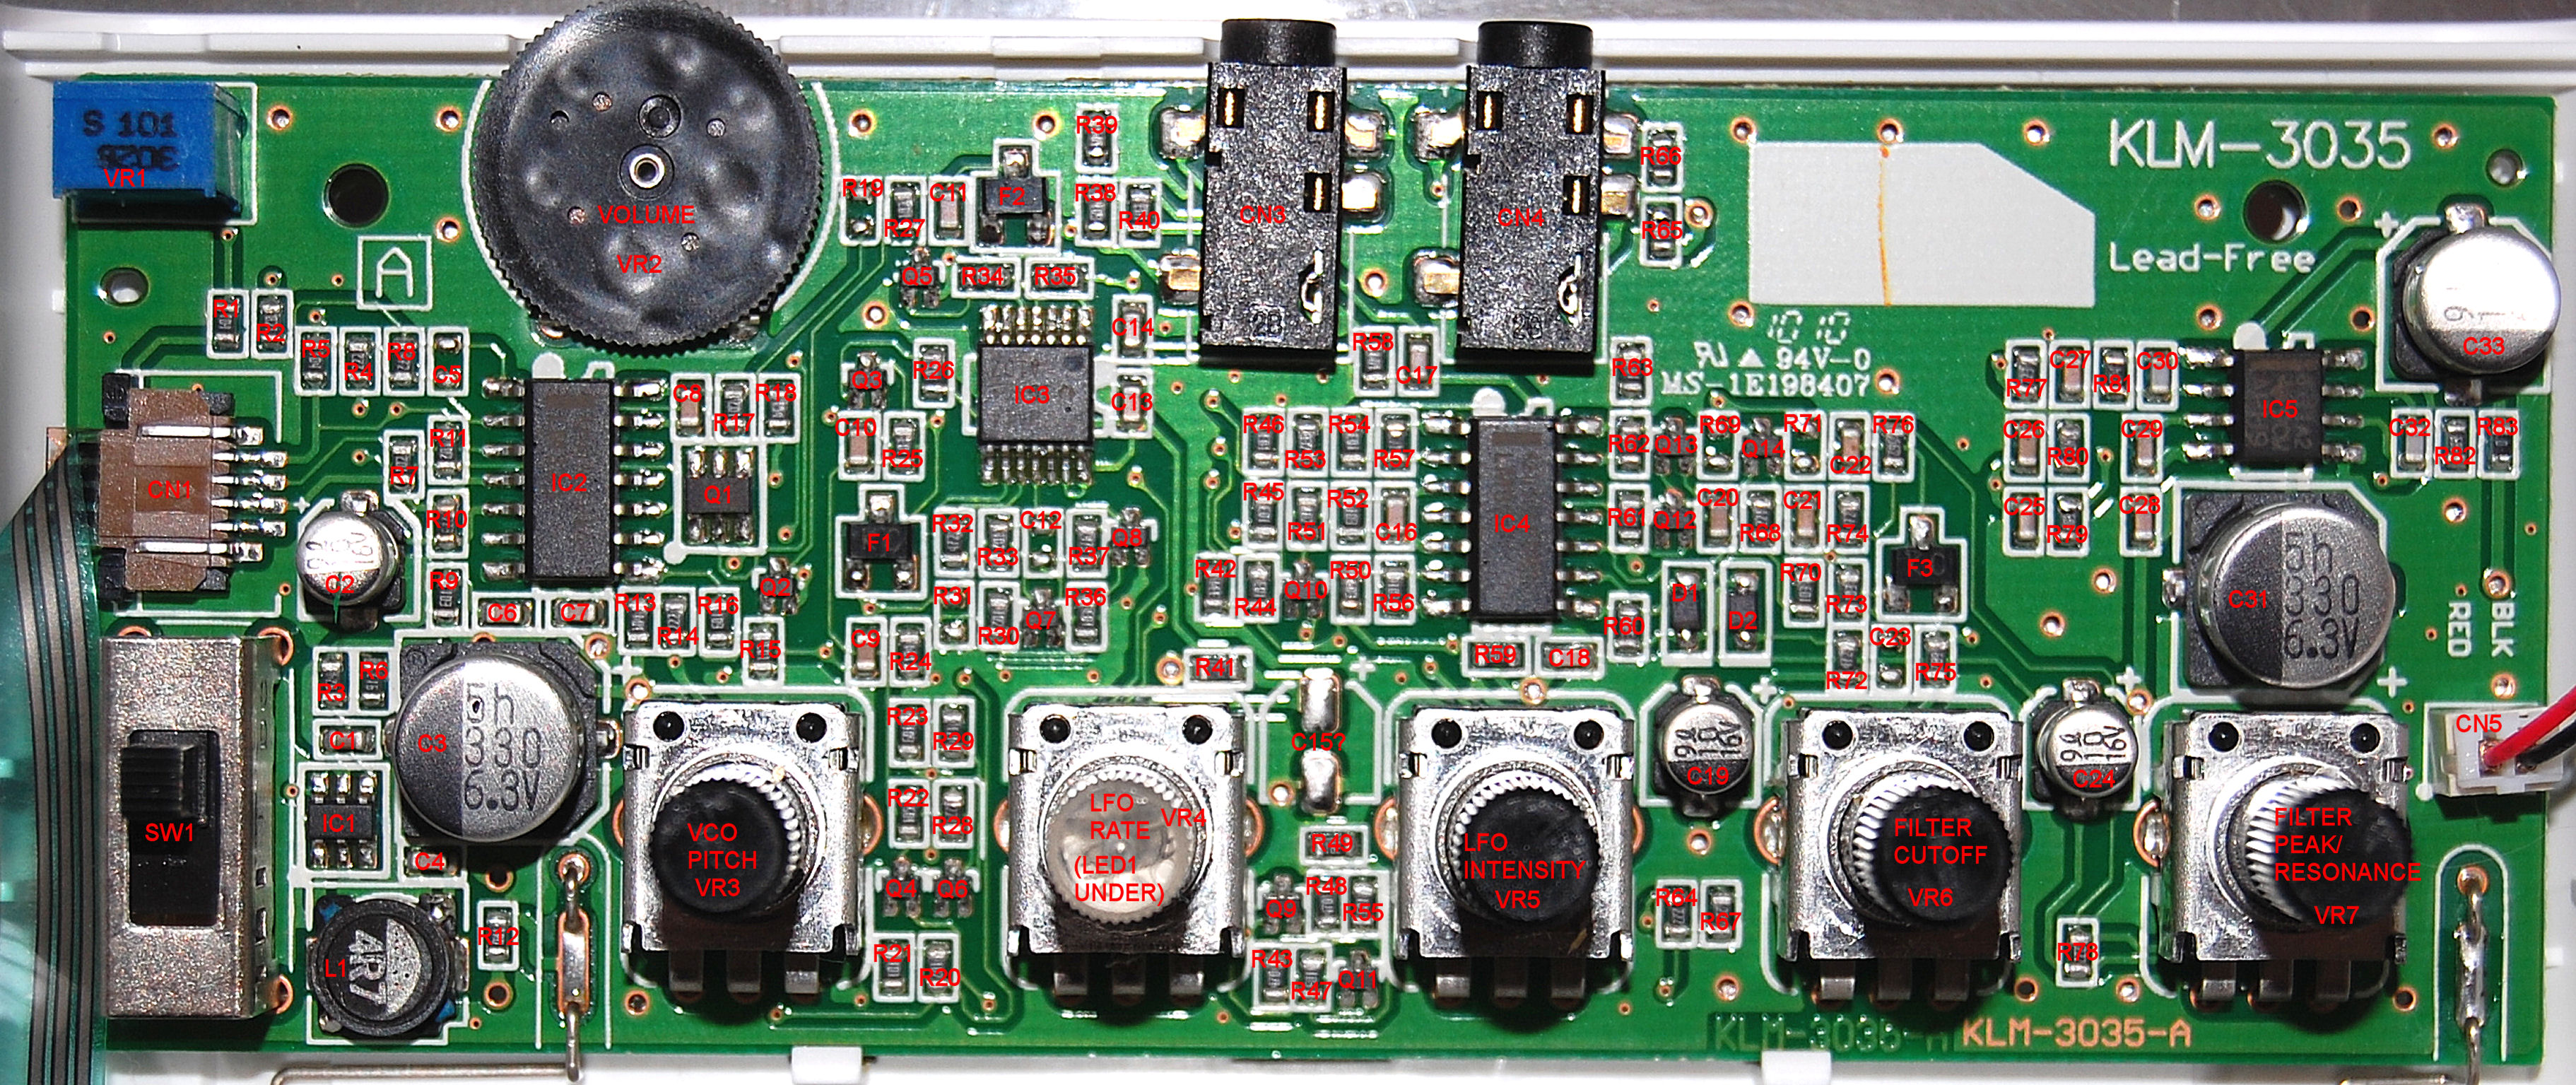
This battery powered synt is made of a real analog VCO a VCF and a LFO. The VCF is similar to the ancient KORG's classic MS-10 and MS-20. You can use the ribbon keyboard to create an incredible sound of the '70s .
There are a lot of infos on internet but this device deserves an appropriate space on IFIXIT
Cosa ti serve
Strumenti

-
-
-
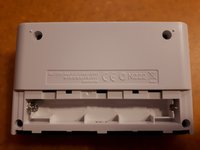
Only 4 PH1 screws
-
Note: Made in Japan !
-
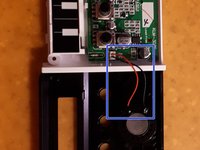
Take care at the cables between two sides
-
-
-
-
Remove '''the flat cable''' from the ribbon controller to the pcb (pull with care using hands)
-
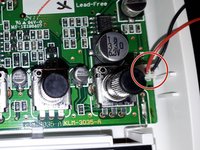
Remove the 2 ways connector for the speaker. Use hands (with care)
-
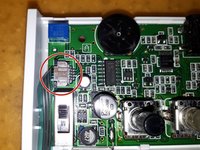
Take max care to the speaker controller. Easy to remove but difficult to re insert
-


