Introduzione
If the sound of one of the earphones from your Beats Studio 2 Wireless headphones is distorted, muffled, or completely silent, the speaker may need replacement.
Before performing this repair, look at the troubleshooting page for other possible fixes.
This guide requires desoldering and soldering. If you don't have this skill or need a review, take a look at the How to Solder and Desolder Connections guide.
Cosa ti serve
-
-
-
Insert a spudger between the plastic part of the left headphone and the ear cushion.
-
Work the spudger around the periphery of the base of the cushion and gently pry it off the head phone.
 Chiedi a FixBot
-
-
-
Pull the rest of the cushion away from the adhesive with your hands.
-
-
-
-
-
-
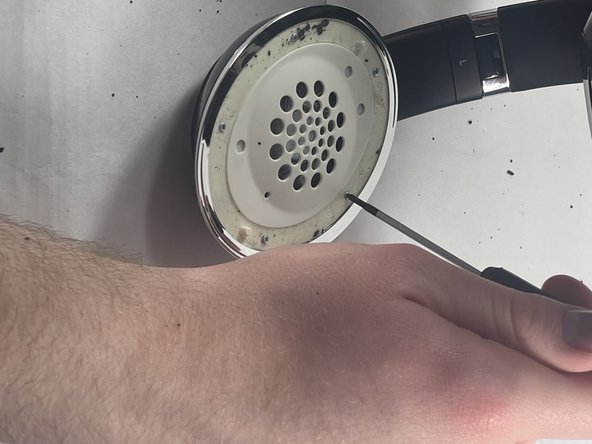
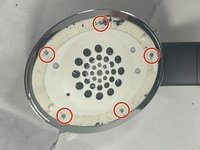
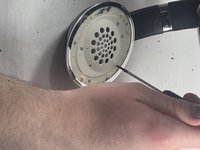
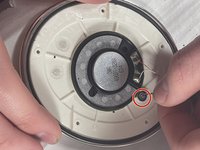
Using the Phillips #00 screwdriver, remove the screws holding the speaker in place.
-
-
-
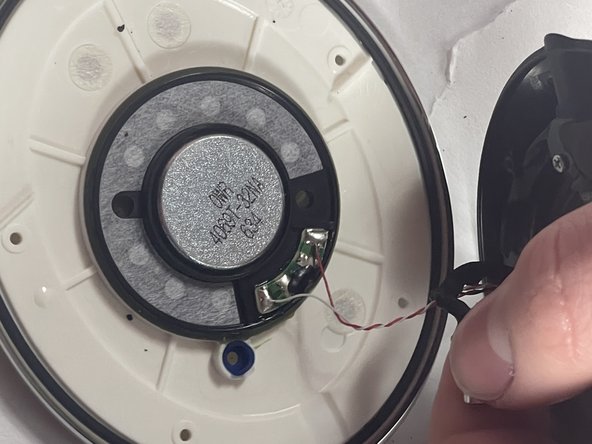
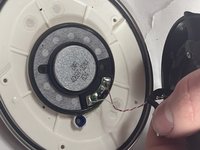
Use a soldering iron to desolder the two connections.
-
For details on how to solder and desolder, refer to the How to Solder and Desolder Connections guide.
-
Note the position of the speaker in its housing, then carefully remove the faulty speaker.
-
-





After soldering the new speaker, reassemble your device by following the steps in reverse order.
Annulla: non ho completato questa guida.
Altre 4 persone hanno completato questa guida.

Team

UMass Dartmouth, Team 5-3, Ramos Spring 2023 Membro di UMass Dartmouth, Team 5-3, Ramos Spring 2023
UMASSD-RAMOS-S23S5G3
3 Membri
12 guide realizzate
1Commento della guida
I didn't need to replace a speaker but just touch up the solder joints, this was a great guide! Thank you!
