Salta al contenuto principale
Unisciti alla Community delle riparazioni - Crea un account

Beats Studio 2 Wireless Bluetooth Board Replacement

Cosa ti serve

    1. Beats Studio 2 Wireless Bluetooth Board Replacement, Ear Cushion: passo 1, immagine 1 di 2 Beats Studio 2 Wireless Bluetooth Board Replacement, Ear Cushion: passo 1, immagine 2 di 2
      • Insert a spudger between the plastic part of the left headphone and the ear cushion.

      • Work the spudger around the periphery of the base of the cushion and gently pry it off the head phone.

      Chiedi a FixBot

      Aggiungi Commento

    2. Beats Studio 2 Wireless Bluetooth Board Replacement: passo 2, immagine 1 di 3 Beats Studio 2 Wireless Bluetooth Board Replacement: passo 2, immagine 2 di 3 Beats Studio 2 Wireless Bluetooth Board Replacement: passo 2, immagine 3 di 3
      • Pull the rest of the cushion away from the adhesive with your hands.

      Chiedi a FixBot

      Aggiungi Commento

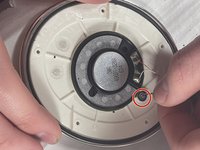
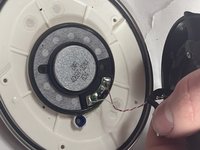
    1. Beats Studio 2 Wireless Bluetooth Board Replacement, Speaker: passo 3, immagine 1 di 2 Beats Studio 2 Wireless Bluetooth Board Replacement, Speaker: passo 3, immagine 2 di 2
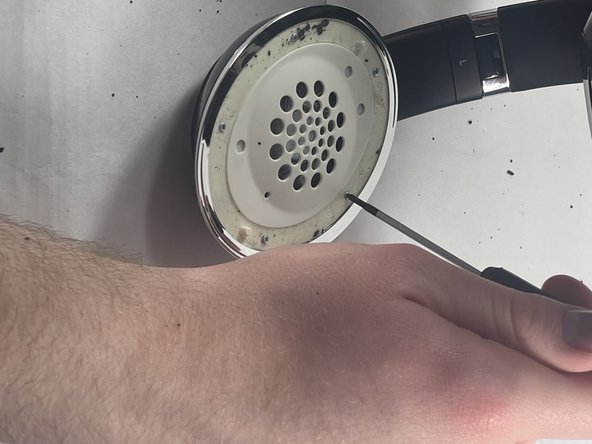
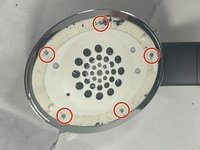
      • Using the Phillips #00 screwdriver, remove the screws holding the speaker in place.

      • If the speaker is on the side with the charging port be sure to keep the two screws holding the charging port separate.

      Chiedi a FixBot

      Aggiungi Commento

    2. Beats Studio 2 Wireless Bluetooth Board Replacement: passo 4, immagine 1 di 1
      • Gently separate the speaker from the headphones.

      • Don't pull or yank the speaker from the headphones. They are connected together by wires that might be damaged.

      Chiedi a FixBot

      Aggiungi Commento

    3. Beats Studio 2 Wireless Bluetooth Board Replacement: passo 5, immagine 1 di 2 Beats Studio 2 Wireless Bluetooth Board Replacement: passo 5, immagine 2 di 2
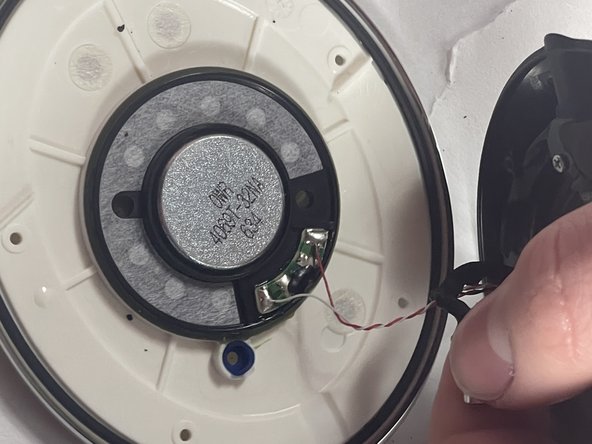
      • Gently pull the wire with rubber connectors off of the speaker.

      Chiedi a FixBot

      Aggiungi Commento

    4. Beats Studio 2 Wireless Bluetooth Board Replacement: passo 6, immagine 1 di 1
      • Use a soldering iron to desolder the two connections.

      • For details on how to solder and desolder, refer to the How to Solder and Desolder Connections guide.

      • A soldering iron can produce very high temperatures, and can burn skin. Use with caution.

      • Note the position of the speaker in its housing, then carefully remove the faulty speaker.

      Chiedi a FixBot

      Aggiungi Commento

    1. Beats Studio 2 Wireless Bluetooth Board Replacement, Bluetooth Board: passo 7, immagine 1 di 1
      • Peel off the sticker underneath the speaker.

      Chiedi a FixBot

      Aggiungi Commento

    2. Beats Studio 2 Wireless Bluetooth Board Replacement: passo 8, immagine 1 di 1
      • Remove the center screw using a Phillips #00 screwdriver.

      Chiedi a FixBot

      Aggiungi Commento

    3. Beats Studio 2 Wireless Bluetooth Board Replacement: passo 9, immagine 1 di 1
      • Separate the plastic case from the rubber backing by hand or with a spudger.

      Chiedi a FixBot

      Aggiungi Commento

    4. Beats Studio 2 Wireless Bluetooth Board Replacement: passo 10, immagine 1 di 2 Beats Studio 2 Wireless Bluetooth Board Replacement: passo 10, immagine 2 di 2
      • Use a Phillips #00 to remove the four screws securing the case on top of the Bluetooth board.

      Chiedi a FixBot

      Aggiungi Commento

    5. Beats Studio 2 Wireless Bluetooth Board Replacement: passo 11, immagine 1 di 1
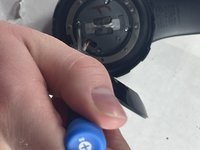
      • Use a spudger to gently pry the left headband clip to free the earphone from the hinge.

      • This picture shows this for the right earphone, but the process should be exactly the same for the left side.

      Chiedi a FixBot

      Aggiungi Commento

    6. Beats Studio 2 Wireless Bluetooth Board Replacement: passo 12, immagine 1 di 1
      • Slide the front case down to separate it from the back and reveal the Bluetooth board.

      Chiedi a FixBot

      Aggiungi Commento

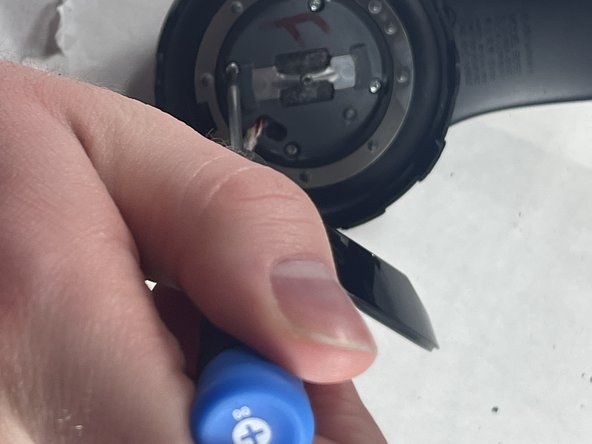
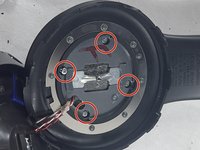
    7. Beats Studio 2 Wireless Bluetooth Board Replacement: passo 13, immagine 1 di 2 Beats Studio 2 Wireless Bluetooth Board Replacement: passo 13, immagine 2 di 2
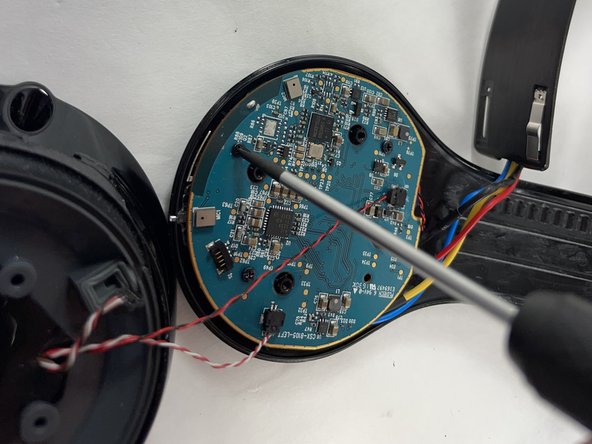
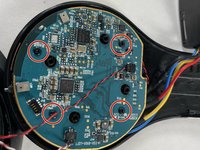
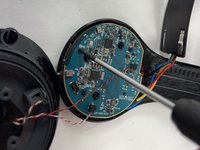
      • Remove the four screws from the Bluetooth board with the Phillips #00 screwdriver.

      • This will free the Bluetooth board from the back case.

      Chiedi a FixBot

      Aggiungi Commento

    8. Beats Studio 2 Wireless Bluetooth Board Replacement: passo 14, immagine 1 di 2 Beats Studio 2 Wireless Bluetooth Board Replacement: passo 14, immagine 2 di 2
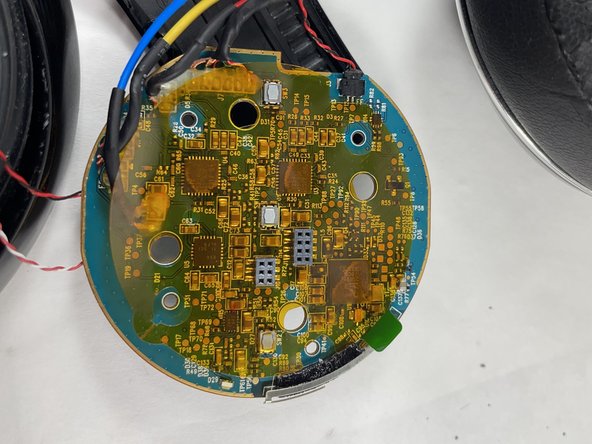
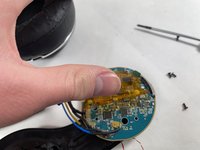
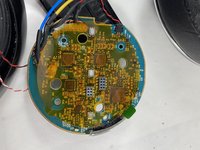
      • Remove the Bluetooth board from the case.

      • Remove the translucent sticker from the back of the Bluetooth board.

      Chiedi a FixBot

      Aggiungi Commento

    9. Beats Studio 2 Wireless Bluetooth Board Replacement: passo 15, immagine 1 di 1
      • Use the pointed tip of a spudger to carefully push on each side of the connector to remove it from the socket.

      Chiedi a FixBot

      Aggiungi Commento

    10. Beats Studio 2 Wireless Bluetooth Board Replacement: passo 16, immagine 1 di 1
      • Desolder the RYB connectors, and the connector attached to the black wire using a soldering iron.

      • For information on desoldering connections, see the How to Solder and Desolder Connections Guide.

      • The soldering iron can reach very high temperatures. Use it with caution.

      Chiedi a FixBot

      Aggiungi Commento

Conclusione

To reassemble your device, follow these instructions in reverse order.

Annulla: non ho completato questa guida.

Altre 3 persone hanno completato questa guida.

Team

1Commento della guida

Hi, can you help me out with a wiring diagram to the bluetooth board, all my wires got torn loose from my old board and i do not know where to solder the new wires to which connections. If you could post a picture with which coloured wires go where , that would be most helpful, thanks.

Roger Bee_44 - Rispondi Condividi

Aggiungi Commento

Visualizza statistiche:

Ultime 24 ore: 3

Ultimi 7 giorni: 13

Ultimi 30 giorni: 59

Tutti i Tempi: 2,927