Salta al contenuto principale
Unisciti alla Community delle riparazioni - Crea un account

why! W650SZ LCD Screen Replacement

Cosa ti serve

  1. why! W650SZ LCD Screen Replacement, Battery: passo 1, immagine 1 di 3 why! W650SZ LCD Screen Replacement, Battery: passo 1, immagine 2 di 3 why! W650SZ LCD Screen Replacement, Battery: passo 1, immagine 3 di 3
    • Slide the latch on the right to the unlocked position.

    • Slide the latch on the left to the unlocked position.

    • Remove the battery pack from the slot.

  2. why! W650SZ LCD Screen Replacement, Remove the Bezel: passo 2, immagine 1 di 3 why! W650SZ LCD Screen Replacement, Remove the Bezel: passo 2, immagine 2 di 3 why! W650SZ LCD Screen Replacement, Remove the Bezel: passo 2, immagine 3 di 3
    • Although the photos are shown without a keyboard, it is not necessary to remove the keyboard to replace the screen.

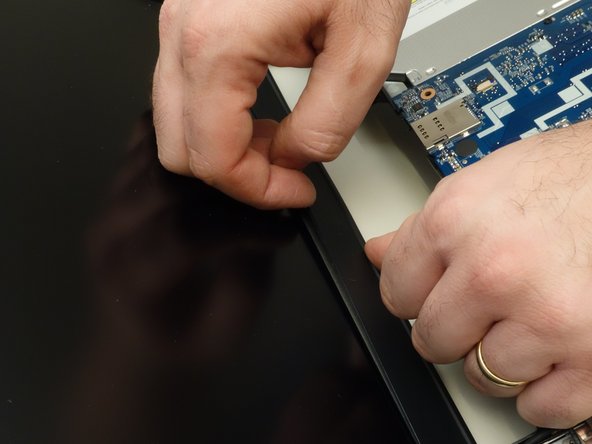
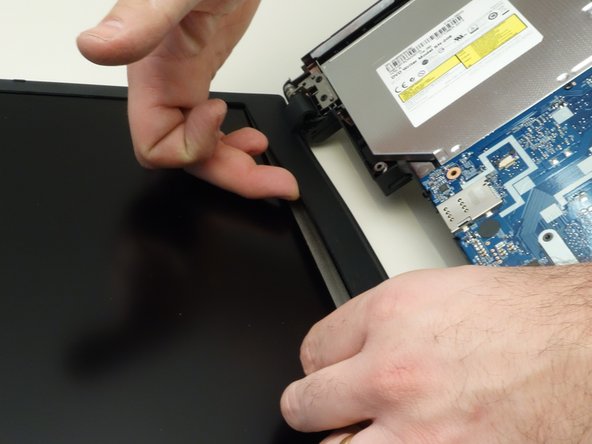
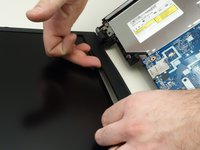
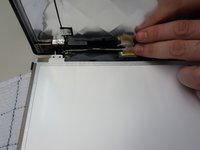
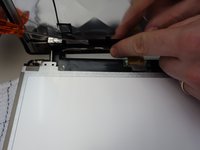
    • Gently insert your fingernail between the display bezel and the LCD.

  3. why! W650SZ LCD Screen Replacement, Remove the Bezel (continued): passo 3, immagine 1 di 3 why! W650SZ LCD Screen Replacement, Remove the Bezel (continued): passo 3, immagine 2 di 3 why! W650SZ LCD Screen Replacement, Remove the Bezel (continued): passo 3, immagine 3 di 3
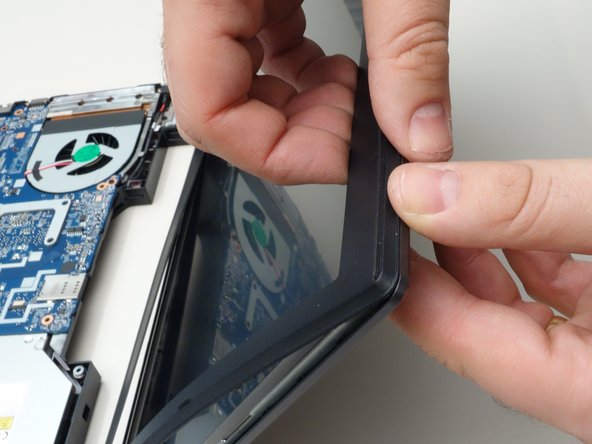
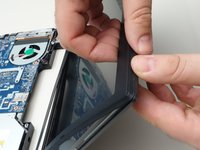
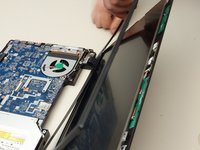
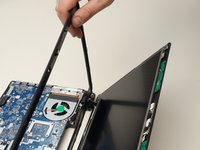
    • Working your way around the frame, unclip the mounting points of the frame surrounding the LCD screen.

  4. why! W650SZ LCD Screen Replacement, Remove the Bezel (continued): passo 4, immagine 1 di 3 why! W650SZ LCD Screen Replacement, Remove the Bezel (continued): passo 4, immagine 2 di 3 why! W650SZ LCD Screen Replacement, Remove the Bezel (continued): passo 4, immagine 3 di 3
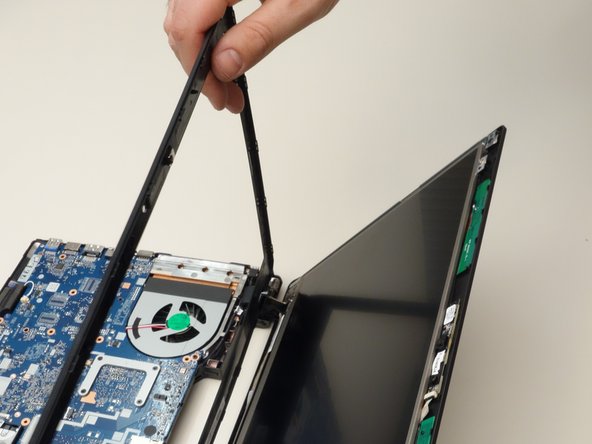
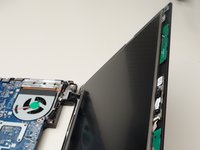
    • Remove the bezel surrounding the LCD.

  5. why! W650SZ LCD Screen Replacement, Remove the Screws Securing the LCD: passo 5, immagine 1 di 3 why! W650SZ LCD Screen Replacement, Remove the Screws Securing the LCD: passo 5, immagine 2 di 3 why! W650SZ LCD Screen Replacement, Remove the Screws Securing the LCD: passo 5, immagine 3 di 3
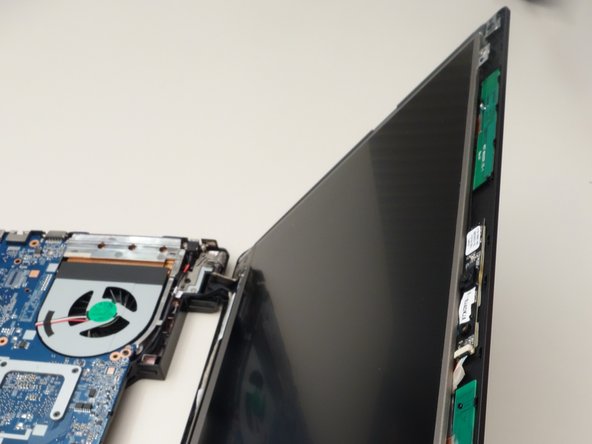
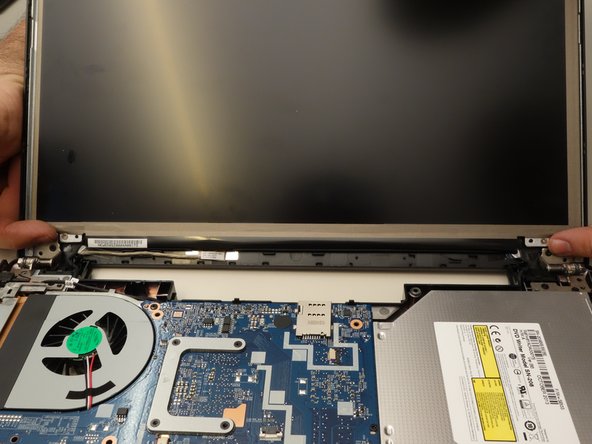
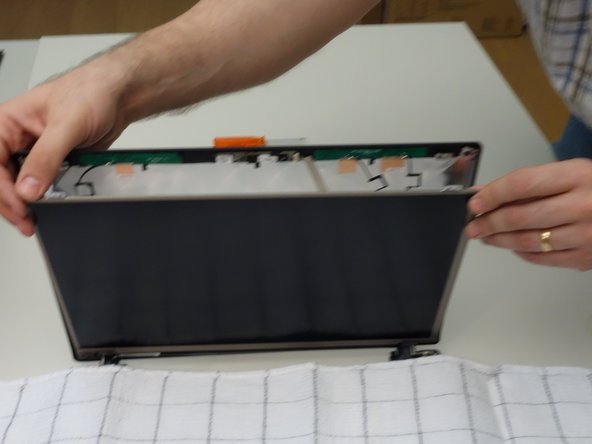
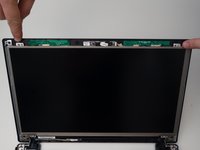
    • Remove the two upper mounting screws securing the LCD to the lid.

    • Remove the two lower mounting screws.

  6. why! W650SZ LCD Screen Replacement, Separate the LCD from the Display: passo 6, immagine 1 di 3 why! W650SZ LCD Screen Replacement, Separate the LCD from the Display: passo 6, immagine 2 di 3 why! W650SZ LCD Screen Replacement, Separate the LCD from the Display: passo 6, immagine 3 di 3
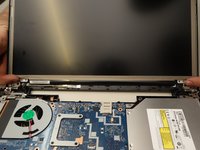
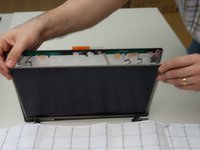
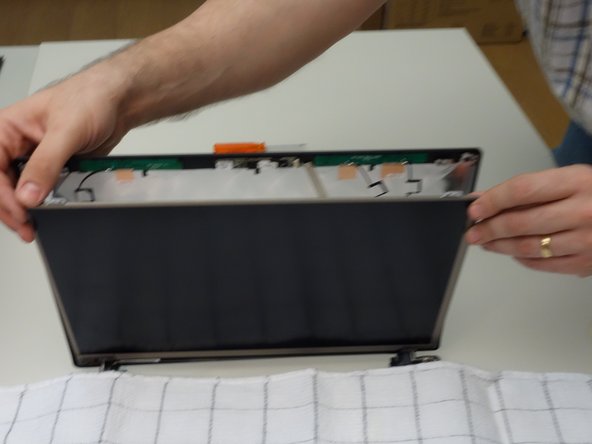
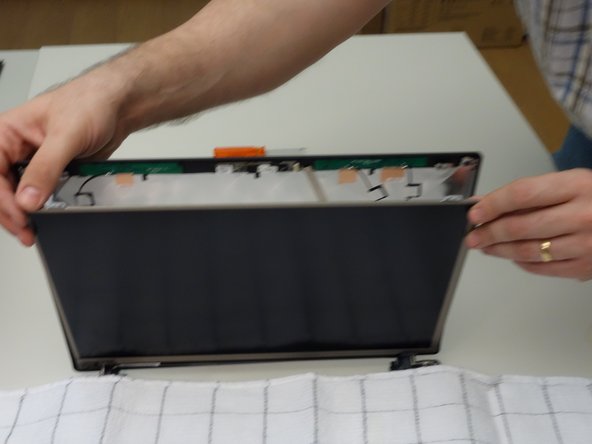
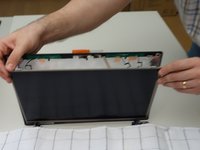
    • Cover the keyboard with a cloth, then carefully lower the LCD screen onto the keyboard.

  7. why! W650SZ LCD Screen Replacement, Disconnect the LCD Cable: passo 7, immagine 1 di 3 why! W650SZ LCD Screen Replacement, Disconnect the LCD Cable: passo 7, immagine 2 di 3 why! W650SZ LCD Screen Replacement, Disconnect the LCD Cable: passo 7, immagine 3 di 3
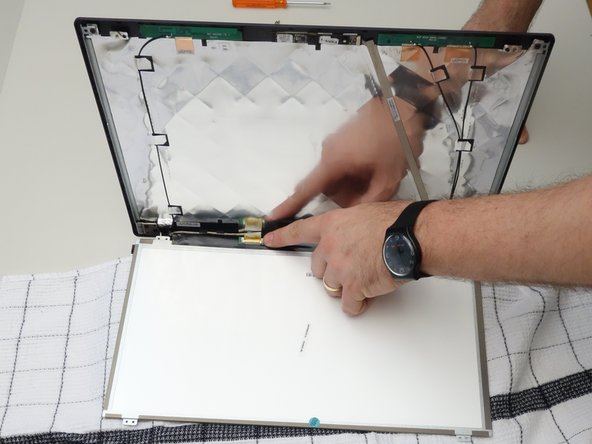
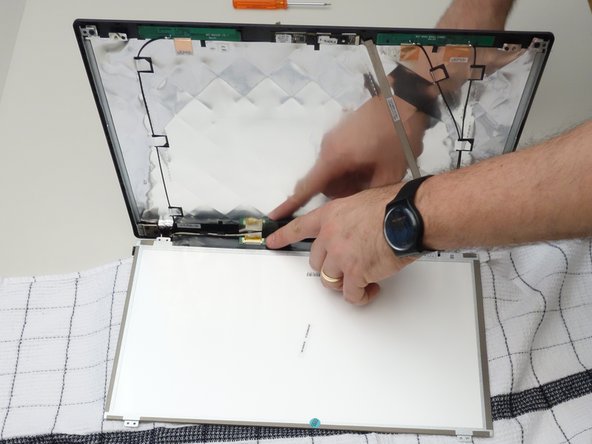
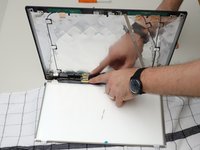
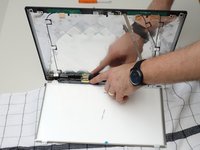
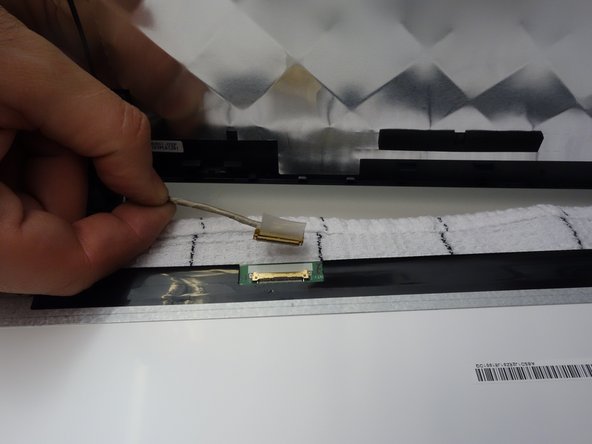
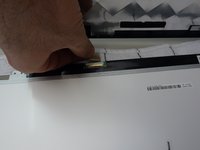
    • Note the location of the LCD screen connector.

  8. why! W650SZ LCD Screen Replacement, Remove the Connector Tape: passo 8, immagine 1 di 3 why! W650SZ LCD Screen Replacement, Remove the Connector Tape: passo 8, immagine 2 di 3 why! W650SZ LCD Screen Replacement, Remove the Connector Tape: passo 8, immagine 3 di 3
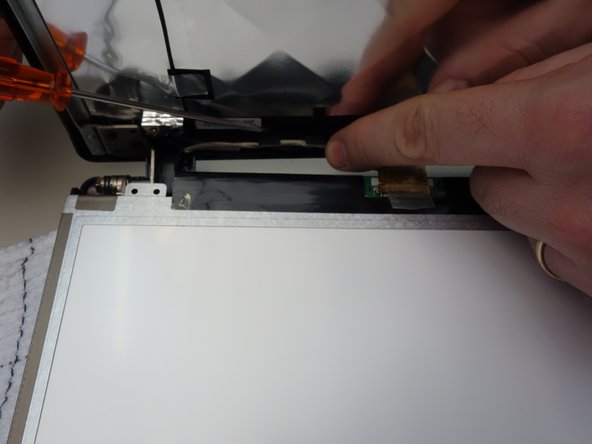
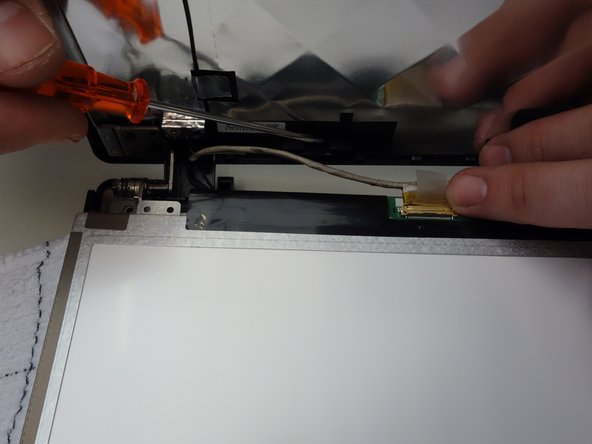
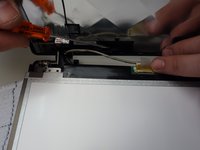
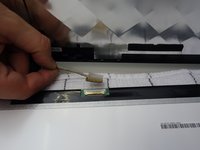
    • Using the plastic tab, peel back the tape securing the LCD cable the panel connector.

  9. why! W650SZ LCD Screen Replacement, Unplug the LCD and Remove the Screen: passo 9, immagine 1 di 3 why! W650SZ LCD Screen Replacement, Unplug the LCD and Remove the Screen: passo 9, immagine 2 di 3 why! W650SZ LCD Screen Replacement, Unplug the LCD and Remove the Screen: passo 9, immagine 3 di 3
    • Unplug the connector.

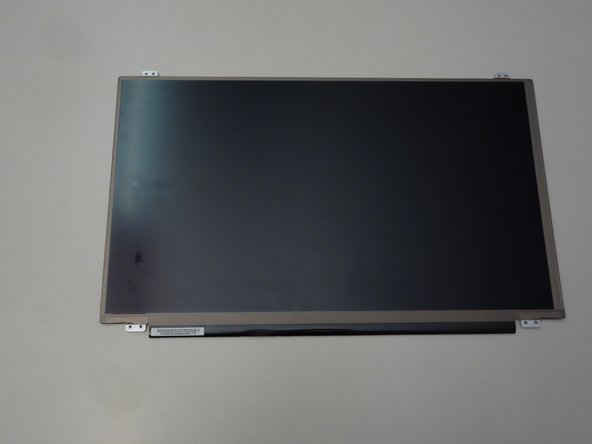
    • The LCD screen can now be removed.

Conclusione

To reassemble your device, follow these instructions in reverse order.

Un ringraziamento speciale a questi traduttori:

fr en

100%

Jerry Wheeler ci sta aiutando ad aggiustare il mondo! Vuoi partecipare?
Inizia a tradurre ›

Felice Suglia

Membro da: 06/15/13

33.562 Reputazione

283 Guide realizzate

0Commenti sulla guida

Aggiungi Commento

Visualizza Statistiche:

Ultime 24 Ore: 2

Ultimi 7 Giorni: 7

Ultimi 30 Giorni: 27

Tutti i Tempi: 325