Salta al contenuto principale

iFixit utilizza i cookie per migliorare le funzionalità del sito, analizzare il traffico e personalizzare gli annunci. Utilizzando il nostro sito, accetti l'uso dei cookie e l<link>Informativa sulla privacy</link>.

HTC One S Rear Case Replacement

Nota: Stai modificando un prerequisito per la guida che stavi visualizzando. Tutte le modifiche avranno effetto su tutte 9le guide che includono questo passo.

Inglese
Italiano

Traduzione in corso passo 7

Passo 7
HTC One S Rear Case Replacement: passo 0, immagine 1 di 3 HTC One S Rear Case Replacement: passo 0, immagine 2 di 3 HTC One S Rear Case Replacement: passo 0, immagine 3 di 3
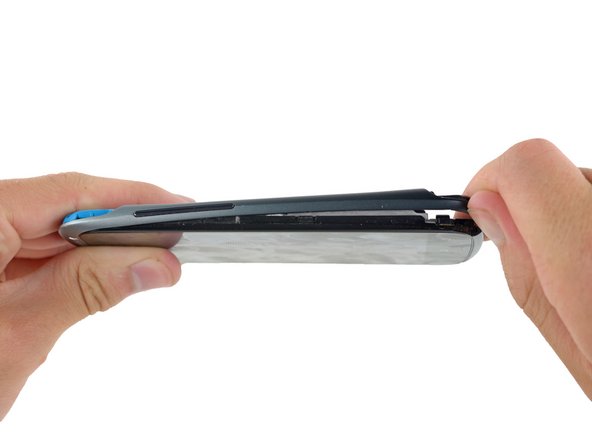
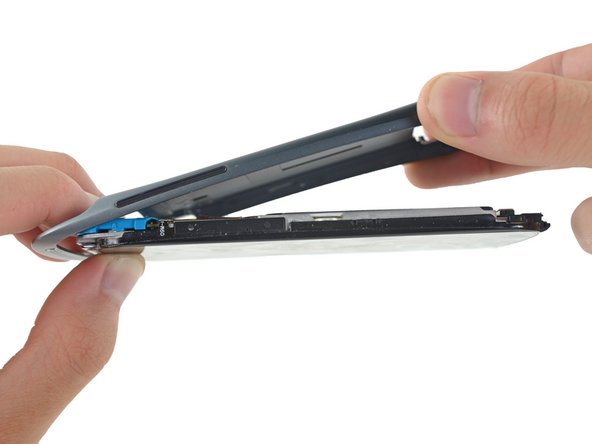
  • Place your fingers on either side of the phone and gently push up on the rear case.

  • It is important to start from the bottom of the phone because the rear case wraps around the front of the phone at the top which makes it impossible to start prying from there.

Inserisci qui la traduzione

Inserisci qui la traduzione

I tuoi contributi sono usati su licenza in base alla licenza open source Creative Commons.