Introduzione
Follow the steps in this guide to replace the volume control button covers in your iPhone 6s Plus.
You can also use this guide to replace the volume button bracket and the mute switch bracket, both removed in this step.
Cosa ti serve
-
-
Power off your iPhone before beginning disassembly.
-
Remove the two 3.4 mm Pentalobe screws on either side of the Lightning port.
-
-
Attrezzo utilizzato in questo passaggio:Clampy - Anti-Clamp$24.95
-
Pull the blue handle backwards to unlock the Anti-Clamp's arms.
-
Slide the arms over either the left or right edge of your iPhone.
-
Position the suction cups near the bottom edge of the iPhone just above the home button—one on the front, and one on the back.
-
Squeeze the cups together to apply suction to the desired area.
-
-
Attrezzo utilizzato in questo passaggio:Clampy - Anti-Clamp$24.95
-
If you don't have an Anti-Clamp, follow the next three steps to use a suction handle.
-
Apply mild heat to the lower edge of the iPhone using an iOpener or hair dryer for about a minute.
-
-
-
-
Gently grasp the display assembly and lift it up to open the phone, using the clips at the top of the front panel as a hinge.
-
Open the display to about a 90º angle, and lean it against something to keep it propped up while you're working on the phone.
-
Add a rubber band to keep the display securely in place while you work. This prevents undue strain on the display cables.
-
-
Attrezzo utilizzato in questo passaggio:Magnetic Project Mat$19.95
-
Remove two Phillips screws securing the battery connector bracket to the logic board, of the following lengths:
-
One 2.9 mm screw
-
One 2.3 mm screw
-
-
-
Remove the following Phillips screws:
-
Three 1.3 mm screws
-
One 1.6 mm screw
-
One 3.0 mm screw
-
-
Attrezzo utilizzato in questo passaggio:Tweezers$4.99
-
Use tweezers, or your fingers, to peel up the black pull tab on one of the adhesive strips.
-
-
-
If you're still having trouble removing the battery, apply a few drops of high concentration (90% or higher) isopropyl alcohol under the edge of the battery in the area of the broken adhesive strip(s).
-
Tilt the phone up so the isopropyl alcohol can flow toward the adhesive strip.
-
Hold for 1–2 minutes to allow the isopropyl alcohol to weaken the adhesive.
-
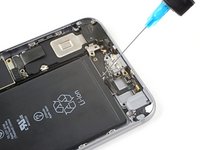
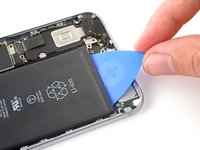
Use an opening pick or the flat end of a spudger to slowly pry up the battery.
-
-
-
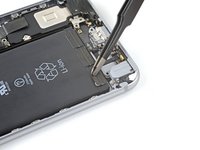
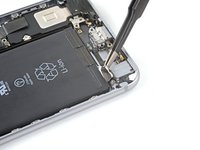
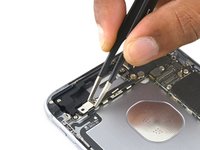
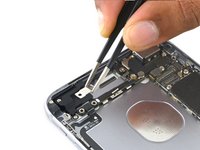
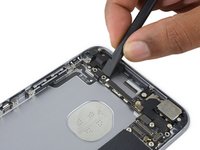
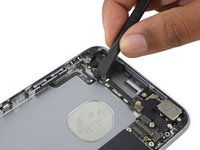
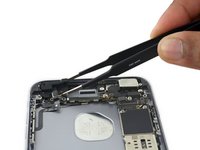
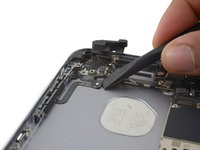
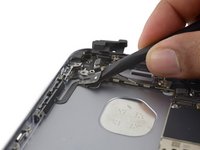
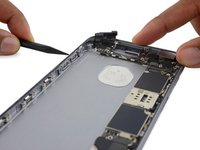
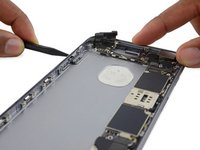
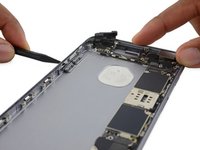
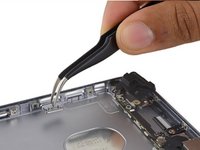
Remove the two 2.7 mm Phillips screws over the audio control cable bracket.
-
-
-
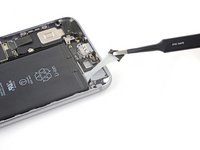
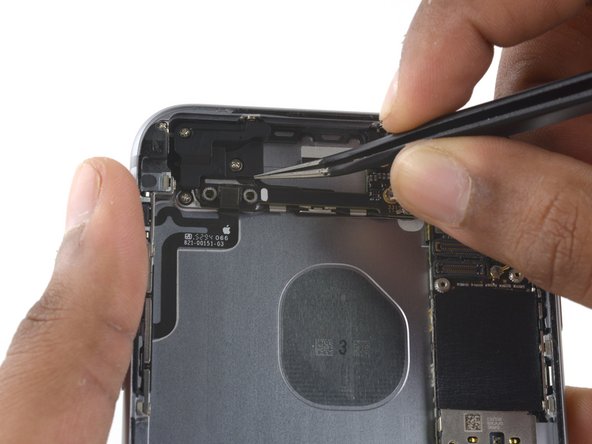
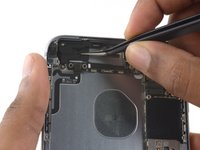
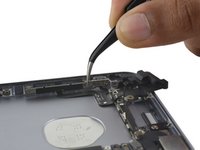
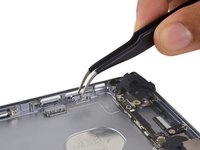
Gently nudge the volume control button covers out of their slots in the rear case.
-


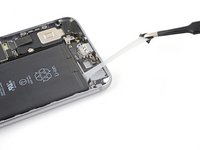


To reassemble your device, follow these instructions in reverse order.
Annulla: non ho completato questa guida.
Altre 11 persone hanno completato questa guida.
