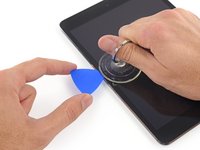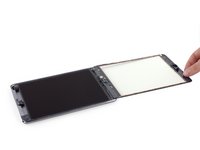
iPad Mini 3 Wi-Fi LCD Shield Plate Replacement
Introduzione
Vai al passo 1Prereq only. This version has a warning for the antenna cable on the iPad Mini 2 LTE and iPad Mini 3 LTE.
Cosa ti serve
-
-
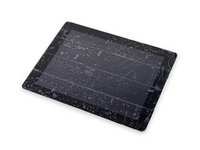
If your display glass is cracked, keep further breakage contained and prevent bodily harm during your repair by taping the glass.
-
Lay overlapping strips of clear packing tape over the iPad's display until the whole face is covered.
-
Do your best to follow the rest of the guide as described. However, once the glass is broken, it will likely continue to crack as you work, and you may need to use a metal prying tool to scoop the glass out.
-
-
-
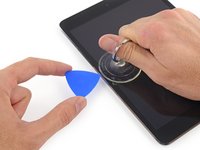
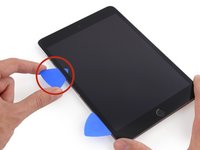
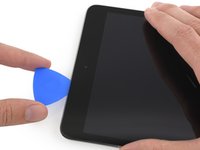
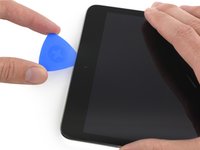
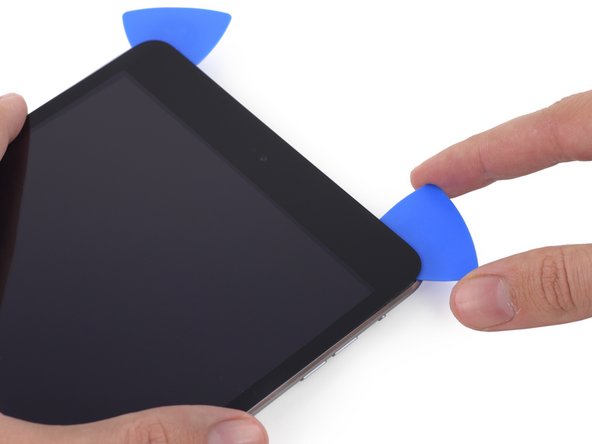
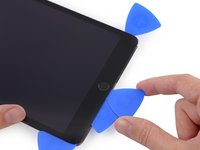
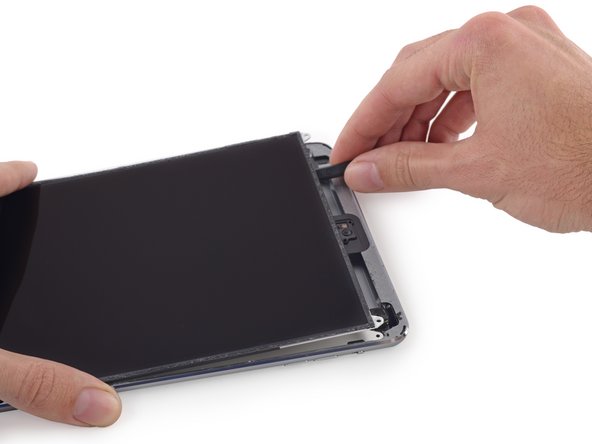
Take the first pick you inserted and slide it up toward the top corner of the iPad.
-
If you can see the tip of the opening pick through the front glass, don't panic—just pull the pick out a little bit. Most likely, everything will be fine, but try to avoid this as it may deposit adhesive on the front of the LCD that is difficult to clean off.
-
-
-
-
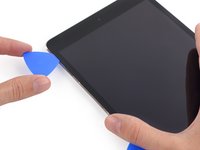
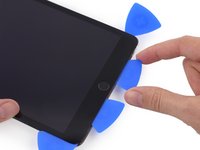
Leave the opening pick in the iPad slightly past the front-facing camera.
-
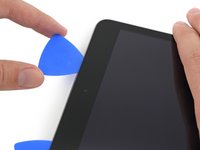
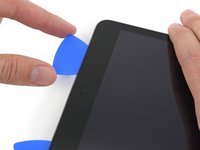
Take a second pick and insert it to the left of the camera, where the first pick just was. Slide it back to the corner to completely cut any remaining adhesive.
-
Leave the second pick in place to prevent the corner adhesive from re-sealing as it cools.
-
-
-
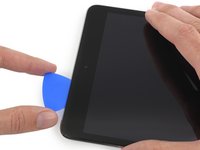
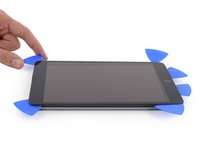
Slide the lower left pick to the lower left corner to cut the adhesive on that corner.
-
Leave the pick at the corner. Do not pry any farther, and do not remove the pick from the iPad.
-
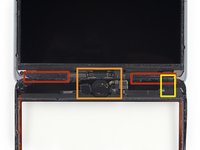
Antennas
-
Home button cavity
-
Digitizer cable
-
The following steps will direct you where to pry to avoid damage to these components. Only apply heat and pry where directed.
-
To reassemble your device, follow these instructions in reverse order.
To reassemble your device, follow these instructions in reverse order.


