Salta al contenuto principale
Unisciti alla Community delle riparazioni - Crea un account

Whirlpool Refrigerator Start Relay Assembly Replacement

Cosa ti serve

  1. Whirlpool Refrigerator Start Relay Assembly Replacement, Safety precautions: passo 1, immagine 1 di 1
    • Before you begin your repair, perform the following:

    • Turn off your main water supply

    • Unplug your device

    Chiedi a FixBot
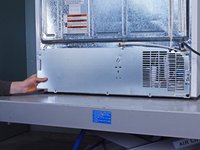
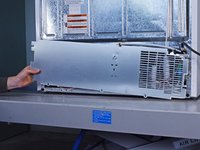
  2. Whirlpool Refrigerator Start Relay Assembly Replacement, Unfasten the rear panel: passo 2, immagine 1 di 3 Whirlpool Refrigerator Start Relay Assembly Replacement, Unfasten the rear panel: passo 2, immagine 2 di 3 Whirlpool Refrigerator Start Relay Assembly Replacement, Unfasten the rear panel: passo 2, immagine 3 di 3
    • Remove the screw(s) securing the rear panel.

    • Loosen the screw securing the water hose enough for the rear panel to freely move.

    Chiedi a FixBot
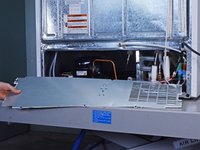
  3. Whirlpool Refrigerator Start Relay Assembly Replacement, Remove the rear panel: passo 3, immagine 1 di 3 Whirlpool Refrigerator Start Relay Assembly Replacement, Remove the rear panel: passo 3, immagine 2 di 3 Whirlpool Refrigerator Start Relay Assembly Replacement, Remove the rear panel: passo 3, immagine 3 di 3
    • Pull the rear panel off the chassis to remove it.

    Chiedi a FixBot
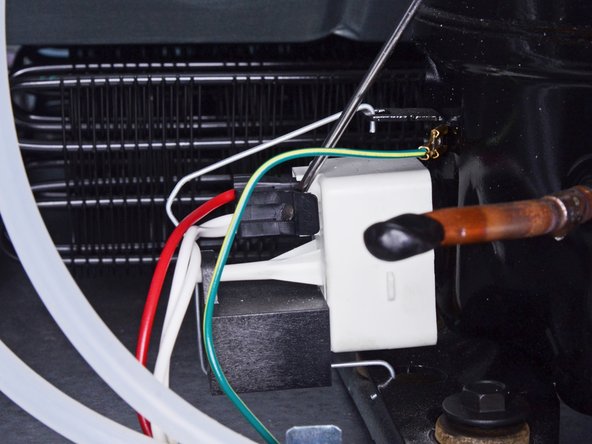
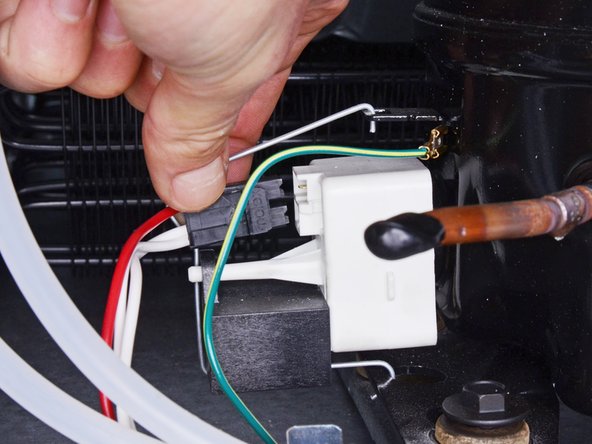
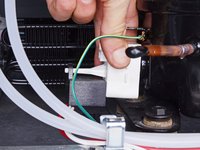
  4. Whirlpool Refrigerator Start Relay Assembly Replacement, Disconnect the start relay assembly: passo 4, immagine 1 di 3 Whirlpool Refrigerator Start Relay Assembly Replacement, Disconnect the start relay assembly: passo 4, immagine 2 di 3 Whirlpool Refrigerator Start Relay Assembly Replacement, Disconnect the start relay assembly: passo 4, immagine 3 di 3
    • Use a flathead screwdriver, or a similar tool, to disconnect any connectors attached to the start relay assembly.

    Chiedi a FixBot
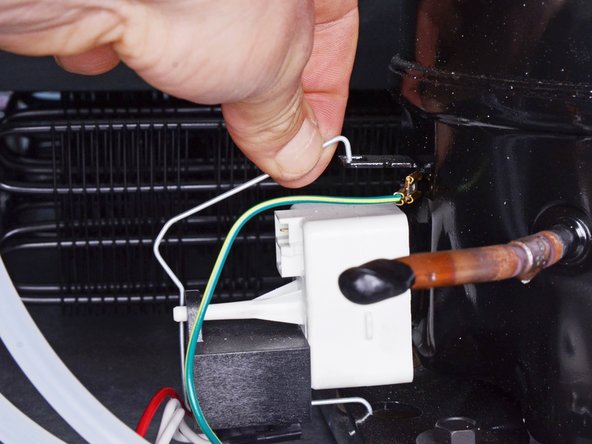
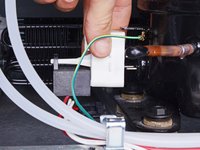
  5. Whirlpool Refrigerator Start Relay Assembly Replacement, Unclip the start relay assembly: passo 5, immagine 1 di 3 Whirlpool Refrigerator Start Relay Assembly Replacement, Unclip the start relay assembly: passo 5, immagine 2 di 3 Whirlpool Refrigerator Start Relay Assembly Replacement, Unclip the start relay assembly: passo 5, immagine 3 di 3
    • Pull the metal clip out its hole in the top of the start relay assembly.

    • Rest the clip next to the assembly.

    Chiedi a FixBot
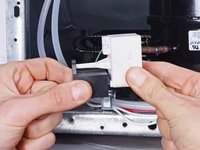
  6. Whirlpool Refrigerator Start Relay Assembly Replacement, Remove the start relay assembly: passo 6, immagine 1 di 3 Whirlpool Refrigerator Start Relay Assembly Replacement, Remove the start relay assembly: passo 6, immagine 2 di 3 Whirlpool Refrigerator Start Relay Assembly Replacement, Remove the start relay assembly: passo 6, immagine 3 di 3
    • Pull the start relay assembly straight off its prongs in the chassis.

    • Remove the start relay assembly.

    • The assembly consists of the run capacitor, start relay, and overload relay.

    Chiedi a FixBot
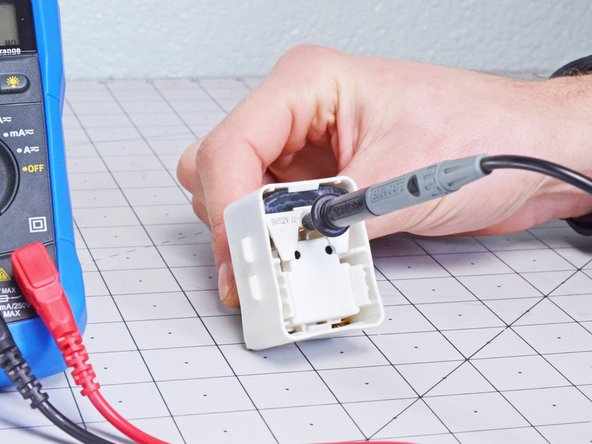
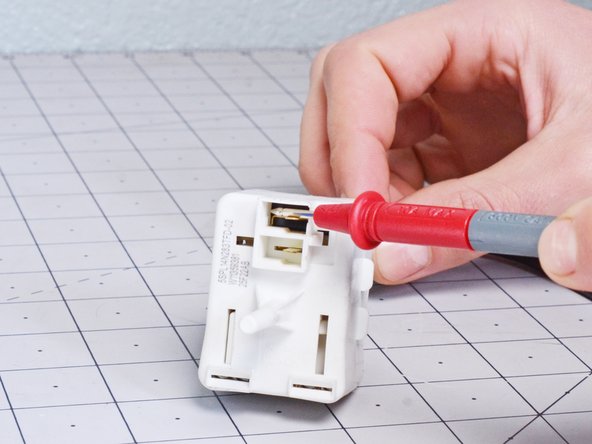
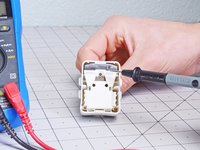
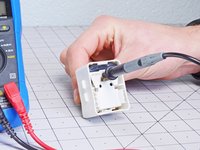
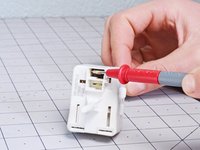
  7. Whirlpool Refrigerator Start Relay Assembly Replacement, Meter the start relay assembly: passo 7, immagine 1 di 3 Whirlpool Refrigerator Start Relay Assembly Replacement, Meter the start relay assembly: passo 7, immagine 2 di 3 Whirlpool Refrigerator Start Relay Assembly Replacement, Meter the start relay assembly: passo 7, immagine 3 di 3
    • If you own a multimeter, you can test the start relay and overload relay's resistance.

    • A range between 0–1 Ω for the overload relay, and 0–5 Ω for the start relay is acceptable.

    Chiedi a FixBot
Conclusione

To reassemble your device, follow these instructions in reverse order.

Take your e-waste to an R2 or e-Stewards certified recycler.

Repair didn’t go as planned? Ask our Answers community for help.

Altre 5 persone hanno completato questa guida.

nicO

Membro da: 04/14/15

15.990 Reputazione

89 guide realizzate

3Commenti sulla guida

Is it universal part

dyannatorres@yahoo.com - Rispondi Condividi

While the parts are similar, there are differences for fridges. If you can find your refrigerator model number, you'll be able to search online for the correct start relay for your specific model. Good luck!

nicO - Rispondi Condividi

Last part is not clear about where to put multimeter probes for testing each component. It makes the whole exercise useless.

Shafeeq Qaiser - Rispondi Condividi

Aggiungi Commento

Visualizza statistiche:

Ultime 24 ore: 12

Ultimi 7 giorni: 88

Ultimi 30 giorni: 366

Tutti i Tempi: 15,955