
Wahl Professional Designer Power Cord Replacement
10 minuti
Facile
Introduzione
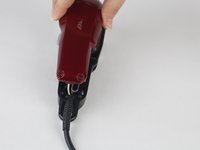
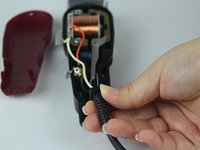
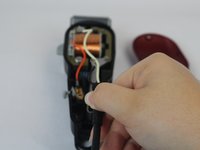
Vai al passo 1If your device is not working due to a problem with your power cord this guide will allow you to replace it to fix your problem.
Cosa ti serve


-
-
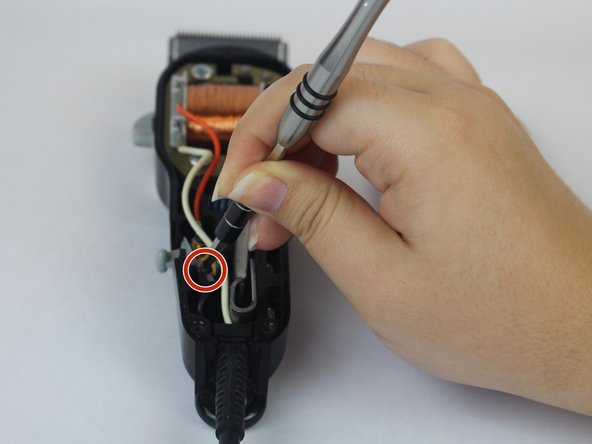
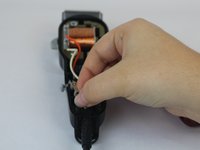
Unscrew the 12 mm Phillips head screws located at the top of the cover and at the bottom two corners, using a Phillips #1 Screwdriver.
-
-


Quasi finito!
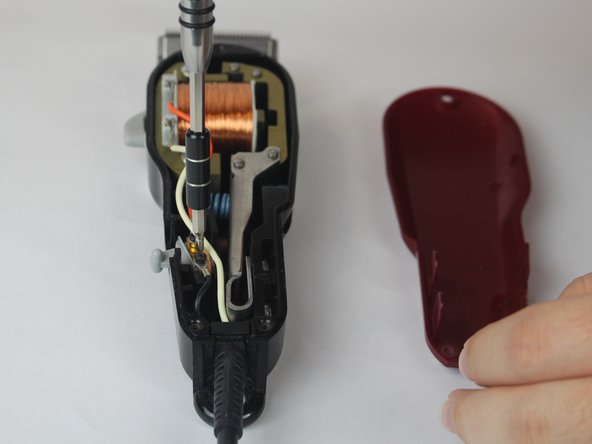
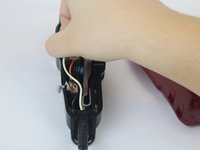
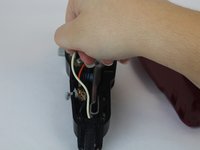
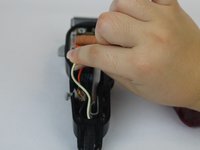
To reassemble your device, follow these instructions in reverse order.
Conclusione
To reassemble your device, follow these instructions in reverse order.
Team

USF Tampa, Team S14-G5, Boczar Fall 2017 Membro di USF Tampa, Team S14-G5, Boczar Fall 2017
USFT-BOCZAR-F17S14G5
2 Membri
10 Guide realizzate