
VTech InnoTab 2S Motherboard Removal
Nessuna stima
Moderato
Introduzione
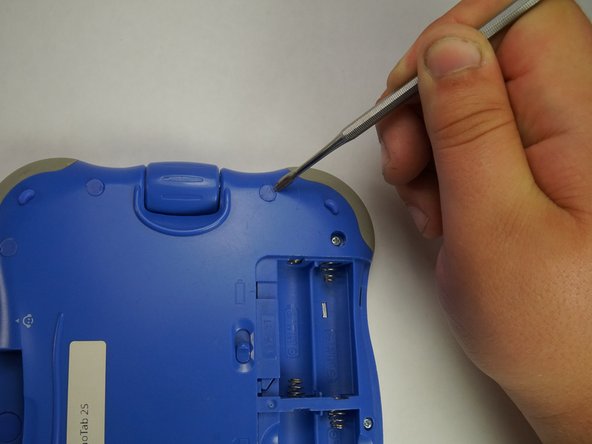
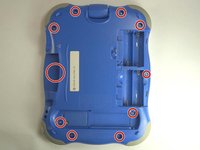
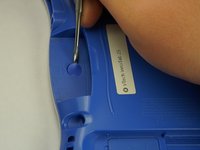
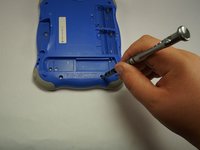
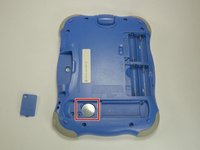
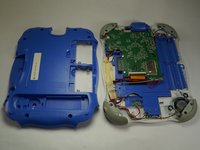
Vai al passo 1To begin the removal of the circuit board you first need to remove the back cover from the device.
Cosa ti serve


Quasi finito!
Linea Traguardo
Team

USF Tampa, Team 5-1, Lacy Fall 2016 Membro di USF Tampa, Team 5-1, Lacy Fall 2016
USFT-LACY-F16S5G1
4 Membri
12 Guide realizzate