Salta al contenuto principale
Toshiba Satellite L855-S5119 Optical Drive Replacement

Toshiba Satellite L855-S5119 Optical Drive Replacement

Tyler Shafer

Tyler Shafer e 4 altri collaboratori

Ultimo aggiornamento il June 11, 2023

1 minuto
Facile

Introduzione

Vai al passo 1

This guide will inform readers on how to replace the optical drive which may have stopped reading disks.

Cosa ti serve

Ricambi

Strumenti

Mostra di più…

iFixit guadagna commissioni quando acquisti tramite questi link.
  1. Toshiba Satellite L855-S5119 Optical Drive Replacement, Back Plate Removal: passo 1, immagine 1 di 3 Toshiba Satellite L855-S5119 Optical Drive Replacement, Back Plate Removal: passo 1, immagine 2 di 3 Toshiba Satellite L855-S5119 Optical Drive Replacement, Back Plate Removal: passo 1, immagine 3 di 3
    • Turn the laptop over to place it top down.

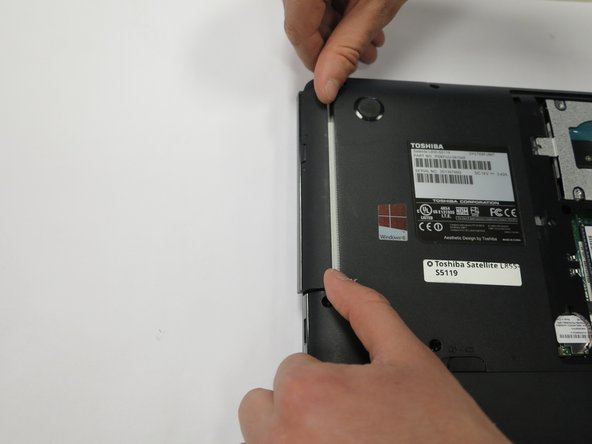
    • Use a Phillips #1 screwdriver to remove the screw holding in the back plate. This screw does not come out of the plate.

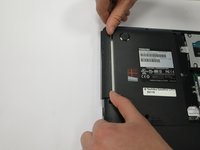
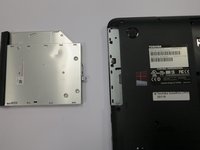
    • Lift the back plate off the laptop, exposing the RAM and Hard Disk.

  2. Toshiba Satellite L855-S5119 Optical Drive Replacement, Optical Drive: passo 2, immagine 1 di 2 Toshiba Satellite L855-S5119 Optical Drive Replacement, Optical Drive: passo 2, immagine 2 di 2
    • Using a Phillips #0 screwdriver, remove the single 3mm screw.

  3. Toshiba Satellite L855-S5119 Optical Drive Replacement: passo 3, immagine 1 di 2 Toshiba Satellite L855-S5119 Optical Drive Replacement: passo 3, immagine 2 di 2
    • Rotate the laptop so that you have access to the optical drive.

    • The optical drive is now only attached by a port in the drive's back. The optical drive can be pulled straight out of its housing.

    • Remove the drive.

Conclusione

To reassemble your device, follow these instructions in reverse order.

Un'altra persona ha completato questa guida.

0 Commenti

Aggiungi Commento

Visualizza Statistiche:

Ultime 24 Ore: 0

Ultimi 7 Giorni: 0

Ultimi 30 Giorni: 0

Tutti i Tempi: 282