Salta al contenuto principale

Toshiba Satellite L655D-S5095 Chat Camera and Microphone Daughter Board Replacement

Cosa ti serve

  1. Toshiba Satellite L655D-S5095 Chat Camera and Microphone Daughter Board Replacement, Chat Camera and Microphone Daughter Board: passo 1, immagine 1 di 3 Toshiba Satellite L655D-S5095 Chat Camera and Microphone Daughter Board Replacement, Chat Camera and Microphone Daughter Board: passo 1, immagine 2 di 3 Toshiba Satellite L655D-S5095 Chat Camera and Microphone Daughter Board Replacement, Chat Camera and Microphone Daughter Board: passo 1, immagine 3 di 3
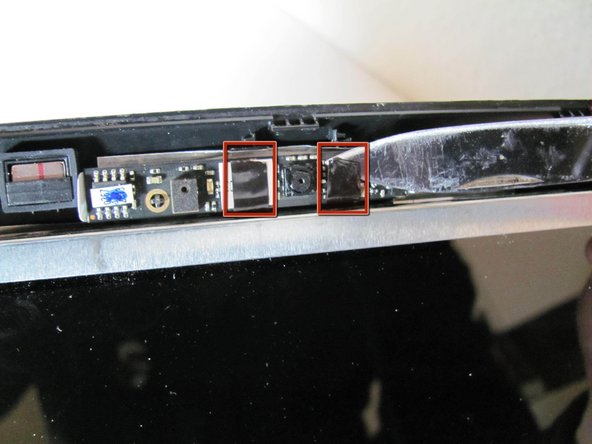
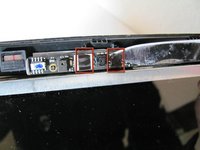
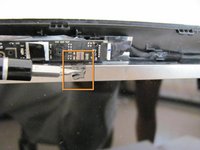
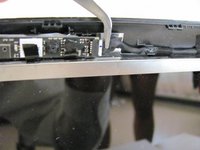
    • Using a plastic opening tool, remove the four plastic stickers located on the four corners of the LCD screen assembly. These plastic stickers are covering screws.

    • Use a Phillips #1 screwdriver to remove the now uncovered 5.75mm screws and place them to the side.

  2. Toshiba Satellite L655D-S5095 Chat Camera and Microphone Daughter Board Replacement: passo 2, immagine 1 di 2 Toshiba Satellite L655D-S5095 Chat Camera and Microphone Daughter Board Replacement: passo 2, immagine 2 di 2
    • With a plastic soft pry tool, open up the laptop display assembly by methodically prying from left to right. Be careful to not damage any internal circuitry.

    • Do not attempt to pry apart the bottom, the LCD assembly never gets fully disassembled in this tutorial.

  3. Toshiba Satellite L655D-S5095 Chat Camera and Microphone Daughter Board Replacement: passo 3, immagine 1 di 2 Toshiba Satellite L655D-S5095 Chat Camera and Microphone Daughter Board Replacement: passo 3, immagine 2 di 2
    • Remove the 2 pieces of black tape using a sharp tool to free the camera board, note that the camera board is still connected to a cable.

  4. Toshiba Satellite L655D-S5095 Chat Camera and Microphone Daughter Board Replacement: passo 4, immagine 1 di 2 Toshiba Satellite L655D-S5095 Chat Camera and Microphone Daughter Board Replacement: passo 4, immagine 2 di 2
    • Carefully disconnect the camera board from the laptop. We used tweezers.

Conclusione

To reassemble your device, follow these instructions in reverse order.

Un'altra persona ha completato questa guida.

Robby

Membro da: 02/04/13

52 Reputazione

1 Guida realizzata

Team

Cal Poly, Team 7-7, Maness Winter 2013 Membro di Cal Poly, Team 7-7, Maness Winter 2013

CPSU-MANESS-W13S7G7

5 Membri

6 Guide realizzate

0 Commenti

Aggiungi Commento

Visualizza Statistiche:

Ultime 24 Ore: 0

Ultimi 7 Giorni: 0

Ultimi 30 Giorni: 1

Tutti i Tempi: 2,569