
Toshiba Satellite L505 Laptop Keyboard Replacement
Introduzione
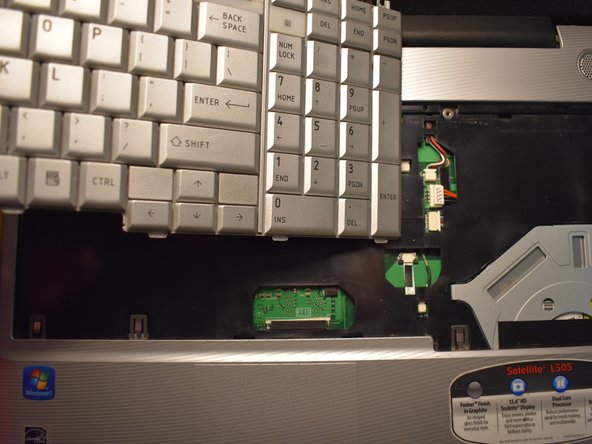
Vai al passo 1Removing the keyboard from this laptop is a very simple and easy process. It should be noted that even though it is simple, it is equally as easy to push a component on the hard drive out of place since some parts of the motherboard are exposed under the keyboard
Cosa ti serve


-
-
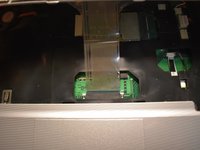
Open the laptop and locate the plastic strip just above the keyboard.
-
With care, slide the prying tool into an end and lift it up until you hear an audible click, meaning it has separated.
-
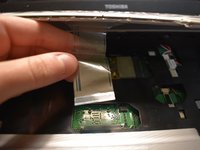
Slowly slide a finger or the prying tool under and follow the strip to the opposite end, completely detaching the strip.
-
-


To reassemble your device, follow these instructions in reverse order.
To reassemble your device, follow these instructions in reverse order.
Annulla: non ho completato questa guida.
Altre 2 persone hanno completato questa guida.
Team

University of North Texas, Team S7-G1, Thompson Fall 2018 Membro di University of North Texas, Team S7-G1, Thompson Fall 2018
UNT-THOMPSON-F18S7G1
4 Membri
9 Guide realizzate