
Toshiba Satellite L305-S5946 Processor Replacement
Introduzione
Vai al passo 1Use this guide to replace the processor. This may be necessary if the screen is black when the computer is on if the cause of the problem is not the screen.
Cosa ti serve


-
-
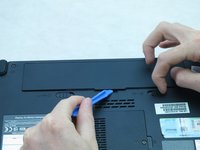
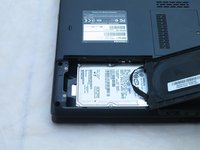
Loosen the two captive screws on the bottom left corner of the hard drive using a Phillips #1 screwdriver until you hear a click.
-
-
-
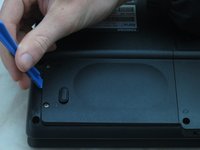
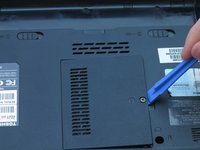
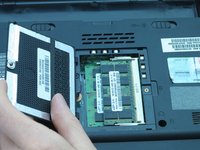
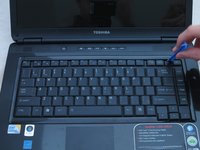
Using a Phillips #1 screwdriver, turn the screw on the RAM cover until you hear a click.
-
-
-
-
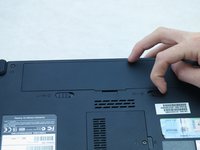
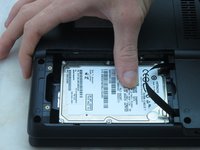
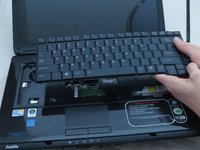
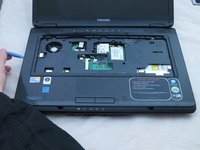
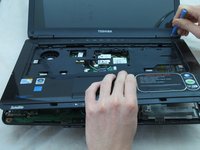
Place the laptop upside-down with the display hinges facing away from you.
-
-
-
For the following steps, use a Phillips #1 screwdriver.
-
Remove the twelve 6-mm screws that border the bottom of the laptop.
-
Remove the 6-mm screw located in the lower middle of the device.
-
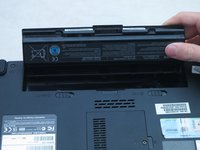
Remove the three 3-mm screws located in the battery bay.
-
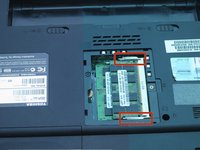
Remove the one 4-mm screw located near the RAM.
-
-
-
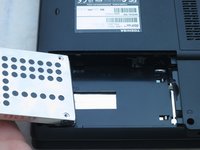
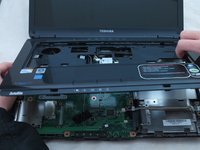
Remove the four 6-mm screws from the two hinge pads using a Phillips #1 screwdriver.
-
-
Attrezzo utilizzato in questo passaggio:Tweezers$4.99
-
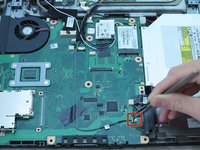
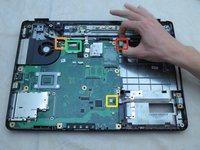
For the following steps, use tweezers:
-
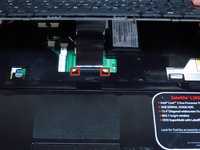
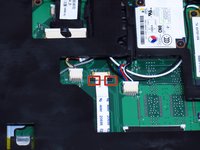
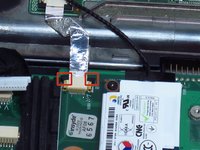
Remove the connector equipped with the black and white wire.
-
Remove the connector equipped with the black, green, red, yellow, and white wires.
-
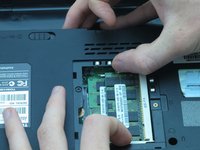
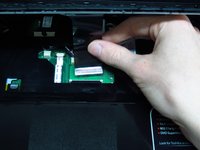
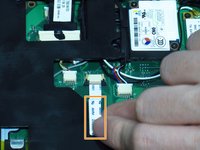
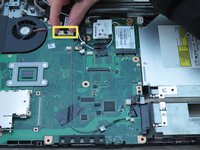
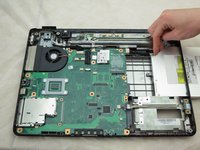
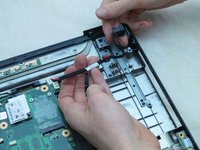
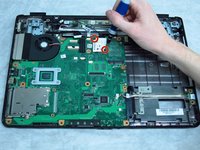
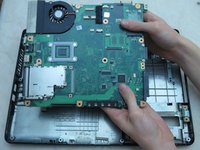
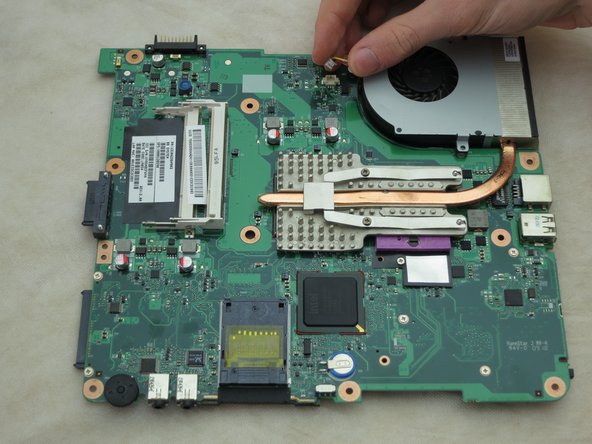
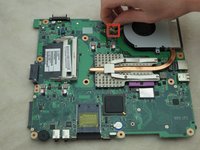
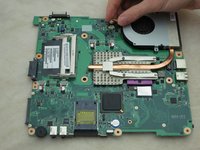
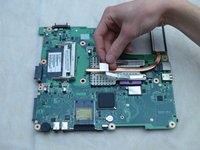
Using your fingers, remove the large connector located at the top right corner of the motherboard, as shown.
-
-
-
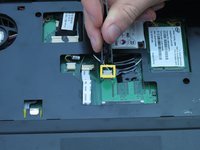
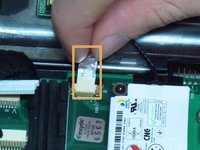
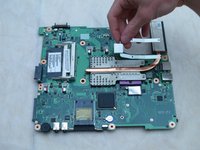
Remove the power jack connector.
-
Remove the connector equipped with one red wire and one black wire.
-
Remove the connector equipped with red, yellow, green, white, and black wires.
-
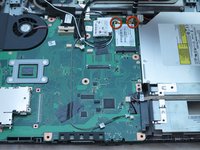
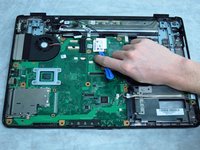
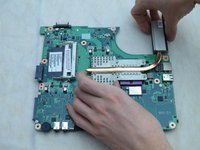
Remove the large connector near the fan.
-
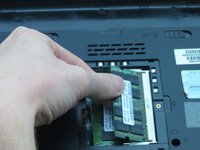
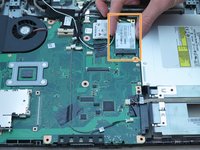
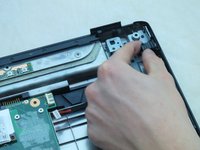
Remove the power jack cable and socket from its housing by pulling gently.
-
-
-
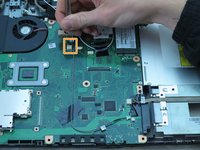
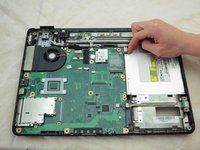
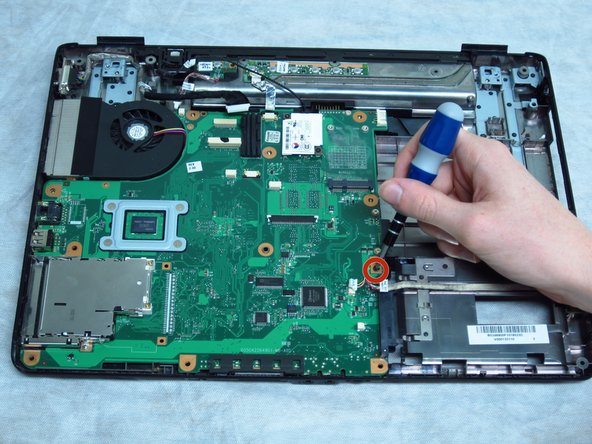
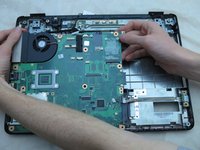
Flip the motherboard over. Remove the two 3-mm screws from the fan using a Phillips #1 screwdriver.
-
-
-
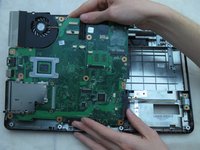
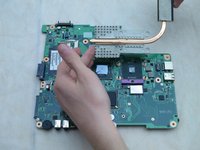
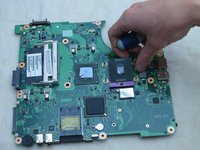
Using a Phillips #1 screwdriver, remove the two 3-mm screws locking the heat sink in place.
-


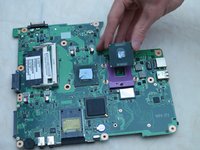
To reassemble your device, follow these instructions in reverse order.
To reassemble your device, follow these instructions in reverse order.
Annulla: non ho completato questa guida.
Altre 4 persone hanno completato questa guida.
Team

Cal Poly, Team 3-49, Amido Spring 2013 Membro di Cal Poly, Team 3-49, Amido Spring 2013
CPSU-AMIDO-S13S3G49
4 Membri
19 Guide realizzate
Un commento
Although my Toshiba Laptop was not exactly the same it was close enough to be able to do all that was required. The fan and heat-sink were completely clogged and it caused an over-temp condition that would shut down the laptop. After removing and cleaning the fan etc. it now runs fine. It would have been a much riskier endeavor if you had not made such detailed instructions. Thank you.