
Toshiba Satellite L305-S5946 Hard Drive Replacement
Introduzione
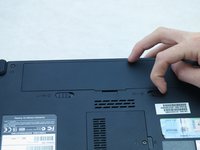
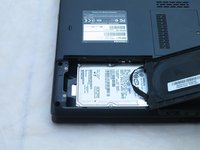
Vai al passo 1Use this guide to replace or upgrade the hard drive in your Toshiba Satellite L305-S5946. If your hard drive is faulty or you want more storage, you should replace the hard drive.
Cosa ti serve


-
-
-
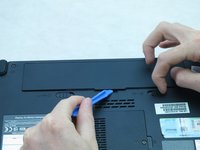
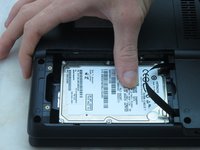
Loosen the two captive screws on the bottom left corner of the hard drive using a Phillips #1 screwdriver until you hear a click.
-


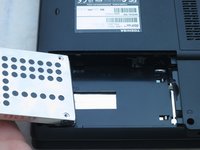
To reassemble your device, follow these instructions in reverse order.
To reassemble your device, follow these instructions in reverse order.
Annulla: non ho completato questa guida.
Altre 4 persone hanno completato questa guida.
Team

Cal Poly, Team 3-49, Amido Spring 2013 Membro di Cal Poly, Team 3-49, Amido Spring 2013
CPSU-AMIDO-S13S3G49
4 Membri
19 Guide realizzate