
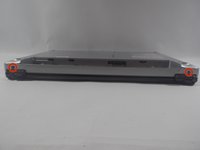
Toshiba Satellite E105-S1602 Wifi Card Replacement
Introduzione
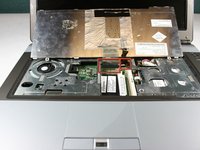
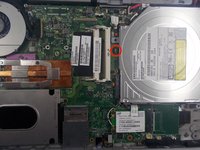
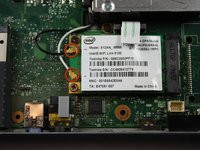
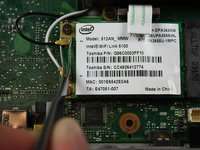
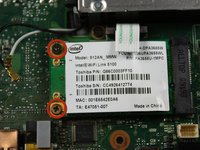
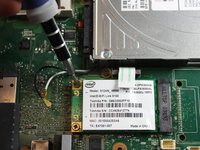
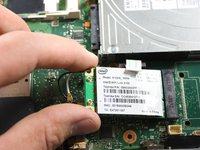
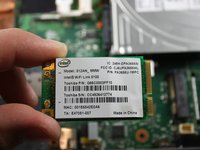
Vai al passo 1The WiFi card is what assists your device with connecting to the internet without an Ethernet cable. If nothing is wrong with the router that you are trying to connect with then you may need to replace your WiFi card.
Cosa ti serve


-
-
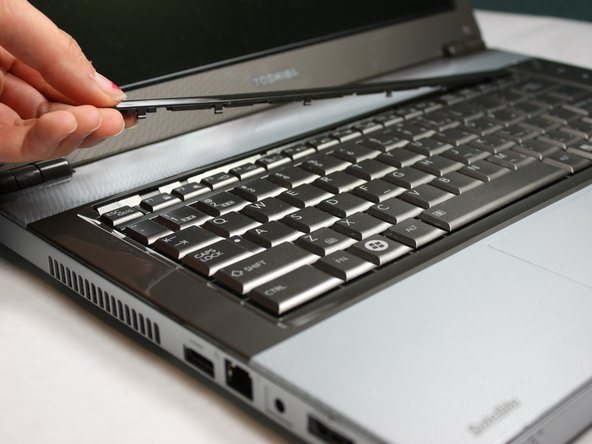
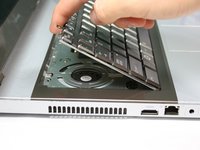
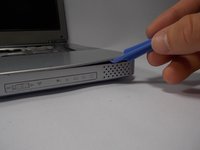
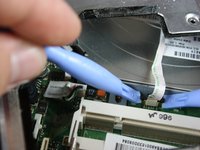
Flip the computer over and insert the plastic opening tool under the plastic strip at the top of the keyboard.
-
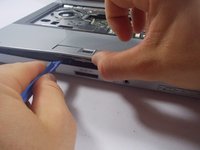
Pry the top plastic strip from the top of the keyboard.
-
Peel the strip completely away from the keyboard.
-
-
-
-
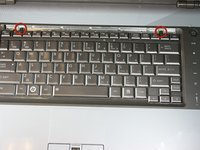
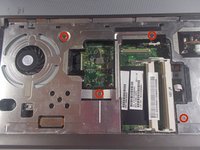
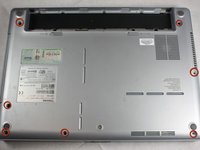
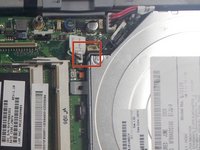
Locate the four silver screws on the front panel.
-
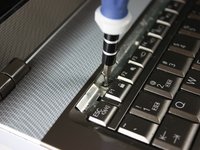
Using the Phillips #0, unscrew to remove all four 2.95mm silver screws.
-
-
-
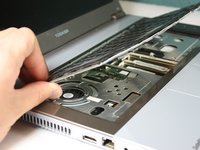
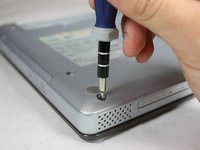
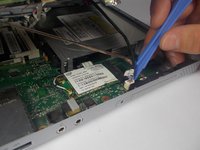
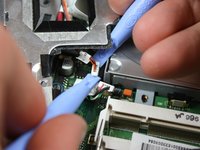
Use the plastic opening tool to pry the top panel up from the base of the computer.
-
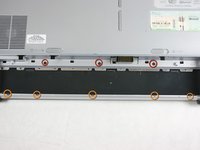
Slowly work your way around the computer with the plastic removing tool to make it easier to lift the top panel away from the base.
-
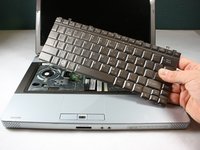
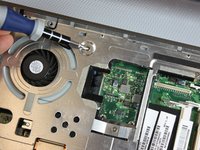
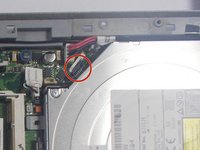
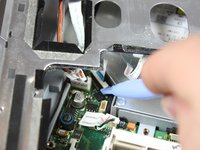
Disconnect ribbons, and slowly lift the top panel up, away from the base.
-


To reassemble your device, follow these instructions in reverse order.
To reassemble your device, follow these instructions in reverse order.
Team

Cal Poly, Team 17-21, Forte Winter 2013 Membro di Cal Poly, Team 17-21, Forte Winter 2013
CPSU-FORTE-W13S17G21
5 Membri
14 Guide realizzate