
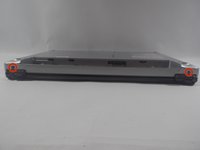
Toshiba Satellite E105-S1602 Front Panel Replacement
Introduzione
Vai al passo 1The front panel may need to be replaced if your track pad is not working. However, this guide is very important as it can be found in nearly every other guide. Removing the front panel is how you get to most of the other parts of the device.
Cosa ti serve


-
-
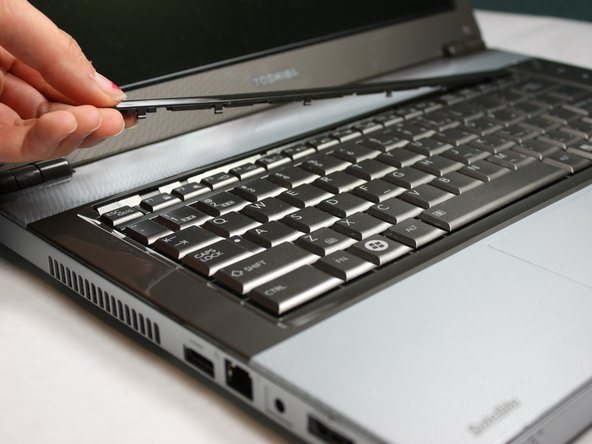
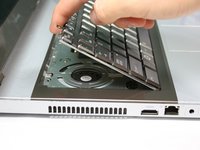
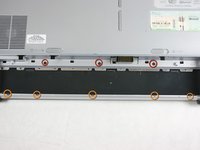
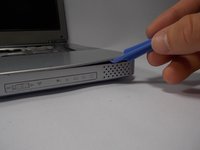
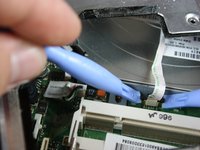
Flip the computer over and insert the plastic opening tool under the plastic strip at the top of the keyboard.
-
Pry the top plastic strip from the top of the keyboard.
-
Peel the strip completely away from the keyboard.
-
-
-
-
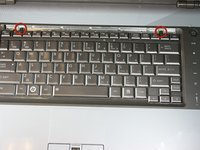
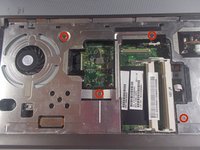
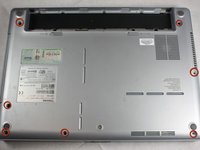
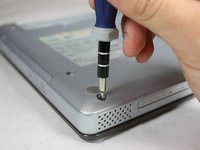
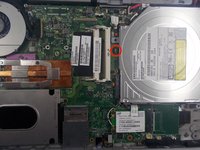
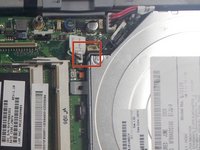
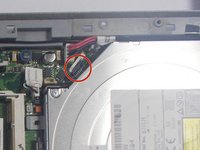
Locate the four silver screws on the front panel.
-
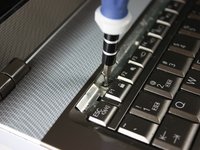
Using the Phillips #0, unscrew to remove all four 2.95mm silver screws.
-
-
-
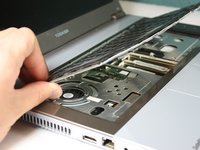
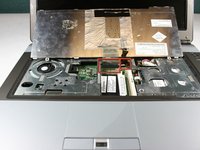
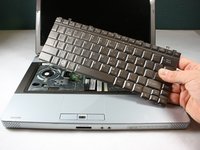
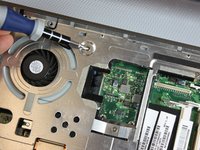
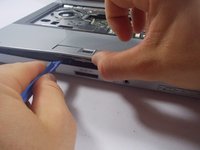
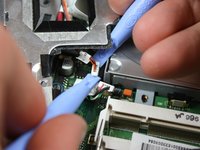
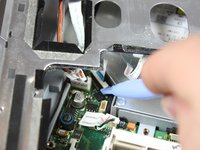
Use the plastic opening tool to pry the top panel up from the base of the computer.
-
Slowly work your way around the computer with the plastic removing tool to make it easier to lift the top panel away from the base.
-
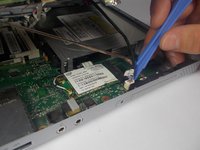
Disconnect ribbons, and slowly lift the top panel up, away from the base.
-


To reassemble your device, follow these instructions in reverse order.
To reassemble your device, follow these instructions in reverse order.
Team

Cal Poly, Team 17-21, Forte Winter 2013 Membro di Cal Poly, Team 17-21, Forte Winter 2013
CPSU-FORTE-W13S17G21
5 Membri
14 Guide realizzate