
Toshiba Satellite E105-S1602 Display Replacement
Introduzione
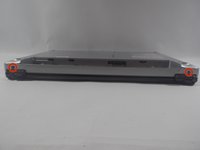
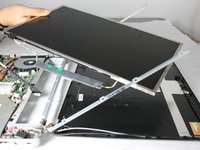
Vai al passo 1This guide is designed to help you quickly and safely replace the display screen when a problem arises. The display assembly includes the LCD, the front glass, and the display enclosure.
Cosa ti serve


-
-
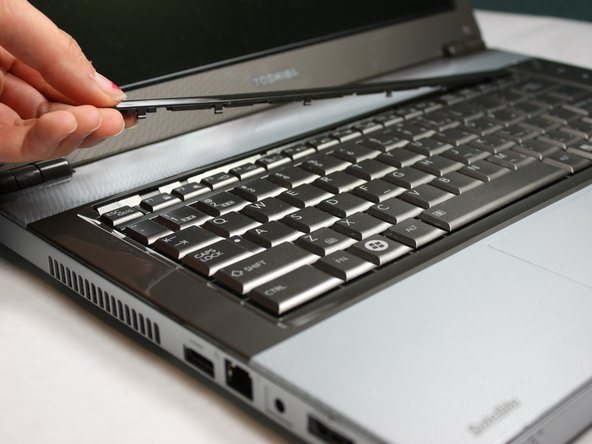
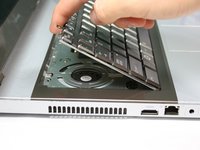
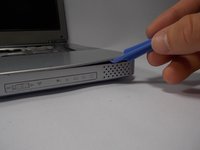
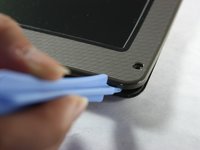
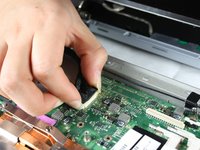
Flip the computer over and insert the plastic opening tool under the plastic strip at the top of the keyboard.
-
Pry the top plastic strip from the top of the keyboard.
-
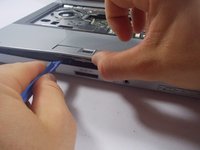
Peel the strip completely away from the keyboard.
-
-
-
-
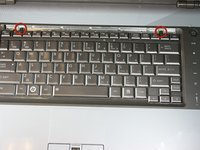
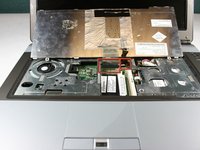
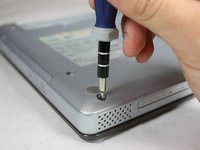
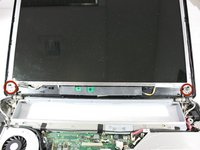
Locate the four silver screws on the front panel.
-
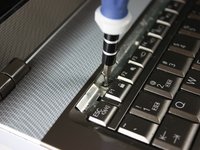
Using the Phillips #0, unscrew to remove all four 2.95mm silver screws.
-
-
-
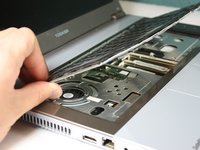
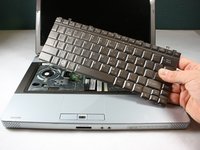
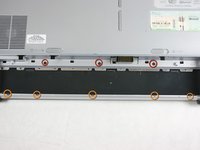
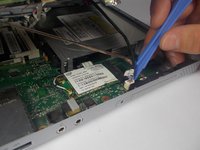
Use the plastic opening tool to pry the top panel up from the base of the computer.
-
Slowly work your way around the computer with the plastic removing tool to make it easier to lift the top panel away from the base.
-
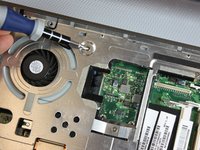
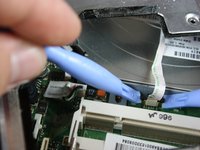
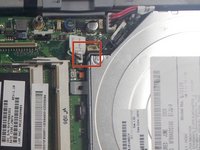
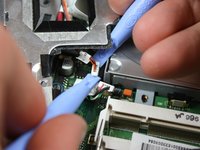
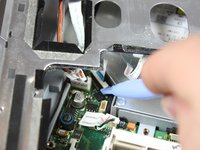
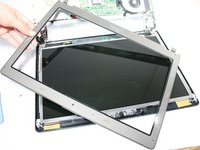
Disconnect ribbons, and slowly lift the top panel up, away from the base.
-
-
-
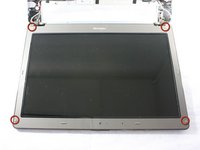
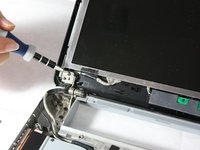
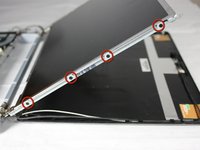
Rotate the computer so the screen is facing you and locate the four plastic screw covers; one at each corner of the screen
-
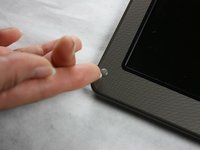
Using your fingernail, remove each cover in order to expose the screw.
-


To reassemble your device, follow these instructions in reverse order.
To reassemble your device, follow these instructions in reverse order.
Annulla: non ho completato questa guida.
Un'altra persona ha completato questa guida.
Team

Cal Poly, Team 17-21, Forte Winter 2013 Membro di Cal Poly, Team 17-21, Forte Winter 2013
CPSU-FORTE-W13S17G21
5 Membri
14 Guide realizzate