
Toshiba Satellite Click 2 Pro Wifi Card Replacement
15 minuti
Moderato
Introduzione
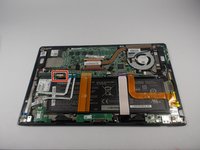
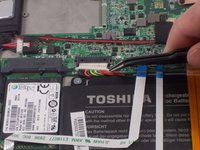
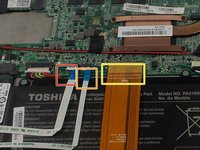
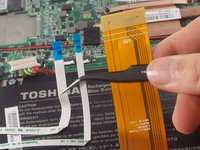
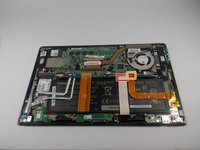
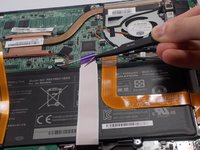
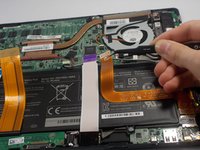
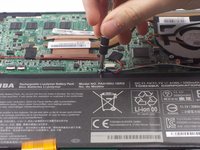
Vai al passo 1To start this guide make sure you have the appropriate tools and materials. This step is quite simple and easy to follow for the removal of the WiFi card if any damage has occurred to it.
Cosa ti serve


Quasi finito!
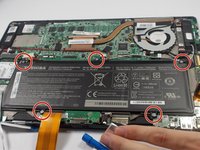
To reassemble your device, follow these instructions in reverse order.
Conclusione
To reassemble your device, follow these instructions in reverse order.
Team

UMass Dartmouth, Team 4-3, Catania Spring 2016 Membro di UMass Dartmouth, Team 4-3, Catania Spring 2016
UMASSD-CATANIA-S16S4G3
3 Membri
10 Guide realizzate