
Toshiba NB305 Keyboard Replacement
Introduzione
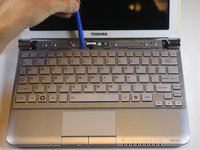
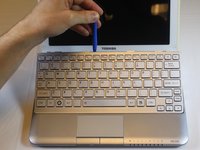
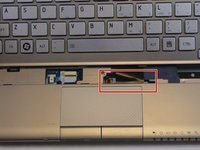
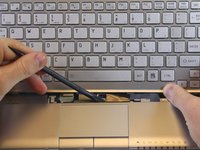
Vai al passo 1When replacing your keyboard make sure that you are not to rough with the removal of the keyboard. Take your time and go slowly or you will run the risk of damaging the laptop. Replacing your keyboard can help with efficiency and make working on your leptop more productive.
Cosa ti serve


-
-
-
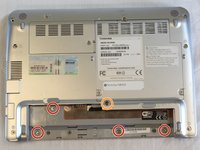
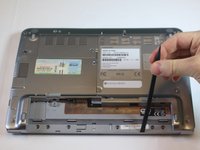
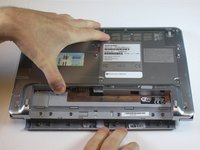
Remove the four F4 screws and the F6 screw underneath battery.
-
4mm Phillips-0 screws.
-
6mm Phillips-0 screws.
-


To reassemble your device, follow these instructions in reverse order.
To reassemble your device, follow these instructions in reverse order.
Annulla: non ho completato questa guida.
Un'altra persona ha completato questa guida.
Team

USF Tampa, Team 5-5, Lacy Fall 2016 Membro di USF Tampa, Team 5-5, Lacy Fall 2016
USFT-LACY-F16S5G5
3 Membri
15 Guide realizzate