
Toshiba CB35-C3300 Chromebook 2 WiFi PCB Replacement
Introduzione
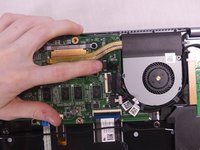
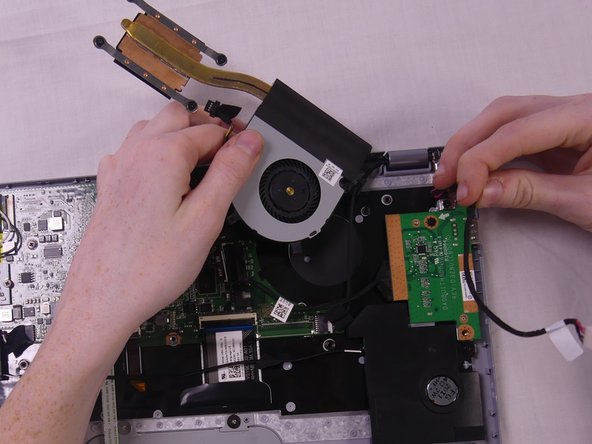
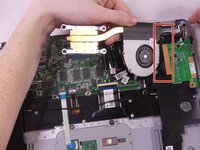
Vai al passo 1The WIFI PCB is how your device is able to connect to the internet through an antenna. This may need replacement if your device refuses to connect to working WIFI when other devices can connect.
Cosa ti serve


-
-
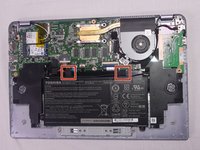
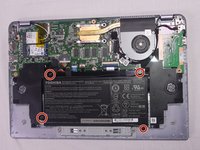
Remove the 2 rubber foot pads from the bottom (opposite the hinge) with the small Plastic Opening tool.
-
-
-
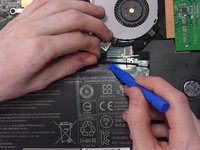
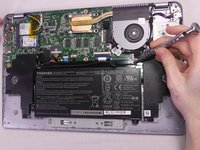
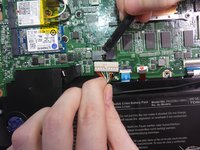
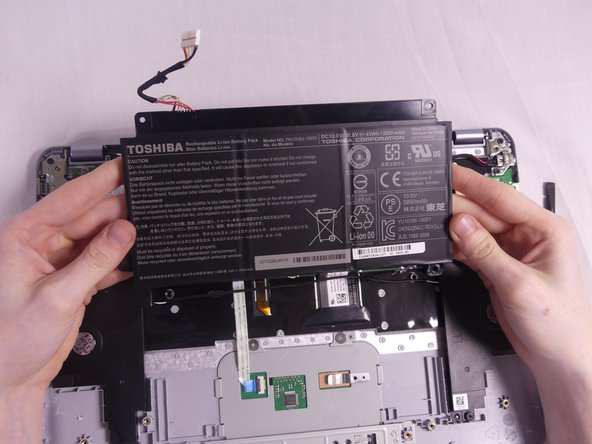
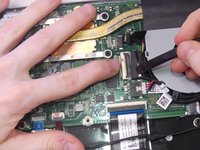
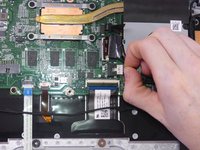
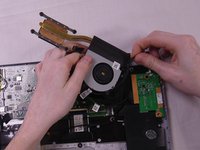
Remove the tape holding the speaker wire to the battery on both sides using a small opening tool.
-
-


To reassemble your device, follow these instructions in reverse order.
To reassemble your device, follow these instructions in reverse order.
Team

USF Tampa, Team S1-G121, Cagle Fall 2017 Membro di USF Tampa, Team S1-G121, Cagle Fall 2017
USFT-CAGLE-F17S1G121
3 Membri
14 Guide realizzate
Un commento
The article has some mistakes, namely, this isn’t the WiFi / WLAN, it is a USB port and card reader slot PCB. I came to iFixIt to double-check the part to upgrade to WiFi 6 (ax). Once you fix the part name, the article is good! The part number DA0BUITH8D0 is what to search for when trying to buy one. I didn’t need one, but looked it up just the same, there are not a ton of these out there and I would probably just resort to a USB reader.