
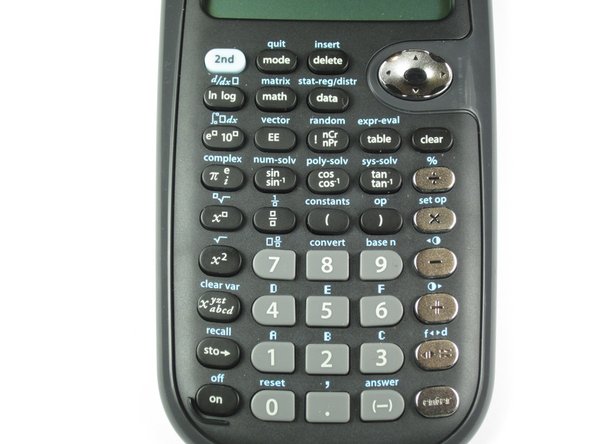
TI-36X Pro Button Replacement
Introduzione
Vai al passo 1For this guide you will remove all of the internal components in order to replace the buttons.
Cosa ti serve
Ricambi
Strumenti


Mostra di più…
-
-
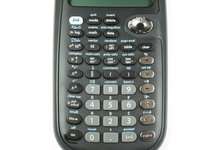
Remove the calculator's protective cover.
-
Place the calculator face down.
-
-
-
Use a Phillips #00 screwdriver to remove the two 7.5 mm screws holding the battery cover to the case.
-
Use your finger to move the battery cover to the side.
-
-
-
-
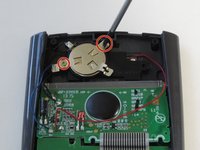
After removing the battery, use a Phillips #00 screwdriver to take out the 4.5mm screw directly to the right of the solar panel.
-
-
-
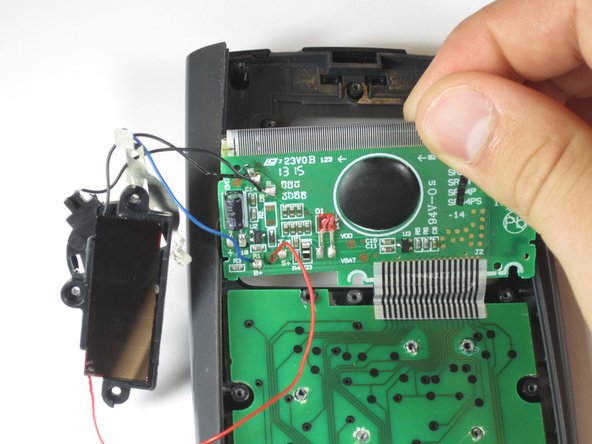
Lift the top edge of the solar panel with a finger and slide it away from the circuit board to disconnect it from the calculator.
-
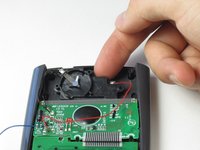
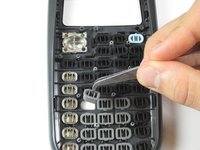
Carefully pry the screen out of the calculator with a prying tool or spudger.
-
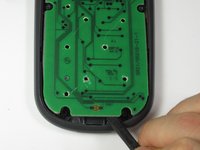
Pry the lower circuit board from the calculator by inserting a prying tool between the base of the calculator and the circuit board.
-


To reassemble your device, follow these instructions in reverse order.
To reassemble your device, follow these instructions in reverse order.
Annulla: non ho completato questa guida.
Altre 3 persone hanno completato questa guida.
Team

Cal Poly, Team 11-52, Amido Spring 2014 Membro di Cal Poly, Team 11-52, Amido Spring 2014
CPSU-AMIDO-S14S11G52
4 Membri
10 Guide realizzate