Introduzione
Utilizza questa guida per sostituire correttamente le strisce adesive per la batteria del tuo iPhone 5s, 5c o SE. Ogni volta che rimuovi la batteria, le strisce dovranno essere sostituite. Le strisce si danneggeranno facilmente se non sono applicate in modo corretto, dunque si consiglia di avere un set di ricambio di strisce a portata di mano se stai seguendo questa guida per la prima volta.
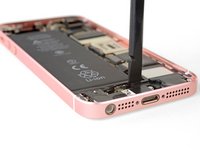
Prima di cominciare, dovresti rimuovere la batteria seguendo una guida come quelle indicate qui sotto. Nota: l'iPhone 5 e i modelli precedenti non usano strisce adesive.
Se devi sostituire le strisce adesive della batteria in un modello diverso di iPhone, usa una delle seguenti guide:
Cosa ti serve
-
-
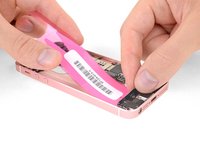
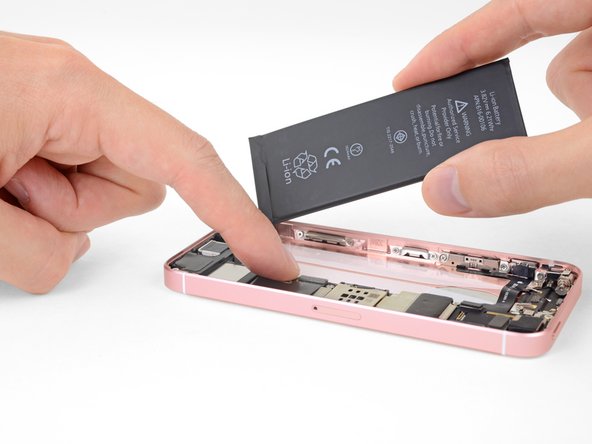
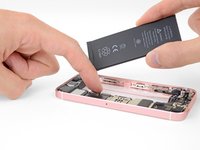
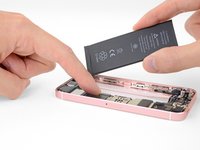
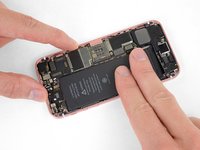
Prima di applicare le nuove strisce adesive, connetti temporaneamente la nuova batteria e controlla il suo allineamento nell’iPhone.
-
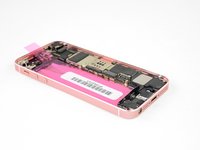
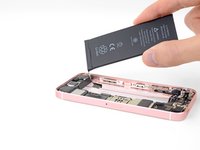
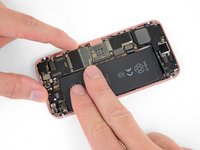
Una volta eseguiti tutti i passaggi, scollega la batteria e rimuovila.
-
-
-
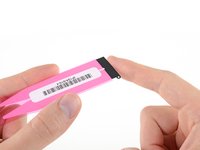
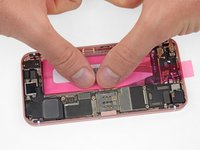
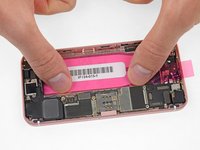
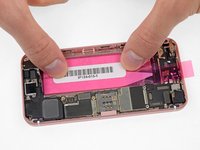
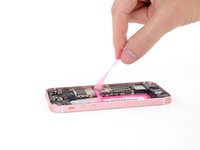
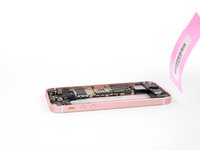
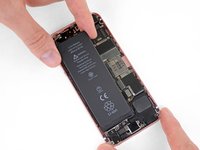
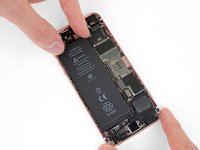
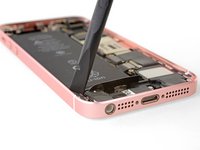
Stacca la grande pellicola blu e rimuovila completamente dalle strisce adesive.
-
Se ti accade e hai acquistato le strisce da iFixit, contattaci qui e ti manderemo una doppia sostituzione.
-
Nel frattempo, puoi temporaneamente rimontare il tuo iPhone con un po’ di nastro biadesivo per tenere la batteria.
-
-
-
Attrezzo utilizzato in questo passaggio:Tweezers$4.99
-
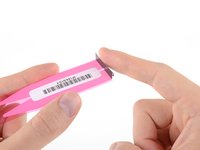
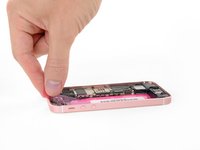
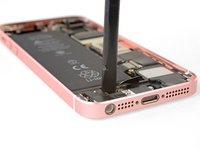
Utilizza l’estremità piatta dello spudger o delle pinzette smussate per piegare la linguetta nera verso il basso, infilandola tra il bordo inferiore della batteria e i componenti che rivestono il bordo inferiore dell’iPhone.
-


Per riassemblare il tuo iPhone, ritorna alla guida utilizzata per rimuovere la batteria e segui i passi in ordine inverso.
Ricorda di portare la tua vecchia batteria da un riciclatore certificato E-Waste o e-Stewards.
Per riassemblare il tuo iPhone, ritorna alla guida utilizzata per rimuovere la batteria e segui i passi in ordine inverso.
Ricorda di portare la tua vecchia batteria da un riciclatore certificato E-Waste o e-Stewards.
Annulla: non ho completato questa guida.
Altre 241 persone hanno completato questa guida.
Un ringraziamento speciale a questi traduttori:
100%

Questi traduttori ci stanno aiutando ad aggiustare il mondo! Vuoi partecipare?
Inizia a tradurre ›


4 Commenti
Maybe, but the adhesive strips are designed to be very strong and very thin, and reasonably heat-resistant. This keeps the battery secure even if you shake the phone (or take it jogging), and it won’t come loose if the phone gets hot. The thin profile also means the battery has room to expand slightly without contacting or putting pressure on the display. Considering how cheap the strips are vs. the cost of the expensive phone you are repairing, I tend to err in favor of putting it back together the way it’s designed. But, your phone, your choice!
All worked well except removing one of the adhesive strips. I used a “Bed Buddy” microwavable heat pack to warm the phone as directed and it worked fine. So far I’m pleased. Now comes the re-assembly challenge.
Use this iFixit video guide for applying the adhesive instead IMO—many people will tell you to apply it to the battery itself instead of the bottom of the case:
https://www.youtube.com/watch?v=Xthi6DOx...
At least you have options now. :)