
Sostituzione gruppo scheda madre e batterie incastrate Apple Wireless Keyboard (A1314)

Introduzione
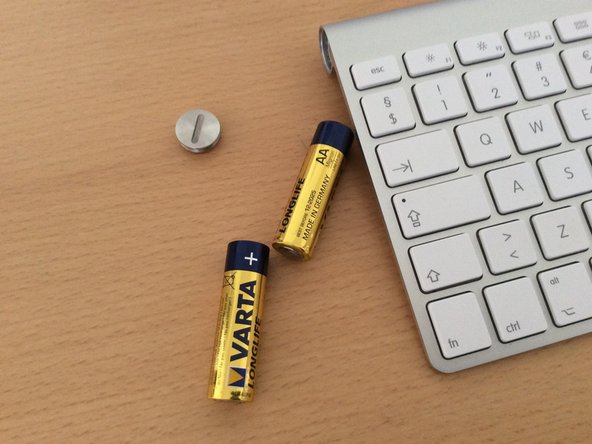
Vai al passo 1Questa guida ti mostrerà lo smontaggio più basilare della Wireless Keyboard (A1314), sostituendo il gruppo della scheda madre e le batterie incastrate.
Cosa ti serve


-
-
Ruotala in senso antiorario per aprirla.
-
Se è ancora come nuova, dovresti poterlo fare facilmente con un unghia. Altrimenti prova ad usare una moneta o un cacciavite a testa piatta.
-
Le batterie dovrebbero sfilarsi facilmente. Se le tue batterie sono incastrate, puoi lasciarle inserite per ora. Potrai rimuoverle successivamente.
-
-
-
Ora gira la tastiera a faccia in giù per trovare la copertura in plastica sottostante.
-
Premi su entrambi i lati della copertura in plastica, sollevandone un'estremità.
-
Stai attento a non usare troppa forza qui o potresti danneggiare la copertura o la scheda madre sottostante.
-
-
-
-
Ora svita la piccola vite a croce Phillips che tiene fermo il gruppo della scheda madre.
-
-
-
Solleva la piccola leva di bloccaggio sul connettore del cavo a nastro e scollegalo attentamente.
-
Sii molto attento con il cavo a nastro: è molto sottile e si può danneggiare facilmente, se fai forza.
-
-
-
Ora (stando sempre attento a non danneggiare il cavo a nastro) puoi iniziare a spingere fuori l'intero gruppo, iniziando con il tasto di accensione. Ho evidenziato il tasto di accensione in modo da non avere dubbi.
-
Mentre continui a sfilarlo, verso la fine, si incastrerà e dovrai premere un po' la parte inferiore della plastica bianca per sfilarlo del tutto.
-
Se le tue batterie sono incastrate, questo è il momento per rimuoverle. Ora che hai spazio, puoi usare qualcosa come un lungo cacciavite da infilare nel cilindro e spingere fuori le batterie (ti consiglio di spingerle fuori allo stesso modo di come vanno inserite, sempre per evitare di danneggiare il cavo a nastro).
-
Ecco fatto. Hai finito.
-


Per rimontare il tuo dispositivo, segui le istruzioni in ordine inverso.
Per rimontare il tuo dispositivo, segui le istruzioni in ordine inverso.
Annulla: non ho completato questa guida.
Altre 58 persone hanno completato questa guida.
Un ringraziamento speciale a questi traduttori:
100%
Daniele Carminati ci sta aiutando ad aggiustare il mondo! Vuoi partecipare?
Inizia a tradurre ›

25 Commenti
My keyboard has the same model number as the unit described here, but the plastic cover is at the end near the power button. Although I could remove the cover and small screw inside, I was unable to remove the ribbon cable.
I tried banging the stuck battery out of the keyboard until I was sure it would be ruined. With only 1cm of progress, I decided to take the battery out by setting a screw and pulling it out like a fish on a hook. Here's what I did:
1. Poke a hole in the bottom of the stuck battery with an ice pick
2. Create a 'fish hook and line' by wrapping a coat hanger around the end of a big gnarly wood screw.
3. Carefully screw into the battery until it is most of the way in.
4. fit the coat hanger through a narrow gap (drill a hole in a board) and pull with all your might to drag the battery out of the keyboard.
5. Clean out the hole to get rid of the rotten battery debris
6. Pop in some new batteries, and Hey-Presto! it works.
I have a great picture of this if there is a way to upload one.
To remove the ribbon cable you have to first release the cable. The gray piece is actually a clip (of sorts) I you look closely you can see a seam in the grey piece. It slides up (in the direction of the cable) and will allow the cable to be removed easily.
I know this is old but maybe someone else has the same question.
Mo Ali -
My plastic cover is in the middle and I can't get at it any suggestions? Thanks
Use a pry tool like the ones used to remove screens. I thin flat screwdriver might work. It’s better to use a plastic pry tool (if you have one) they look like guitar picks and generally won’t scratch the surfaces.. Place it in the seem between the metal and plastic. I just squeezed it together really hard and then I saw a seam. I put a fingernail in the seam to open it up all the way.
Mo Ali -