
Sony Vaio VPCCW17FX Keyboard Replacement
Introduzione
Vai al passo 1This guide will instruct users on how to remove the keyboard from the laptop for repair or replacement purposes.
Cosa ti serve


-
-
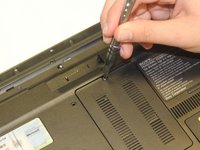
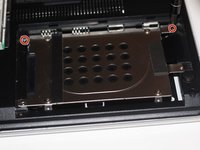
Now, remove the small covers from the back of the case.
-
Using a Phillips #00 screwdriver, unscrew the three 5.6 mm screws from the covers (one screw on the RAM cover [middle] and two screws on the Hard Drive cover [bottom right]).
-
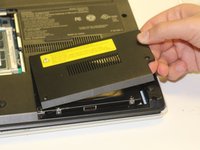
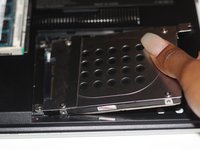
Then, lift up on and remove these covers as shown in the third image.
-
-
-
-
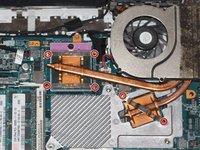
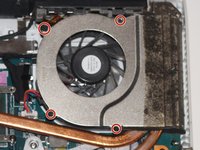
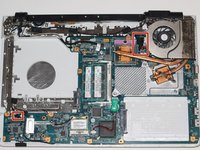
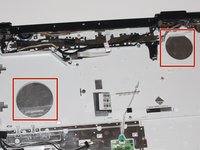
Locate the fan (top-right corner of the computer).
-
Using a Phillips #00 screwdriver, unscrew the six 2.7 mm screws that secure the fan to the motherboard.
-
-
-
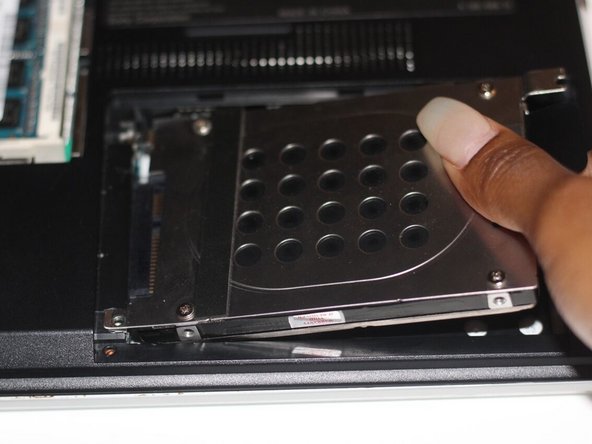
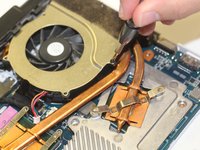
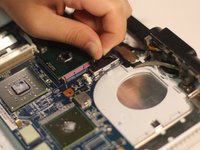
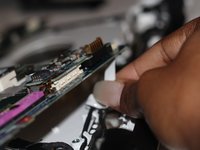
With your hand, grasp the side of the DVD/CD drive and gently pull it out of the socket, disconnecting it from the motherboard.
-
-
-
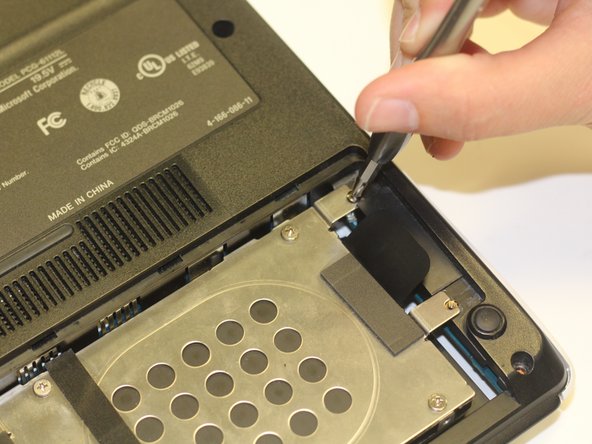
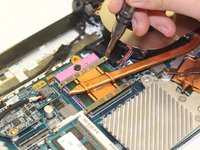
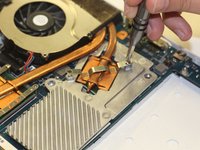
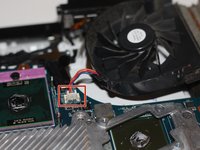
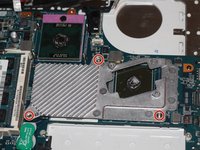
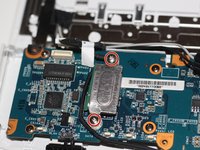
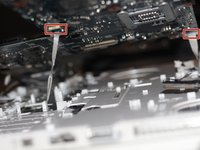
Using the Phillips #00 screwdriver, unscrew the two 4.9 mm screws depicted here.
-
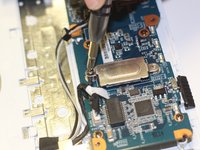
Next, remove the metal cover to expose the bluetooth card.
-
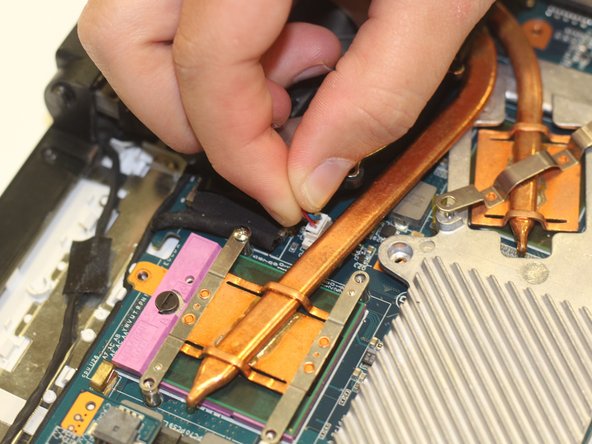
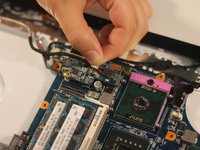
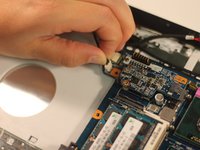
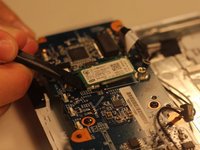
Gently fit the flat end of a spudger under the edge of the bluetooth card. Then, lightly pry up on this edge to release the card from the motherboard. (Refer to the third image)
-
-
-
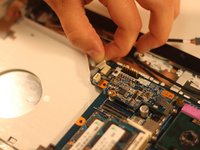
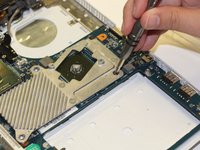
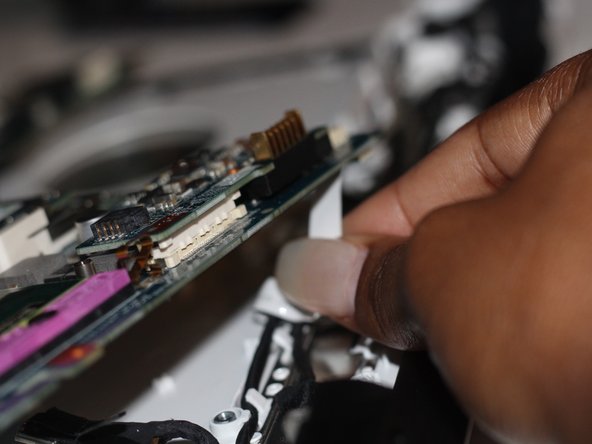
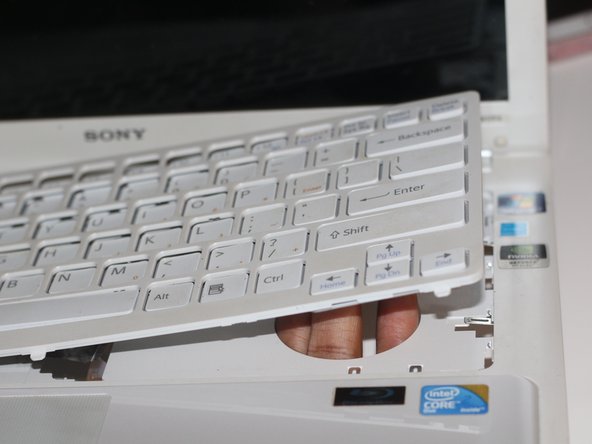
Using the Phillips #00 screwdriver, remove the one 3.7 mm screw that secures the keyboard to the laptop.
-


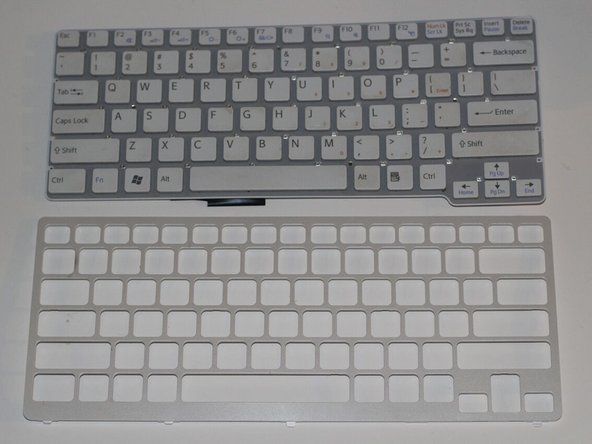
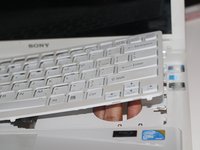
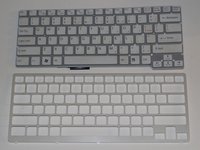
To reassemble your device, follow these instructions in reverse order.
To reassemble your device, follow these instructions in reverse order.
Annulla: non ho completato questa guida.
Altre 2 persone hanno completato questa guida.
Team

University of Alabama, Team S3-G9, Bedsole Spring 2018 Membro di University of Alabama, Team S3-G9, Bedsole Spring 2018
UA-BEDSOLE-S18S3G9
3 Membri
12 Guide realizzate