
Sony TV RM-862 Remote Disassembly
1 ora
Moderato
Guida fornita dalla comunità
Introduzione
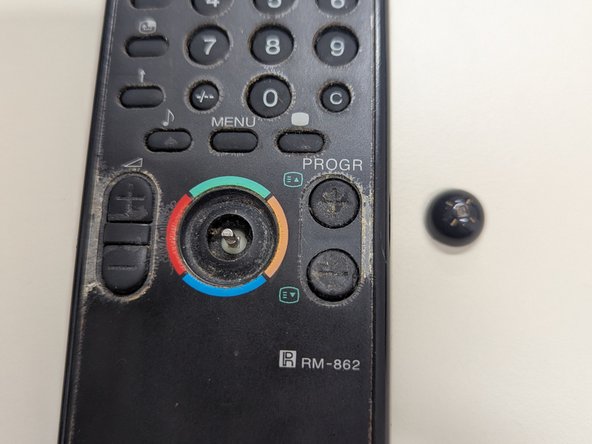
Vai al passo 1Let's disassemble an old Sony remote!
This remote was used for many Sony Trinitron CRT TVs around the late 90s and early 2000s.
Also, this is my first guide, so please be kind. Thanks! :)
Cosa ti serve
Strumenti

-
-
The remote is not held together by any screws, just clips.
-
Use a spudger and try to push the case gently but with a little force while wiggling it back and forth.
-
Open the case up until you are near the IR shield. The shield needs extra carefulness.
-
Gently wiggle the two parts to loosen the IR shield. The bottom case comes easier off than the top, so be sure to loosen the IR shield from the bottom cover.
-
-


Quasi finito!
Linea Traguardo