
Sony PlayStation 3D Display Power Port Replacement
Introduzione
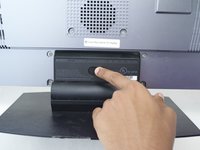
Vai al passo 1This repair might be needed if your device is not receiving power.
Cosa ti serve
Ricambi


Strumenti


Mostra di più…
-
-
-
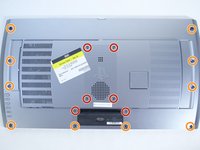
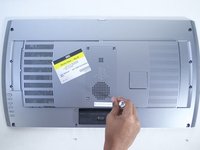
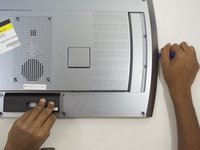
With the Phillips #02 screwdriver, remove the two 5mm length x 7mm head screws from the left and right side of the power port plate.
-


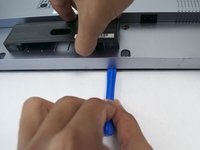


To reassemble your device, follow these instructions in reverse order.
To reassemble your device, follow these instructions in reverse order.
Annulla: non ho completato questa guida.
Un'altra persona ha completato questa guida.
Team

Cal Poly, Team 12-16, Maness Fall 2015 Membro di Cal Poly, Team 12-16, Maness Fall 2015
CPSU-MANESS-F15S12G16
4 Membri
8 Guide realizzate