Salta al contenuto principale
Sony NWZ-E473 Battery Replacement

Sony NWZ-E473 Battery Replacement

Matthew Hintz

Matthew Hintz e 7 altri collaboratori

Ultimo aggiornamento il May 7, 2024

30 minuti
Difficile

Introduzione

Vai al passo 1

To complete this Sony NWZ-E473 guide, a soldering iron will be needed. You may want to have someone with soldering iron experience complete that step or watch some basic videos on how to use a soldering iron.

Cosa ti serve

Strumenti

Mostra di più…

  1. Sony NWZ-E473 Battery Replacement, Back Panel: passo 1, immagine 1 di 1
    • Use a Phillips #00 screwdriver to unscrew the two 5 mm screws located on the bottom of the back of the device.

  2. Sony NWZ-E473 Battery Replacement: passo 2, immagine 1 di 1
    • Use a plastic opening tool to loosen the bottom portion of device.

  3. Sony NWZ-E473 Battery Replacement: passo 3, immagine 1 di 1
    • Use a plastic opening tool to loosen the top panel of the device.

  4. Sony NWZ-E473 Battery Replacement: passo 4, immagine 1 di 1
    • Use a Phillips #00 screwdriver to remove the two 3 mm screws located on the portion under the top panel of the device.

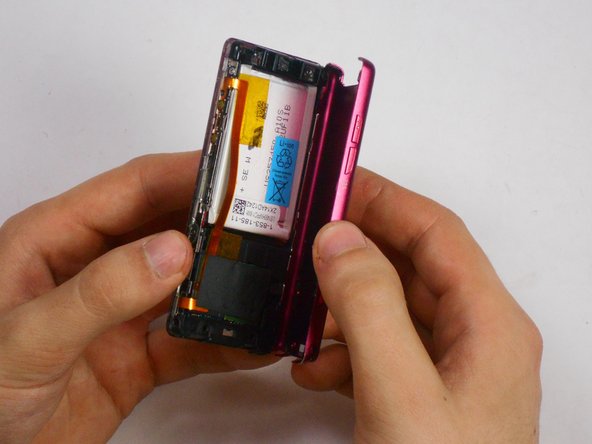
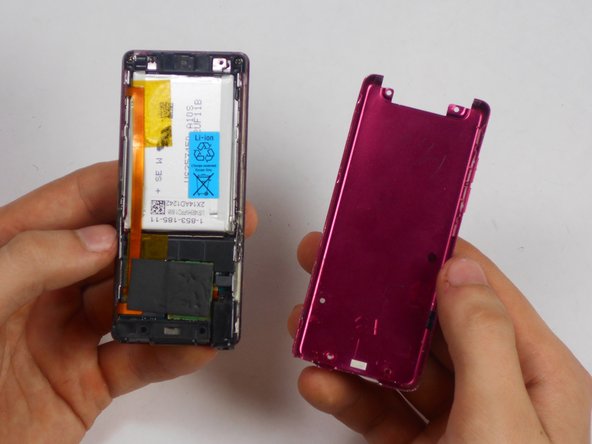
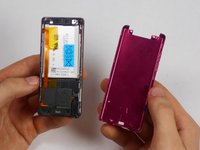
  5. Sony NWZ-E473 Battery Replacement: passo 5, immagine 1 di 3 Sony NWZ-E473 Battery Replacement: passo 5, immagine 2 di 3 Sony NWZ-E473 Battery Replacement: passo 5, immagine 3 di 3
    • Remove the back plate from the device.

  6. Sony NWZ-E473 Battery Replacement, Battery: passo 6, immagine 1 di 2 Sony NWZ-E473 Battery Replacement, Battery: passo 6, immagine 2 di 2
    Attrezzo utilizzato in questo passaggio:
    Tweezers
    $4.99
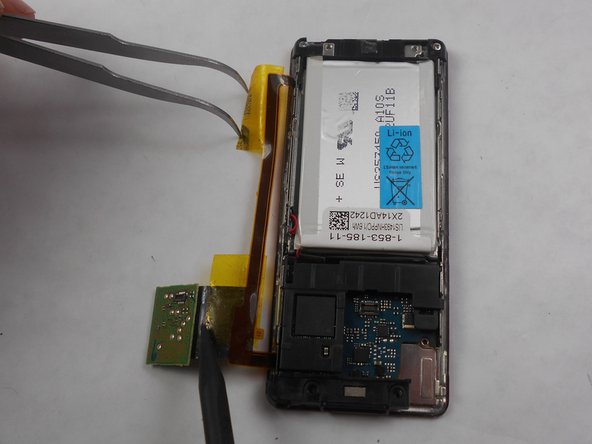
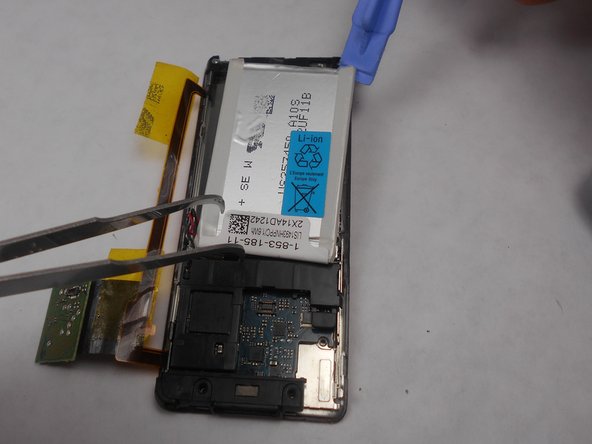
    • Peel back the layer of tape along with the processor, which is located just below the battery, using the tweezers and the spudger.

  7. Sony NWZ-E473 Battery Replacement: passo 7, immagine 1 di 2 Sony NWZ-E473 Battery Replacement: passo 7, immagine 2 di 2
    • Slide a prying tool underneath the top portion of the battery and lift it from the case.

  8. Sony NWZ-E473 Battery Replacement: passo 8, immagine 1 di 1
    • Remove the stickers from the battery terminals, which are on the underside of the battery.

  9. Sony NWZ-E473 Battery Replacement: passo 9, immagine 1 di 1
    • Use a soldering iron to remove the wires from the red and the black terminals.

Conclusione

To reassemble your device, follow these instructions in reverse order.

Altre 4 persone hanno completato questa guida.

Team

USF Tampa, Team 17-6, Watkins Winter 2015 Membro di USF Tampa, Team 17-6, Watkins Winter 2015

USFT-WATKINS-W15S17G6

4 Membri

7 Guide realizzate

2 Commenti

Hi their I have a Sony nwz-e355 walkman I want to replace the battery in it cause I thinks it's done I see u do a replacement for the e473 wondering if u have e355 batteries or will this e473 battery work in my walkman both need to be soildered in any feed back would help

Derek Hebert - Replica

I have the same model. I have 2 of them purchased years ago from Ubid.com. A very cool device. SONY ought to service them when the batteries fade…

guy lewit -

Aggiungi Commento

Visualizza Statistiche:

Ultime 24 Ore: 5

Ultimi 7 Giorni: 15

Ultimi 30 Giorni: 75

Tutti i Tempi: 10,078