
SodaStream Source Loader Tab Replacement
Introduzione
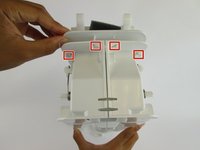
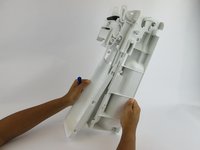
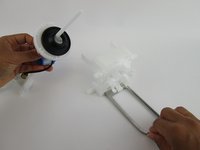
Vai al passo 1The SodaStream Source creates soda when the loader tab is engaged. Pressing on this tab initiates carbonation and flavor infusion. This tab may become damaged through use and can be replaced through the steps given in this guide. The tab is located within the carbonating block and has its own cover. Replacement of the loader tab requires both external and internal disassembly of the device. This guide shows the steps to access this internal component.
Cosa ti serve

-
-
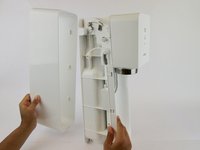
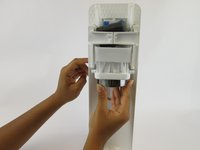
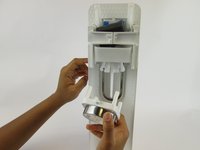
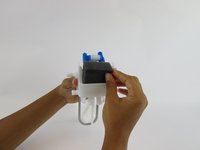
Remove the soda bottle and the CO₂ canister from the machine.
-
-
Attrezzo utilizzato in questo passaggio:Phillips #1 Screwdriver$8.99
-
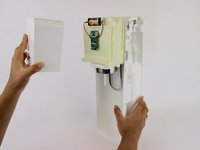
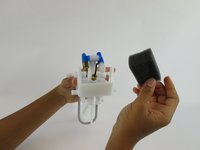
Remove the four 17.8 mm screws from the bottom metal base using a Phillips #1 screwdriver.
-
-
Attrezzo utilizzato in questo passaggio:Phillips #1 Screwdriver$8.99
-
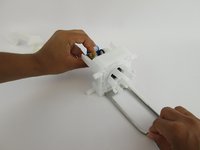
Remove the two 18.2 mm screws from the bottom of the front cover using a Phillips #1 screwdriver.
-
-
-
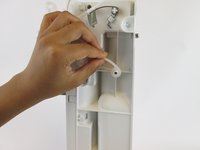
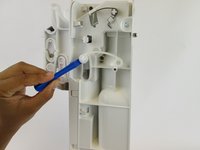
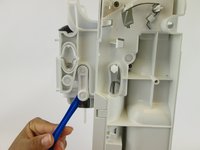
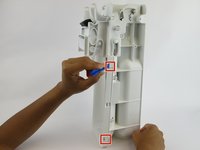
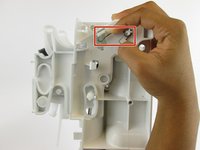
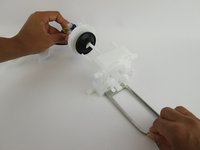
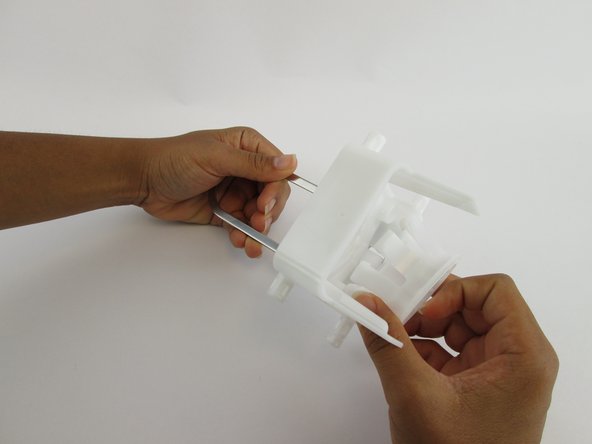
Push the brass bar, located in the top of the device, out of the carbonating block.
-
-
-
-
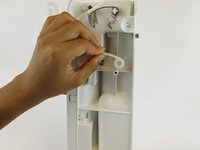
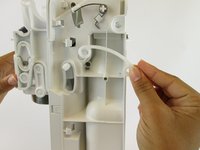
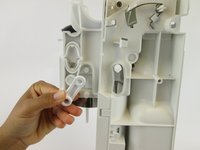
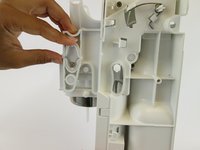
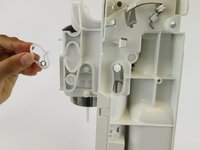
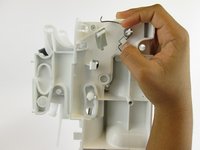
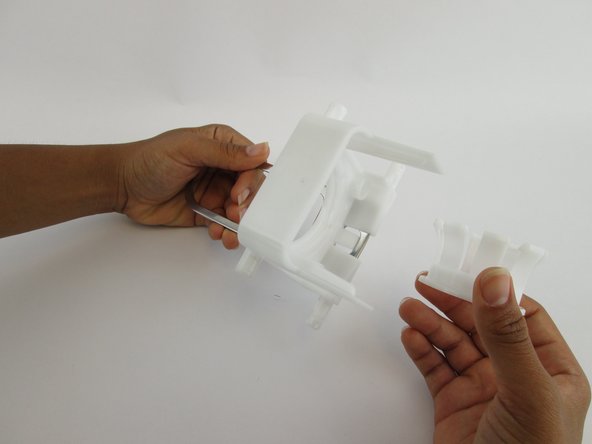
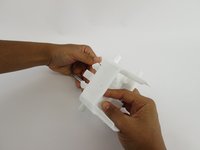
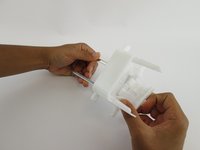
Pull the small inner plastic circle out of the large plastic loader tab piece.
-


To reassemble your device, follow these instructions in reverse order.
To reassemble your device, follow these instructions in reverse order.
Annulla: non ho completato questa guida.
Altre 8 persone hanno completato questa guida.
Team

USF Tampa, Team S1-G4, Leahy Spring 2017 Membro di USF Tampa, Team S1-G4, Leahy Spring 2017
USFT-LEAHY-S17S1G4
3 Membri
41 Guide realizzate
6Commenti sulla guida
Thank you SO much for this! I was having a lot of trouble with this thing not releasing the bottle, so I disassembled it all and put it back together and now it works a treat! Not sure what was going on but I am so excited. You weren’t kidding at the end about it all falling apart… took ages to work out how it all went back together, but now I understand it and I have a working SodaStream. 5*!
Do you know where the tiny magnet goes? It fell out on the table as I was disassembling.
I think it has something to do with the microchip for the LED’s. Can’t figure out how else the light would light. I haven’t taken it apart far enough to find the magnet. Hope this helps you.
You can see the magnet in step 18, the first picture. Its right below where a screw used to be.
I placed sodastream on side and removed top half. I could then see where parts needed to be after they “fell out” for reassembly. More pictures of those steps would be helpful. Thank