Smart Parts Ion Trigger Replacement
Introduzione
Vai al passo 1Sometimes the trigger on the Ion needs replacement due to wear and tear. While working on the Ion, the user should be aware of the pressure due to air inside the gun. Pressurized air can be forceful, causing particles to be ejected from the gun into your eyes and/or skin. When air bubbles enter the bloodstream, they can block blood vessels and cause embolisms. To avoid this, make sure to point the gun in a safe direction when de-gasing the Ion.
Cosa ti serve
Strumenti
Mostra di più…
-
-
Turn the gun on by pressing the power button until the red light blinks.
-
Turn vision mode off by pressing the power button again.
-
-
-
Remove the four 8mm screws on each side of the gun's grip using a Phillips #2 screwdriver.
-
-
-
-
Remove the front and rear 1" screws on the gun's grip frame using a 3/32" Allen Wrench.
-
-
-
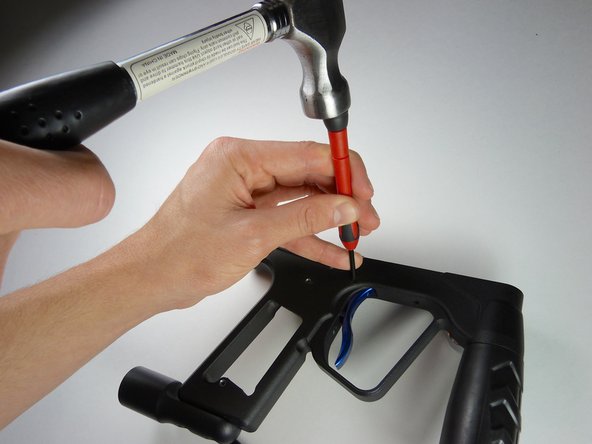
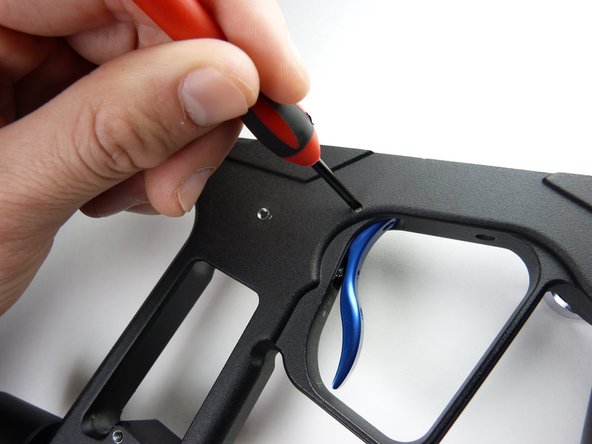
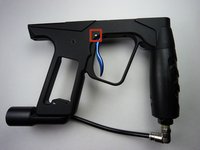
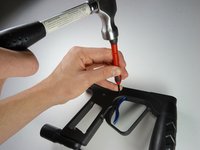
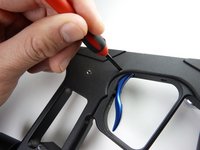
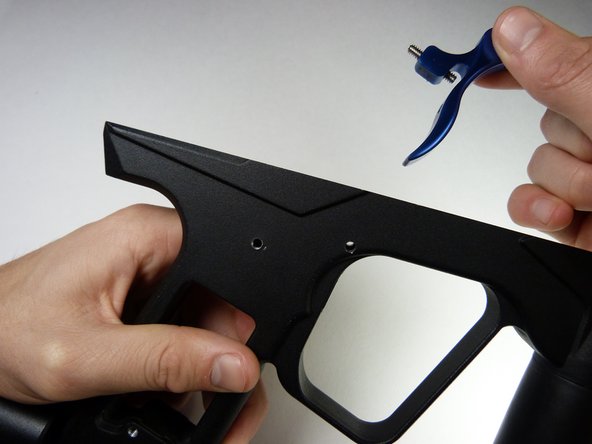
Remove the trigger pin by tapping it out of the right side of the gun using a 3mm screwdriver.
-
To reassemble your device, follow these instructions in reverse order.
To reassemble your device, follow these instructions in reverse order.
Annulla: non ho completato questa guida.
Un'altra persona ha completato questa guida.


