
Sanyo VPC-X1200 LCD Screen Replacement
10 minuti
Moderato
Introduzione
Vai al passo 1This guide will help you remove and replace the LCD screen.
Cosa ti serve
Strumenti


-
-
Remove the five case screws with a Phillips #00 Screwdriver.
-
Five 3.5mm Phillips Screws
-
-
-
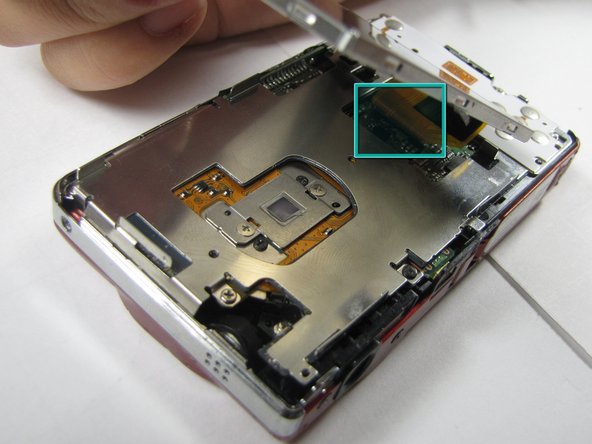
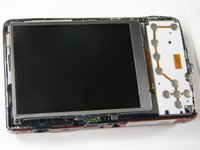
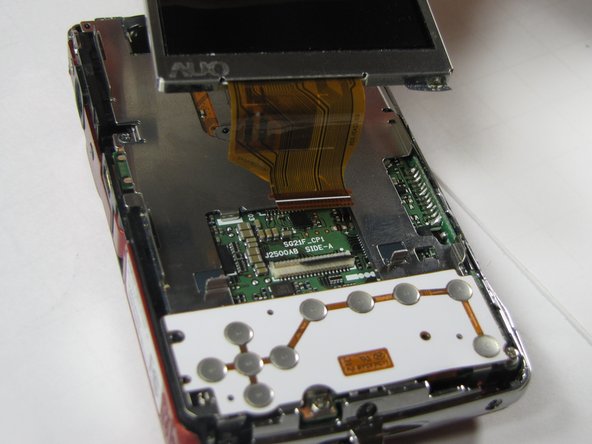
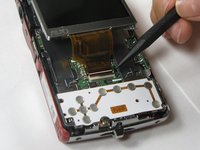
Gently lift up on the left side of the LCD and slowly pull it to the left side of the camera but do not remove entirely, there is a ribbon connector.
-


Quasi finito!
To reassemble your device, follow these instructions in reverse order.
Conclusione
To reassemble your device, follow these instructions in reverse order.
Preparati per le riparazioni future
Acquista tutti


Team

Cal Poly, Team 7-10, Maness Spring 2010 Membro di Cal Poly, Team 7-10, Maness Spring 2010
CPSU-MANESS-S10S7G10
4 Membri
14 Guide realizzate