
Samsung Series 5 3G Chromebook CPU Replacement
Introduzione
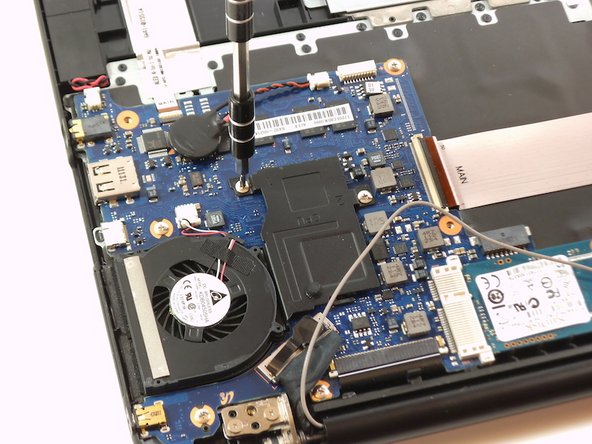
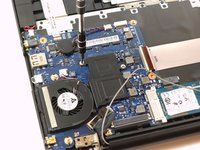
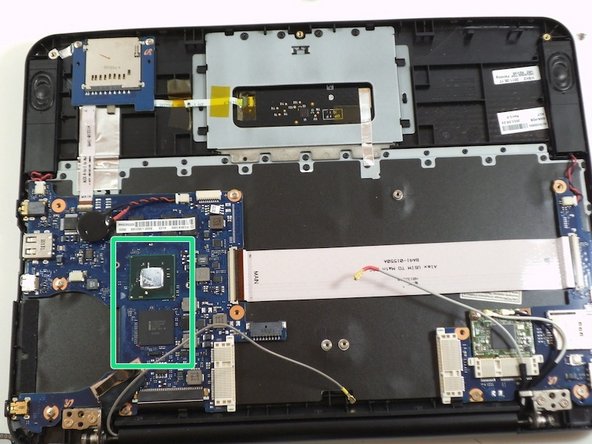
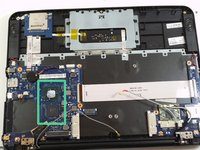
Vai al passo 1Upgrading or replacing your CPU (Central Processing Unit) can help speed up and increase the power of your Chromebook. Be careful, as this is a crucial component of your computer.
Cosa ti serve


-
-
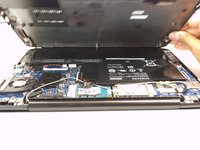
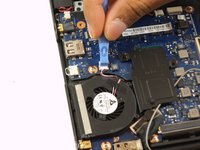
Place the laptop on a flat surface with the bottom side facing up.
-
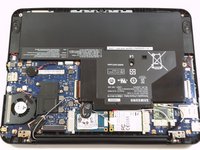
Remove the rubber feet from the bottom of the panel using your fingernails.
-
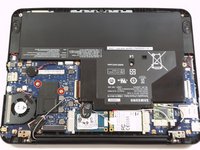
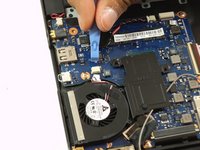
Remove all the seven screws from the bottom panel.
-
-


To reassemble your device, follow these instructions in reverse order.
To reassemble your device, follow these instructions in reverse order.
Annulla: non ho completato questa guida.
Un'altra persona ha completato questa guida.
Team

University of Maryland, Team 1-7, Shastany Fall 2013 Membro di University of Maryland, Team 1-7, Shastany Fall 2013
UMD-SHASTANY-F13S1G7
2 Membri
9 Guide realizzate