
Samsung Notebook 7 Spin NP740U3MK01US Wi-Fi Card Replacement
Introduzione
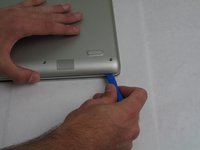
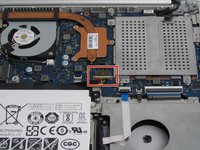
Vai al passo 1This is a guide to replace the Wi-Fi card on the Samsung Notebook 7 Spin NP740U3MK01US. However, it is extremely difficult to replace the Wi-Fi card itself so this guide shows how to replace the whole USB board that the Wi-Fi card is attached to. If you are unable to connect to a wireless network use this guide to replace your Wi-Fi card.
Cosa ti serve


-
-
-
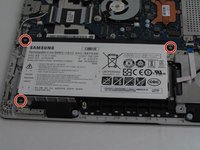
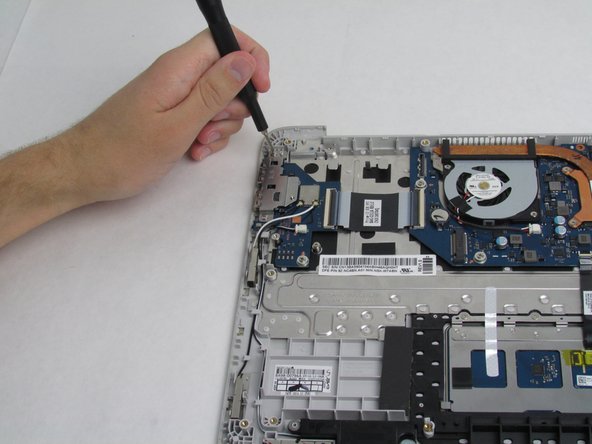
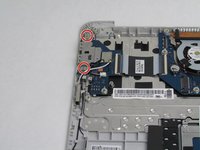
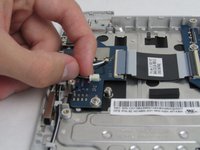
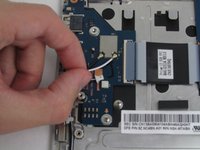
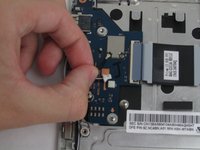
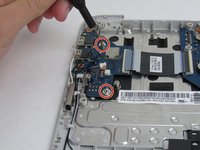
Use the Phillips #00 screwdriver to remove the two 4.5mm screws holding the cover plate in place.
-


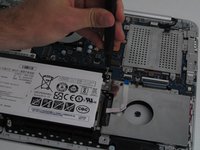


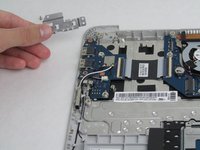

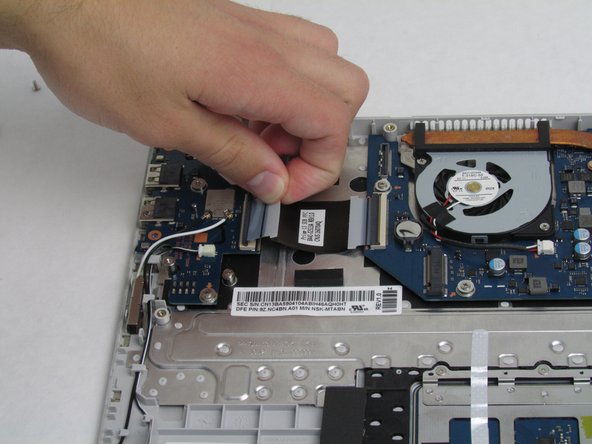
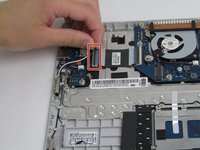


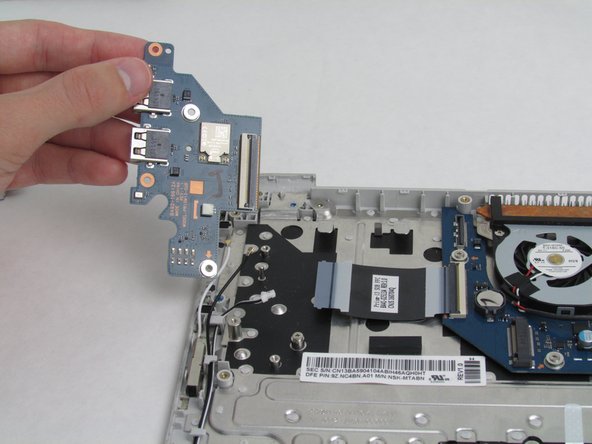
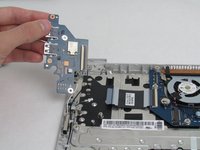
To reassemble your device, follow these instructions in reverse order.
To reassemble your device, follow these instructions in reverse order.
Team

Embry-Riddle Aeronautical University, Team S23-G3, McClure Fall 2019 Membro di Embry-Riddle Aeronautical University, Team S23-G3, McClure Fall 2019
ERAU-MCCLURE-F19S23G3
4 Membri
5 Guide realizzate