
Repairing Acer Aspire 5100 Display Screen

30 minuti - 1 ora
Moderato
Necessarie Immagini Migliori
Guida fornita dalla comunità
Vigilanza sulla Grammatica
Foto Azione
Immagini Non Adeguate
Pallini!
Testo Confuso
Attrezzi Non Corretti
In Lavorazione
Passi mancanti
Guida Archiviata
Questa guida è mantenuta solo per scopi storici. Usa la versione aggiornata della guida per eseguire la riparazione.
Introduzione
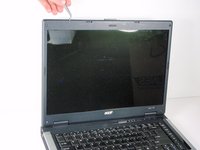
Vai al passo 1This guide shows how to disassemble the Acer Aspire 5100 to remove the display screen.
Cosa ti serve


-
-
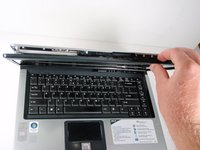
Flip the laptop over so the audio jacks are facing you.
-
Unlock the battery by sliding the button (located above the battery) towards the outer edge of the computer. When you feel the battery release and pop up, gently pull the battery from its compartment.
-
-


Quasi finito!
To reassemble your device, follow these instructions in reverse order.
Conclusione
To reassemble your device, follow these instructions in reverse order.
Annulla: non ho completato questa guida.
Altre 3 persone hanno completato questa guida.
