
Razer Basilisk V3 Scroll Wheel Assembly Replacement
Introduzione
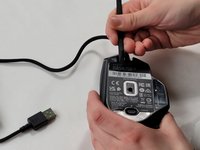
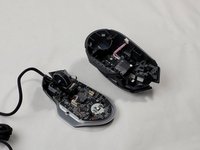
Vai al passo 1It is not uncommon for mice, such as the Razer Basilisk V3, to see mechanical difficulties through wear and tear of the mouse. In order to fix issues such as unregistered scrolls, double scrolling, or general friction, it might be necessary to take apart the mouse and perform a replacement. Additionally, customization and upgrades could also be a reason to replace the scroll wheel.
It should be noted that disassembling the mouse to replace the scroll wheel will most likely damage the mouse skates. Also, it is helpful for users to have knowledge in basic electronics as well as the internal structure of a mouse. This guide will assist in replacing the Basilisk V3 scroll wheel.
Cosa ti serve


-
-
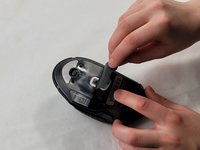
Remove two 4.8 mm screws that were hidden under the skates using a JIS #1 screwdriver.
-
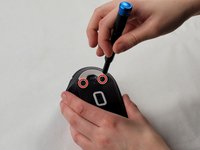
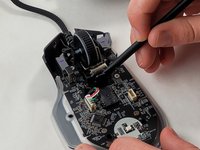
Remove the single 4 mm screw beneath the thumb grip using a JIS #1 screwdriver.
-
-
-
-
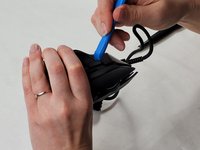
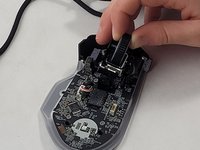
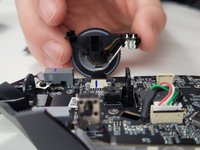
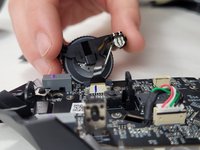
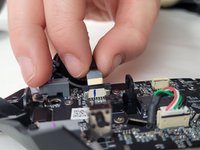
Use the flat end of the spudger to pop-out the scroll wheel assembly.
-


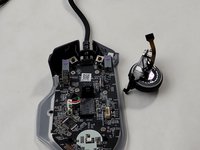
To reassemble your device, follow these instructions in reverse order.
To reassemble your device, follow these instructions in reverse order.
Annulla: non ho completato questa guida.
Altre 2 persone hanno completato questa guida.
Team

UMass Dartmouth, Team 1-2, Santin Spring 2024 Membro di UMass Dartmouth, Team 1-2, Santin Spring 2024
UMASSD-SANTIN-S24S1G2
3 Membri
11 Guide realizzate