
Poukaran ZRW-TD-SRK2 LED Replacement
Introduzione
Vai al passo 1If your Poukaran ZRW-TD-SRK2 LED desk lamp is experiencing issues such as flickering, , this guide is here to assist you in repairing the problem rather than resorting to disposal. In this step-by-step tutorial, we will walk you through the process of diagnosing and fixing common LED desk lamp malfunctions. Before you start, gather essential tools such as screwdrivers, a multimeter, a pry tool (if necessary), and a soldering iron. Safety is paramount, so keep the lamp unplugged and exercise caution with sharp edges and soldering equipment. Our guide covers disassembling the lamp safely, identifying and replacing faulty LED strips, and testing the repaired lamp. By the end, not only will your LED desk lamp be back in working order, but you'll also be contributing to a more sustainable approach to electronic devices.
Cosa ti serve
Ricambi

Strumenti


Mostra di più…
-
-
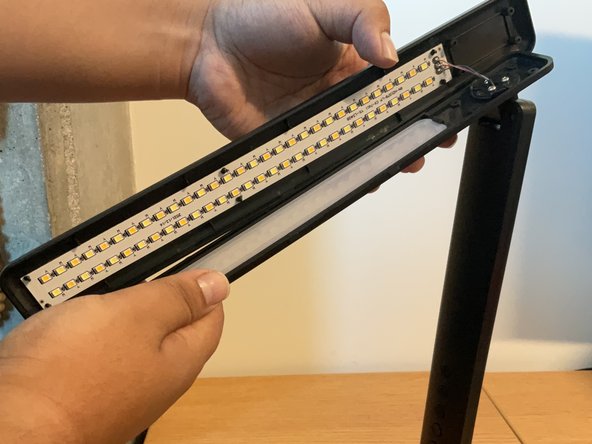
Use a Phillips #1 screwdriver to remove the 7.5mm screws securing the front of the lamp's outer casing or lid.
-
-


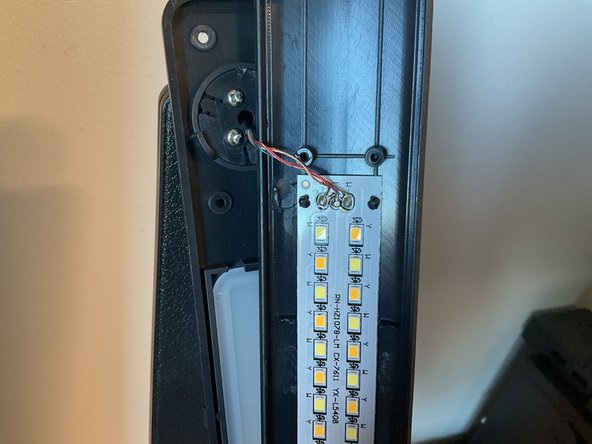


To reassemble your device, follow these instructions in reverse order. Ensure each component is securely in place and all connections are properly aligned.
To reassemble your device, follow these instructions in reverse order. Ensure each component is securely in place and all connections are properly aligned.
Team

CSU Los Angeles, Team 2-1, Briggs Fall 2023 Membro di CSU Los Angeles, Team 2-1, Briggs Fall 2023
CSULA-BRIGGS-F23S2G1
5 Membri
5 Guide realizzate