
Pop-Up Assembly Stopper Piece Replacement

Introduzione
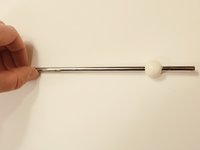
Vai al passo 1The sink is one of the most overused fixtures in our lives. In this guide, the process of replacing a pop-up stopper in the bathroom sink is useful to plug the drain to fill the sink with water and to also catch any unwanted items disappearing down the drain.
Cosa ti serve

-
-
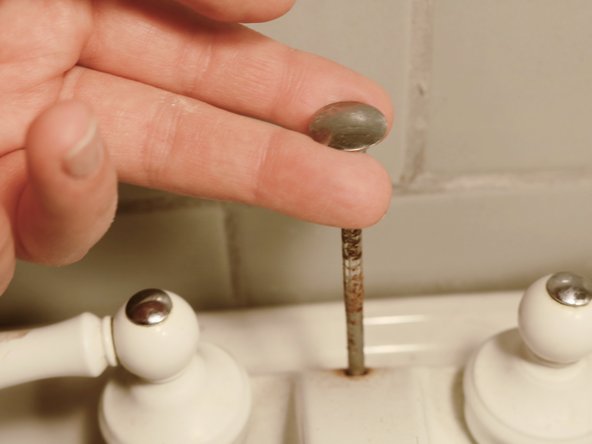
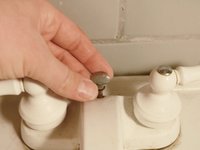
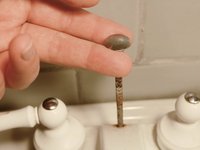
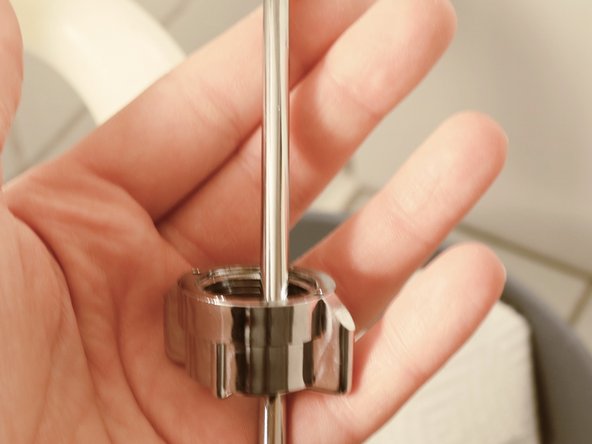
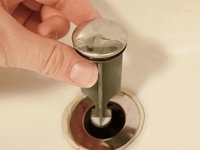
Place bucket directly under the sink below the pop-up assembly. Excess water may leak
-
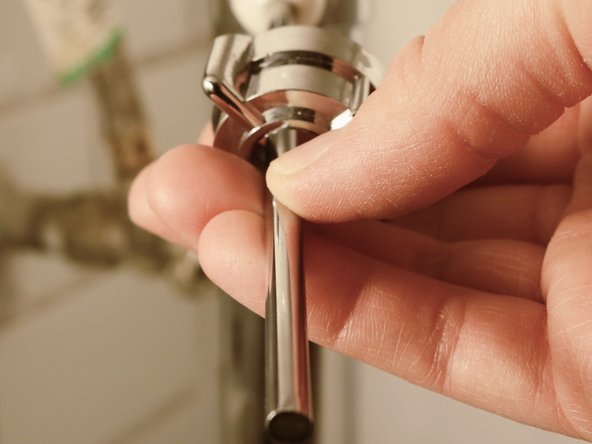
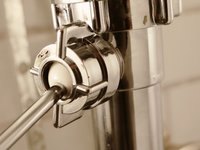
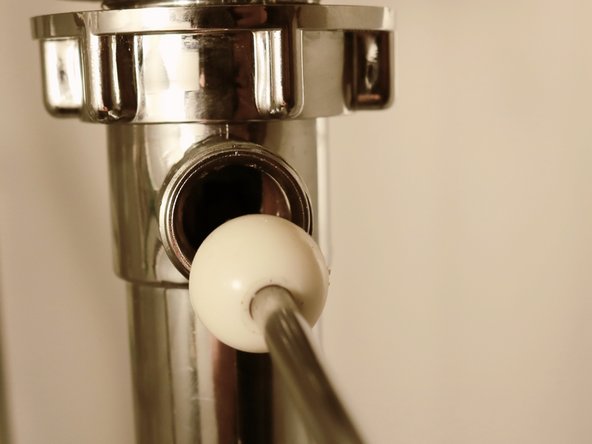
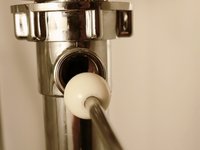
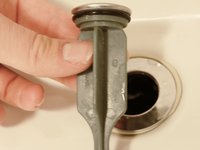
The pivot rod that is inserted within a hole in the pop-up extension bar. Move the pop-up extension bar away from the pivot rod.
-
-


To reassemble your device, follow these instructions in reverse order.
To reassemble your device, follow these instructions in reverse order.
Annulla: non ho completato questa guida.
Un'altra persona ha completato questa guida.

Team

Eastern Washington University, Team S27-G16, Munoz Fall 2019 Membro di Eastern Washington University, Team S27-G16, Munoz Fall 2019
EWU-MUNOZ-F19S27G16
1 Membro
1 Guida realizzata