Introduzione
If the camera of your Petcube Play 2 (identified by model number PP2OUS) is malfunctioning, use this guide to replace it.
The Petcube Play 2 comes with a built-in camera that can record and stream videos of your pet to your phone. A defective camera might lead to poor video quality, skipping, or recording failures.
Before using this guide, ensure that there are no connection issues between the Petcube, your Wi-Fi router, and your phone. The Troubleshooting Page covers connection and video quality-related issues and how to address them.
Ensure the Petcube Play 2 is turned off before beginning the replacement process.
Cosa ti serve
-
-
Flip over the Petcube so the rubber bottom faces you.
-
Pull up the rubber layer with an iFixit opening pick to expose the screws underneath.
 Chiedi a FixBot
-
-
-
Remove the four 3.5mm screws from under the rubber cover using a Phillips #1 screwdriver.
-
-
-
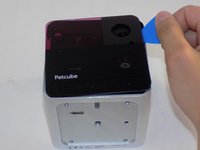
Carefully pry off the glass front panel using an opening pick or a spudger.
-
-
-
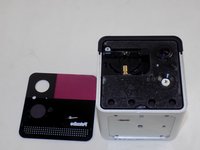
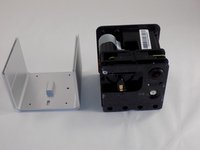
Slide off the two covers, starting with the top plastic cover.
-
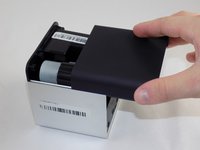
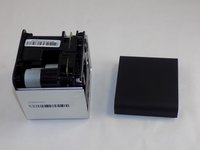
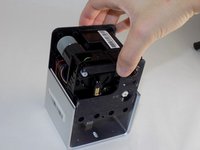
Slide out the internal assembly from the aluminum casing.
-
-
-
-
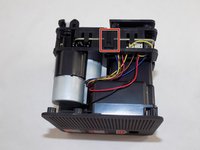
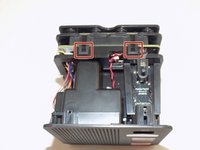
Flip the cube onto its side to locate the pull tabs.
-
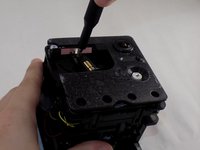
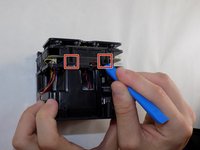
Using an opening tool, lift each of the five tabs to separate the two halves of the Petcube 2.
-
-
-
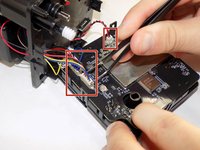
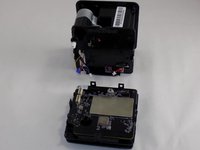
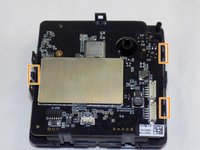
Gently disconnect the cable connectors to separate the two halves of the device.
-
-
-
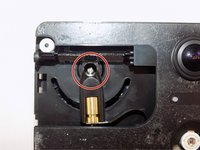
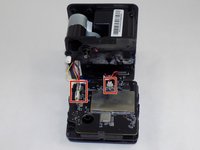
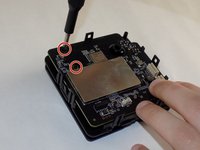
Use a Phillips #1 screwdriver to remove the two 1mm screws.
-
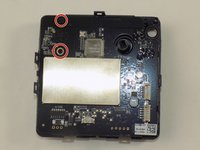
Carefully release each of the tabs on the sides of the cube and remove the motherboard.
-
-
-
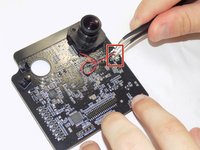
Use a pair of tweezers to firmly grip the sides of the connector and pull straight away from the socket. Hold the tweezers closer to the connector to get a better grip.
-
-
-
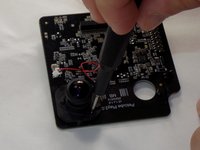
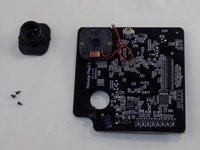
Use the Phillips #00 screwdriver to remove the three 1 mm screws securing the camera to the motherboard.
-
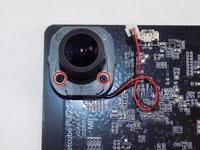
Remove the camera from the motherboard.
-


To reassemble your device, follow these instructions in reverse order. Take your e-waste to an R2 or e-Stewards certified recycler.

Team

UMass Dartmouth, Team 1-5, Konn Spring 2024 Membro di UMass Dartmouth, Team 1-5, Konn Spring 2024
UMASSD-KONN-S24S1G5
4 Membri
6 guide realizzate