
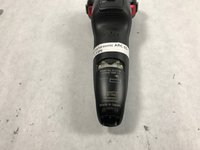
Panasonic ARC ES-LT3N Battery Replacement
Introduzione
Vai al passo 1This repair guide will show you the best step by step procedure of how to replace your battery in your Panasonic ARC ES-LT3N. The process is fairly easy and you only need a one tool!
Cosa ti serve
Strumenti

-
-
-
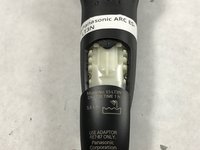
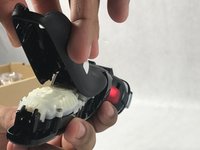
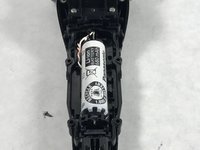
Using the Phillips 00 driver bit, remove six screws (12mm) from the battery case.
-


To reassemble your device, follow these instructions in reverse order.
To reassemble your device, follow these instructions in reverse order.
Annulla: non ho completato questa guida.
Altre 2 persone hanno completato questa guida.
Team

UMass Dartmouth, Team S8-G3, Catania Spring 2017 Membro di UMass Dartmouth, Team S8-G3, Catania Spring 2017
UMASSD-CATANIA-S17S8G3
3 Membri
10 Guide realizzate